


jpage
-
Posts
3,001 -
Joined
-
Last visited
Content Type
Forums
Gallery
Events
Everything posted by jpage
-

searching for36 dodge grill surround trim clips
jpage replied to 36humpback's topic in General Discussion
Unfortunately, as far as I know, these are no longer available. When I worked for Restoration Specialties I scarfed up all they had left of original Au-Ve-Co clips! These clips are difficult to install as they have to be compressed after installation in the trim. I have not tried that yet! Very easy to damage the trim. RS does have some small steel plate clips with a threaded bolt that may work and have been used with success, but it does take a little fussing with. You might ask for a sample of their number B883 and they have others not listed in the catalog. You may be able to find someone who has some originals, but the chances are slim. I can if you like, run over to the shop and try some clips in my trim to see if I can find something that you can adapt. Let me know. -
Check with Restoration Specialties as they make a lot of that rubber. They will send you samples too. 814-467-9842
-
Steele Rubber should have those gaskets. Not cheap, but usually of good quality.
-
Looking for an interior rug material source.
jpage replied to chistech's topic in General Discussion
I bought some "hogshair" carpet from Bill Hirsch which matched the carpet in my '36 Dodge very well. It only comes in 2 colors, a light or dark brown. Wasn't cheap, but it was the only material I could find that replicated the original. It's a little tricky to sew on the binding due to the weave but it seems to be a quality product. Don't laugh at the poor upholstery job, it was my first attempt! This will give some idea of what the carpet looks like
-
You should have no trouble with the new channels provided you get the correct size. Samples will help you determine which fits best. Sometimes it's not good to match what is currently in the car as it could have been replaced with incorrect material. This type channel is easier to replace than to repair. The only real issue I've found with this channel is, that sometimes, when bent at tight angles, the fabric may pull away from the sides a bit, but can be easily glued back in position with a good contact cement.
-
The plain cloth covered window channel can be rolled up and shipped in a small box. The channel with the stainless bead cannot be.
-
Restoration Specialties in PA should have that channel. It come in several sizes so you may have to take it out and measure it. I'm not familiar with that car's configuration but it may be their number 3-A-1 which measure 1/2 in. high x 5/8 wide or no. 3-C-1 which is 9/16 high x 5/8 wide. They usually come in a 8 ft. long section. You can refer to their catalog online or call for samples. Good hunting!
-
I would think that soldering would be a better choice than brazing. Solder can be removed and replaced if necessary. I would hesitate in using too many filters as the original pumps don't provide as much suction as modern pumps.
-
I had a new one made by a tinsmith years ago, but I don't know if you'll find anyone to do it now. Today, everybody's worried about liability and it's hard to fins anyone who can really build something from scratch. My guy reused the original inlet tube. I've seen new tanks on the market but to me, they don't look quite right. If you have any good older tinners in your area, it wouldn't hurt to ask. Good hunting!

-
looks like '36 Dodge.

-
Roger's handcrafted 1:12 scale models
jpage replied to Roger Zimmermann's topic in Our Cars & Restoration Projects
Beautiful work, Roger! Did I miss the part where you built the wheels? -
Thanks for the info. I think it will just fit!
-
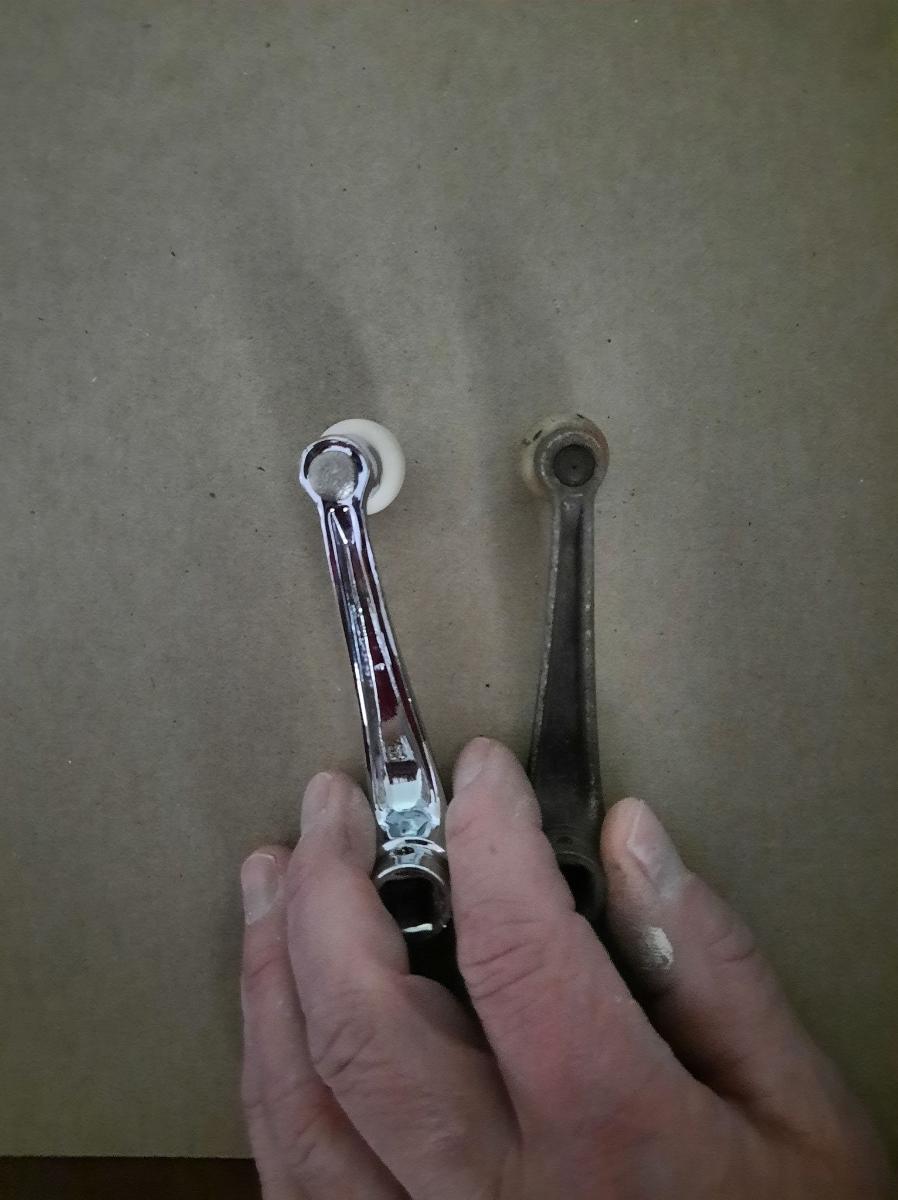
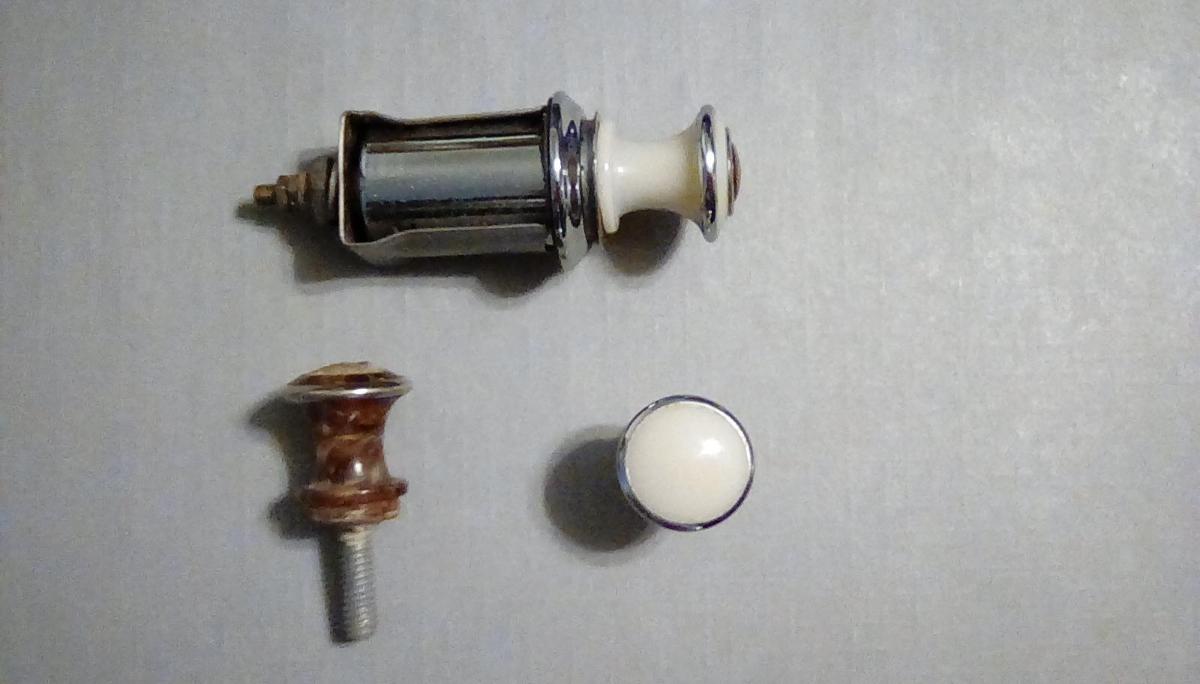
The knob on the left in the photo is the headlamp knob, as you can clearly see the indicator light. It is not red but clear. The knob on the right is the dash light knob. The photo with the large amber "eye" is the cigar lighter knob. Originally, it had a red jewel, but I needed to find a good part to make the mould with and the part I found had the amber jewel. You don't see many of these lying around! My original was shot, so I used the jewel from the good knob to make the new knob. I believe the knob I used for the new casting was from either a DeSoto or Chrysler. Here's a better shot of the top of the lighter knob. The color of the indicator was not a real issue with me. All the knobs were moulded from good original parts.

-
You might try one of the steering wheel restoration shops. Years ago, I had D & D Automobilia make new knobs for mine; it was quite a task but they came out very nice, though not cheap. That company has had a new owner for a while but they still may have the moulds. The switch knobs were cast with the shafts in place and the window crank knobs had threaded inserts cast in them. Quite a job with the insert letters and outer rings. here's a few pics of the new parts. A ll the rechroming of the letters and rings had to be done prior to making the moulds. The knobs were cast with the rings already in place in the moulds. Finding a really nice matching set will be next to impossible!


-
1938 Dodge Sill Plates
jpage replied to TailfinEra's topic in Chrysler Automobiles and Parts - Buy/Sell
Donald Kuehn use to make them and the last number I have for him is 973-423-1196, but not sure if it's current. Very nice product. -
My Model A tank support had a pesky leak too, but that repair is not only unsightly but smacks of laziness, at least in my opinion. When I see things like that, it just makes me wonder if there are any more "short cuts". That car is probably a good driver, and I guess it's just me as I can get a little picky about this kind of stuff, especially when someone advertises a car to be "authentic", original' or, in this case, "museum quality" and it has a bunch of mods or incorrect parts. To me it's deceiving to unsuspecting buyers, especially at premium pricing!
-
What's the deal with the extra steering support? Cheap fix maybe? That and the alternator would be a deal killer for me .Far from museum quality but not a bad looker.
-
We can chat right here on instant message.
-
Mid '30's Assembly line painting procedure question.
jpage replied to jpage's topic in Dodge & Dodge Brothers
All 3 of my cars were either in bad shape when I got them. The one I'm restoring was repainted several times, so there was really no evidence. I have seen that on some parts, there is only primer where they meet the body, while others have paint. -
I hope to soon be painting my '36 dodge and have a question. Does anyone know if the bodies were partially assembled with the rear fenders and welting, then painted as an assembly? Also, there's evidence that the fender welting was riveted to the front fenders, but was that done prior or after painting. I guess my real question is, was all the welting painted body color or left natural black? any help is appreciated. Thanks
-
Are A's and T's getting too impractical?
jpage replied to Twisted Shifter's topic in General Discussion
I guess that would depend on where one lives. I live in western PA where it's still fairly rural and had plenty of roads that I could easily drive my "A" on without any trouble. Naturally, one would have to avoid any major highways for safety sake, and even on the backroads you'll find the guy whose always wants to drive 80 mph everywhere, but in my opinion, they are still a very viable. Today one does have to be more cautious and alert to traffic as it seems that 45 is now the new 60, and virtually no one obeys any speed or traffic laws! -
Can anyone tell me the overall length of a 1936 Dodge 4 door TS bumper to bumper. Never measured any of my cars before they were disassembled and not sure it will fit in my garage! Thanks in advance.
-
Just copy the originals and all will be fine.
-
This may be redundant ,but, did you use a reproduction harness or did you make all your own wiring. The headlamp sockets originally have a 3 hole plug that aligns the brass end connectors to the contacts on the bulb. This plug is numbered to correspond to the wiring diagram, If you are using original bulbs, they will not work if not properly aligned.
-
The rear window and quarter glass is held in by the rubber seal and the garnish mouldings. The Steele rubber part numbers for the qtr. window seal is 40-0461-77 which is a preformed seal, and the rear window is 40-0400-81, also a one piece seal. The garnish mouldings use oval head sheet metal screws with a small head and probably in Phillips drive for 1938. These are a specialty screw and are available at Restoration Specialties or most stainless steel specialty suppliers. If you have any of the original screws you can measure the diameter and length. Most likely, they are a no. 8 x 3/4 or 1 in. with a no. 6 head. They also use a small finish washer to protect the finish on the moulding. If installed correctly, with the correct seal, I don't think any sealant is necessary. There are 2 different seals for the windshield, one used with the stainless reveal trim and one without. The number for the seal with trim is 40-0386-50 and the seal without is no. 40-0401-50. Unfortunately, I have no knowledge on how the windshield gasket is installed or what else you may need. Hopefully, someone with more knowledge will give you some help. Steele prices are high but their quality and fit is usually pretty nice. Hope this helps.


