maok
-
Posts
1,285 -
Joined
-
Last visited
Content Type
Forums
Gallery
Events
Everything posted by maok
-
-ve = negative...:)
-
Here you go mate. http://www.classicandvintagebulbs.com/page4.html
-
That will buff out.
-
I wonder how the steel wheels are setup? Having said that, the wheel studs seem to be non-existent, maybe the wheels are just balancing on the hub axle. Also, my 28 the brake master cylinder is setup slightly different to this one.
-
Could the diff be upside-down? My 28 Chrysler diff cover cannot bolt on upside-down.
-
A skilled surgeon no doubt.
-
You haven't had a flat battery yet? You haven't had a flat battery yet?
-

FOR SALE JOB LOT NOS PISTONS AND RINGS ETC
maok replied to bruffsup's topic in Automobiles and Parts - Buy/Sell
Hi Barry, Would you have pistons and or rings for a 1928 Chrysler M engine? They are 3" diameter. I would be happy to pay more than a fair price for them. Moe -
Thanks gents. Hopefully Mr goodluck will be helping out with the manifold studs as well.
-
Patience told me to hurry up. So I did. Yep, it does feel so good......

-
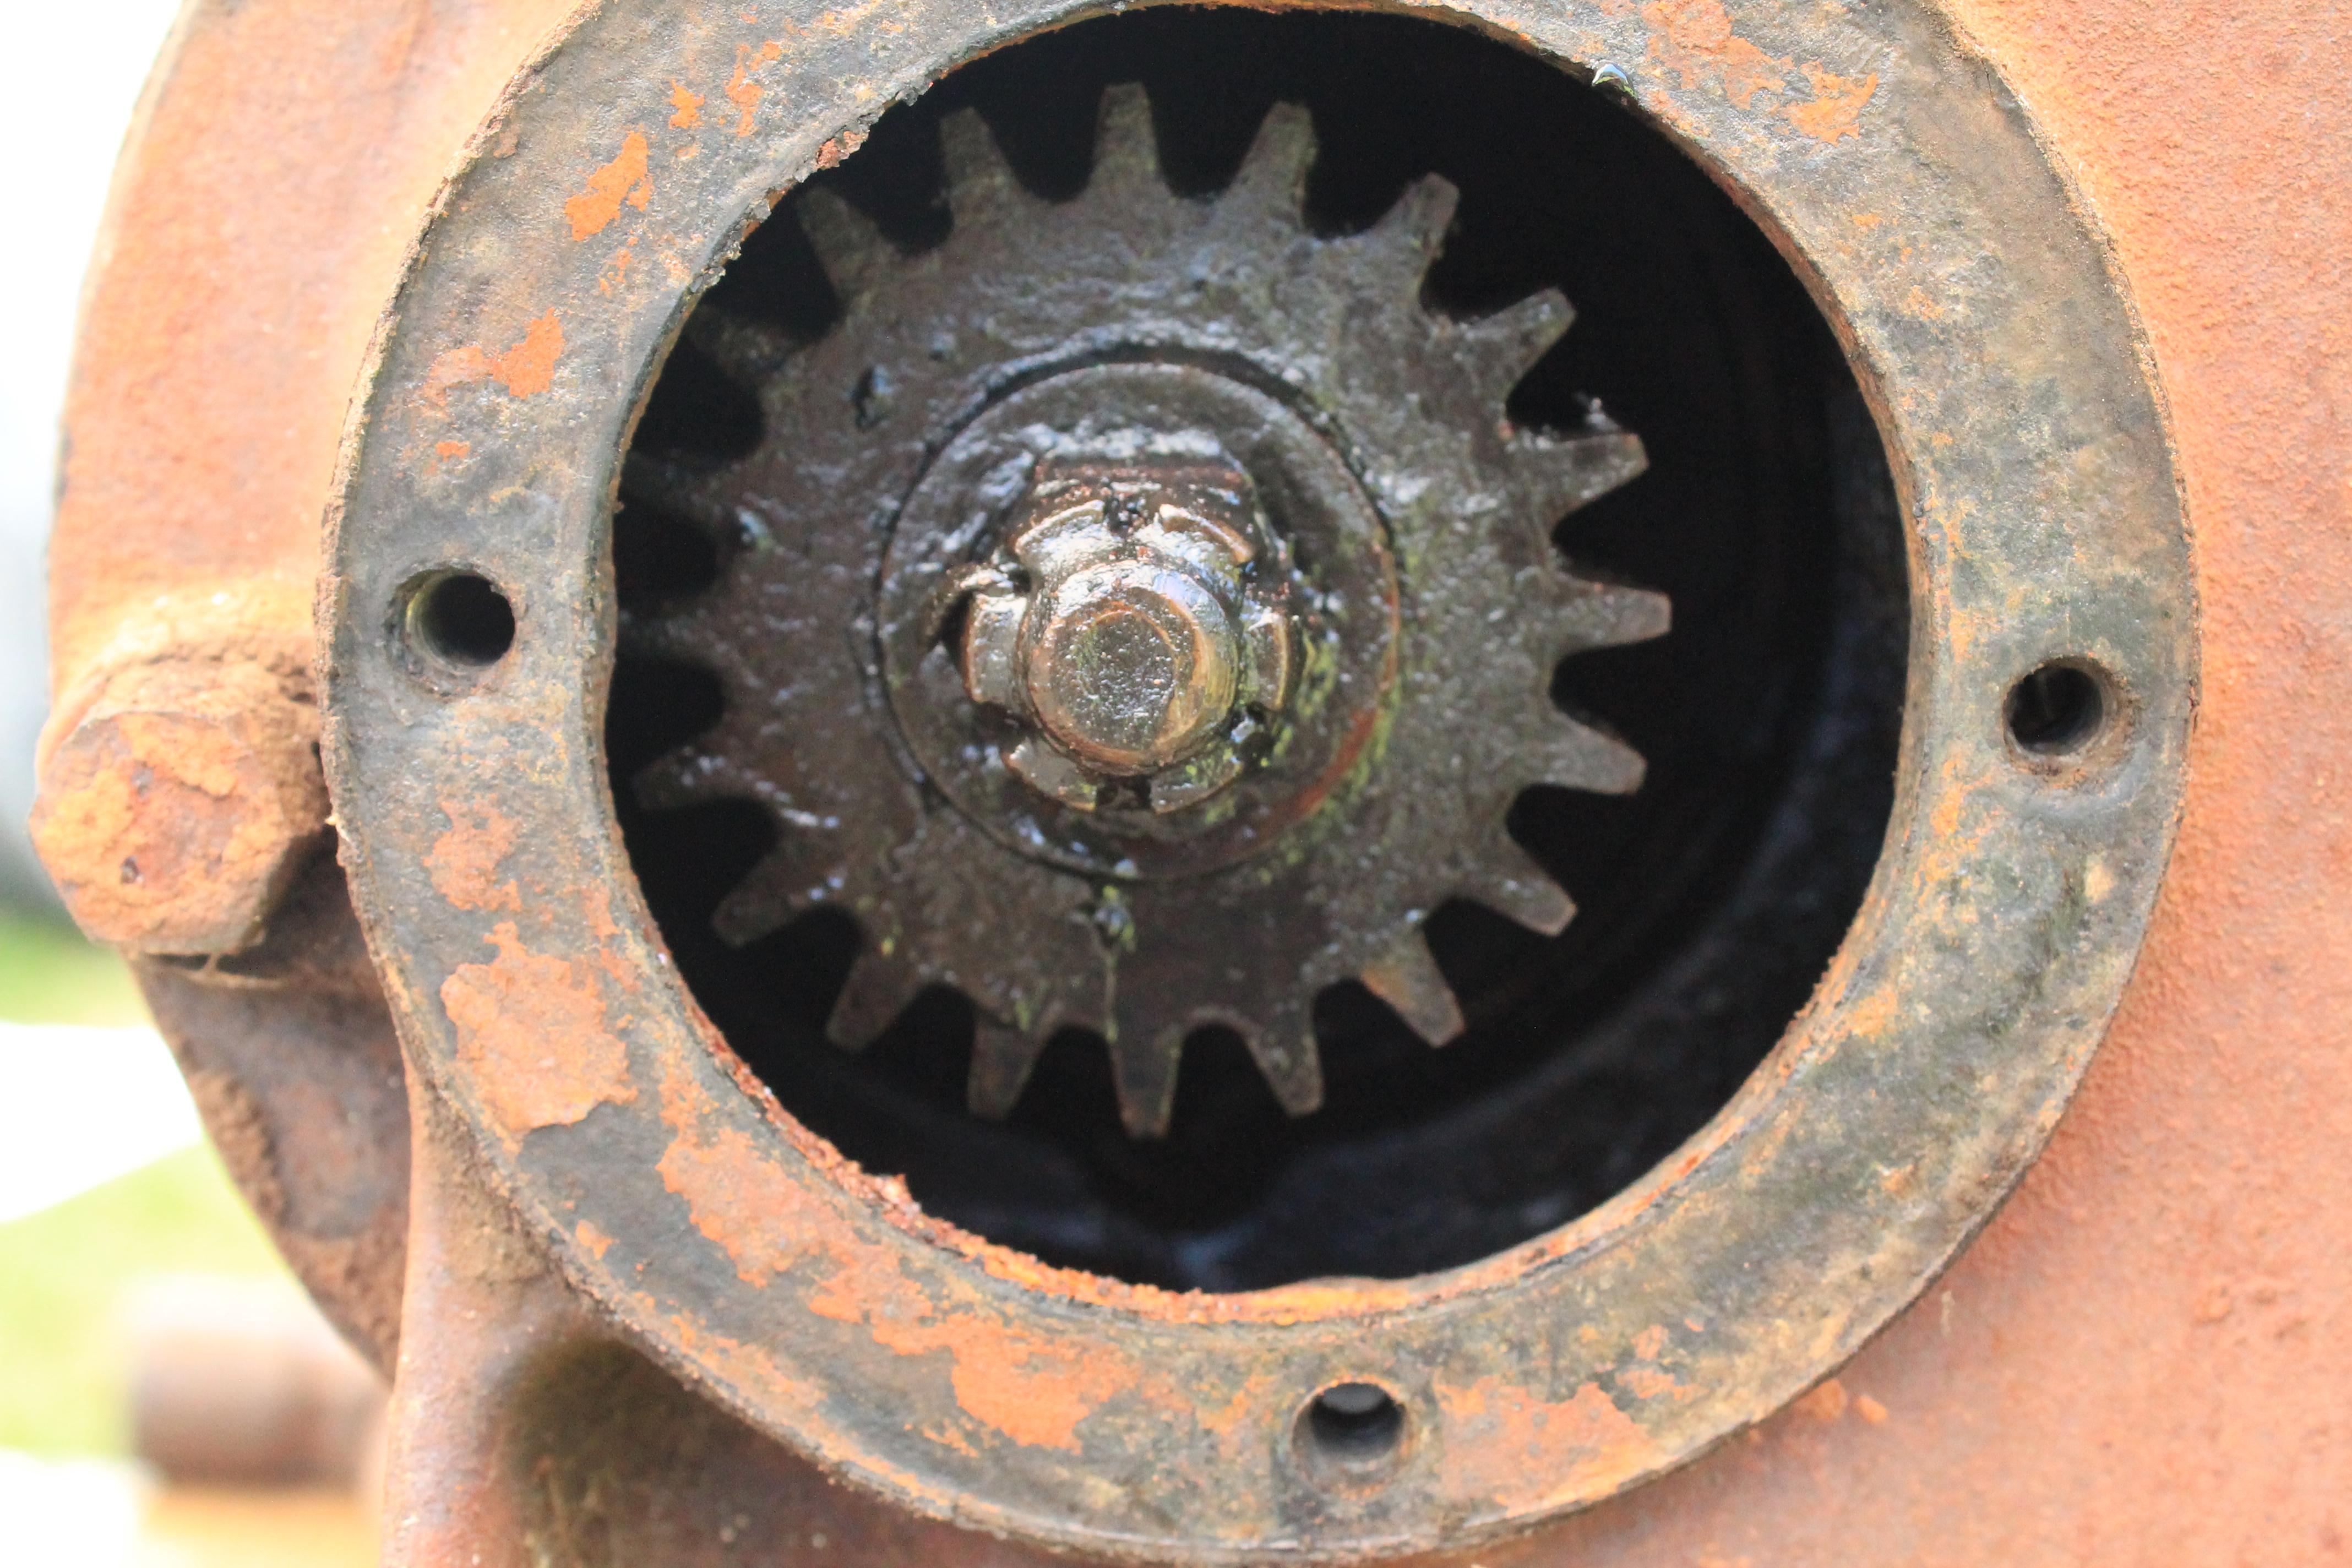
Bloody Kiwi's, always jinxing us Aussie's. I hope I don't lose too many points at the car show...:) There goes the budget. I shouldn't whinge, 21 out of 22 ain't too bad. There is still plenty of shank on the stud to cut more thread. This is what Sasha39 was referring to on the timing case;


-
Totally agree. People often do re-builds like they are doing it for a F1 car. This will be a relatively low budget build, pending how the pistons, block, crank and rods check out.
-
Exactly how I got the others out. The reason why I used the large adjustable spanners (we call them a 'shifter' here in OZ) with my dodgy 2' extension bar is because of their depth. More surface area to hold the nut than a usual spanner.
-
Mate, I just went outside to have another look, you are 100% correct. I never noticed it yesterday when I was getting intimate with it.
-
Sure will mate. I am sure there will be some surprises along the way.
-
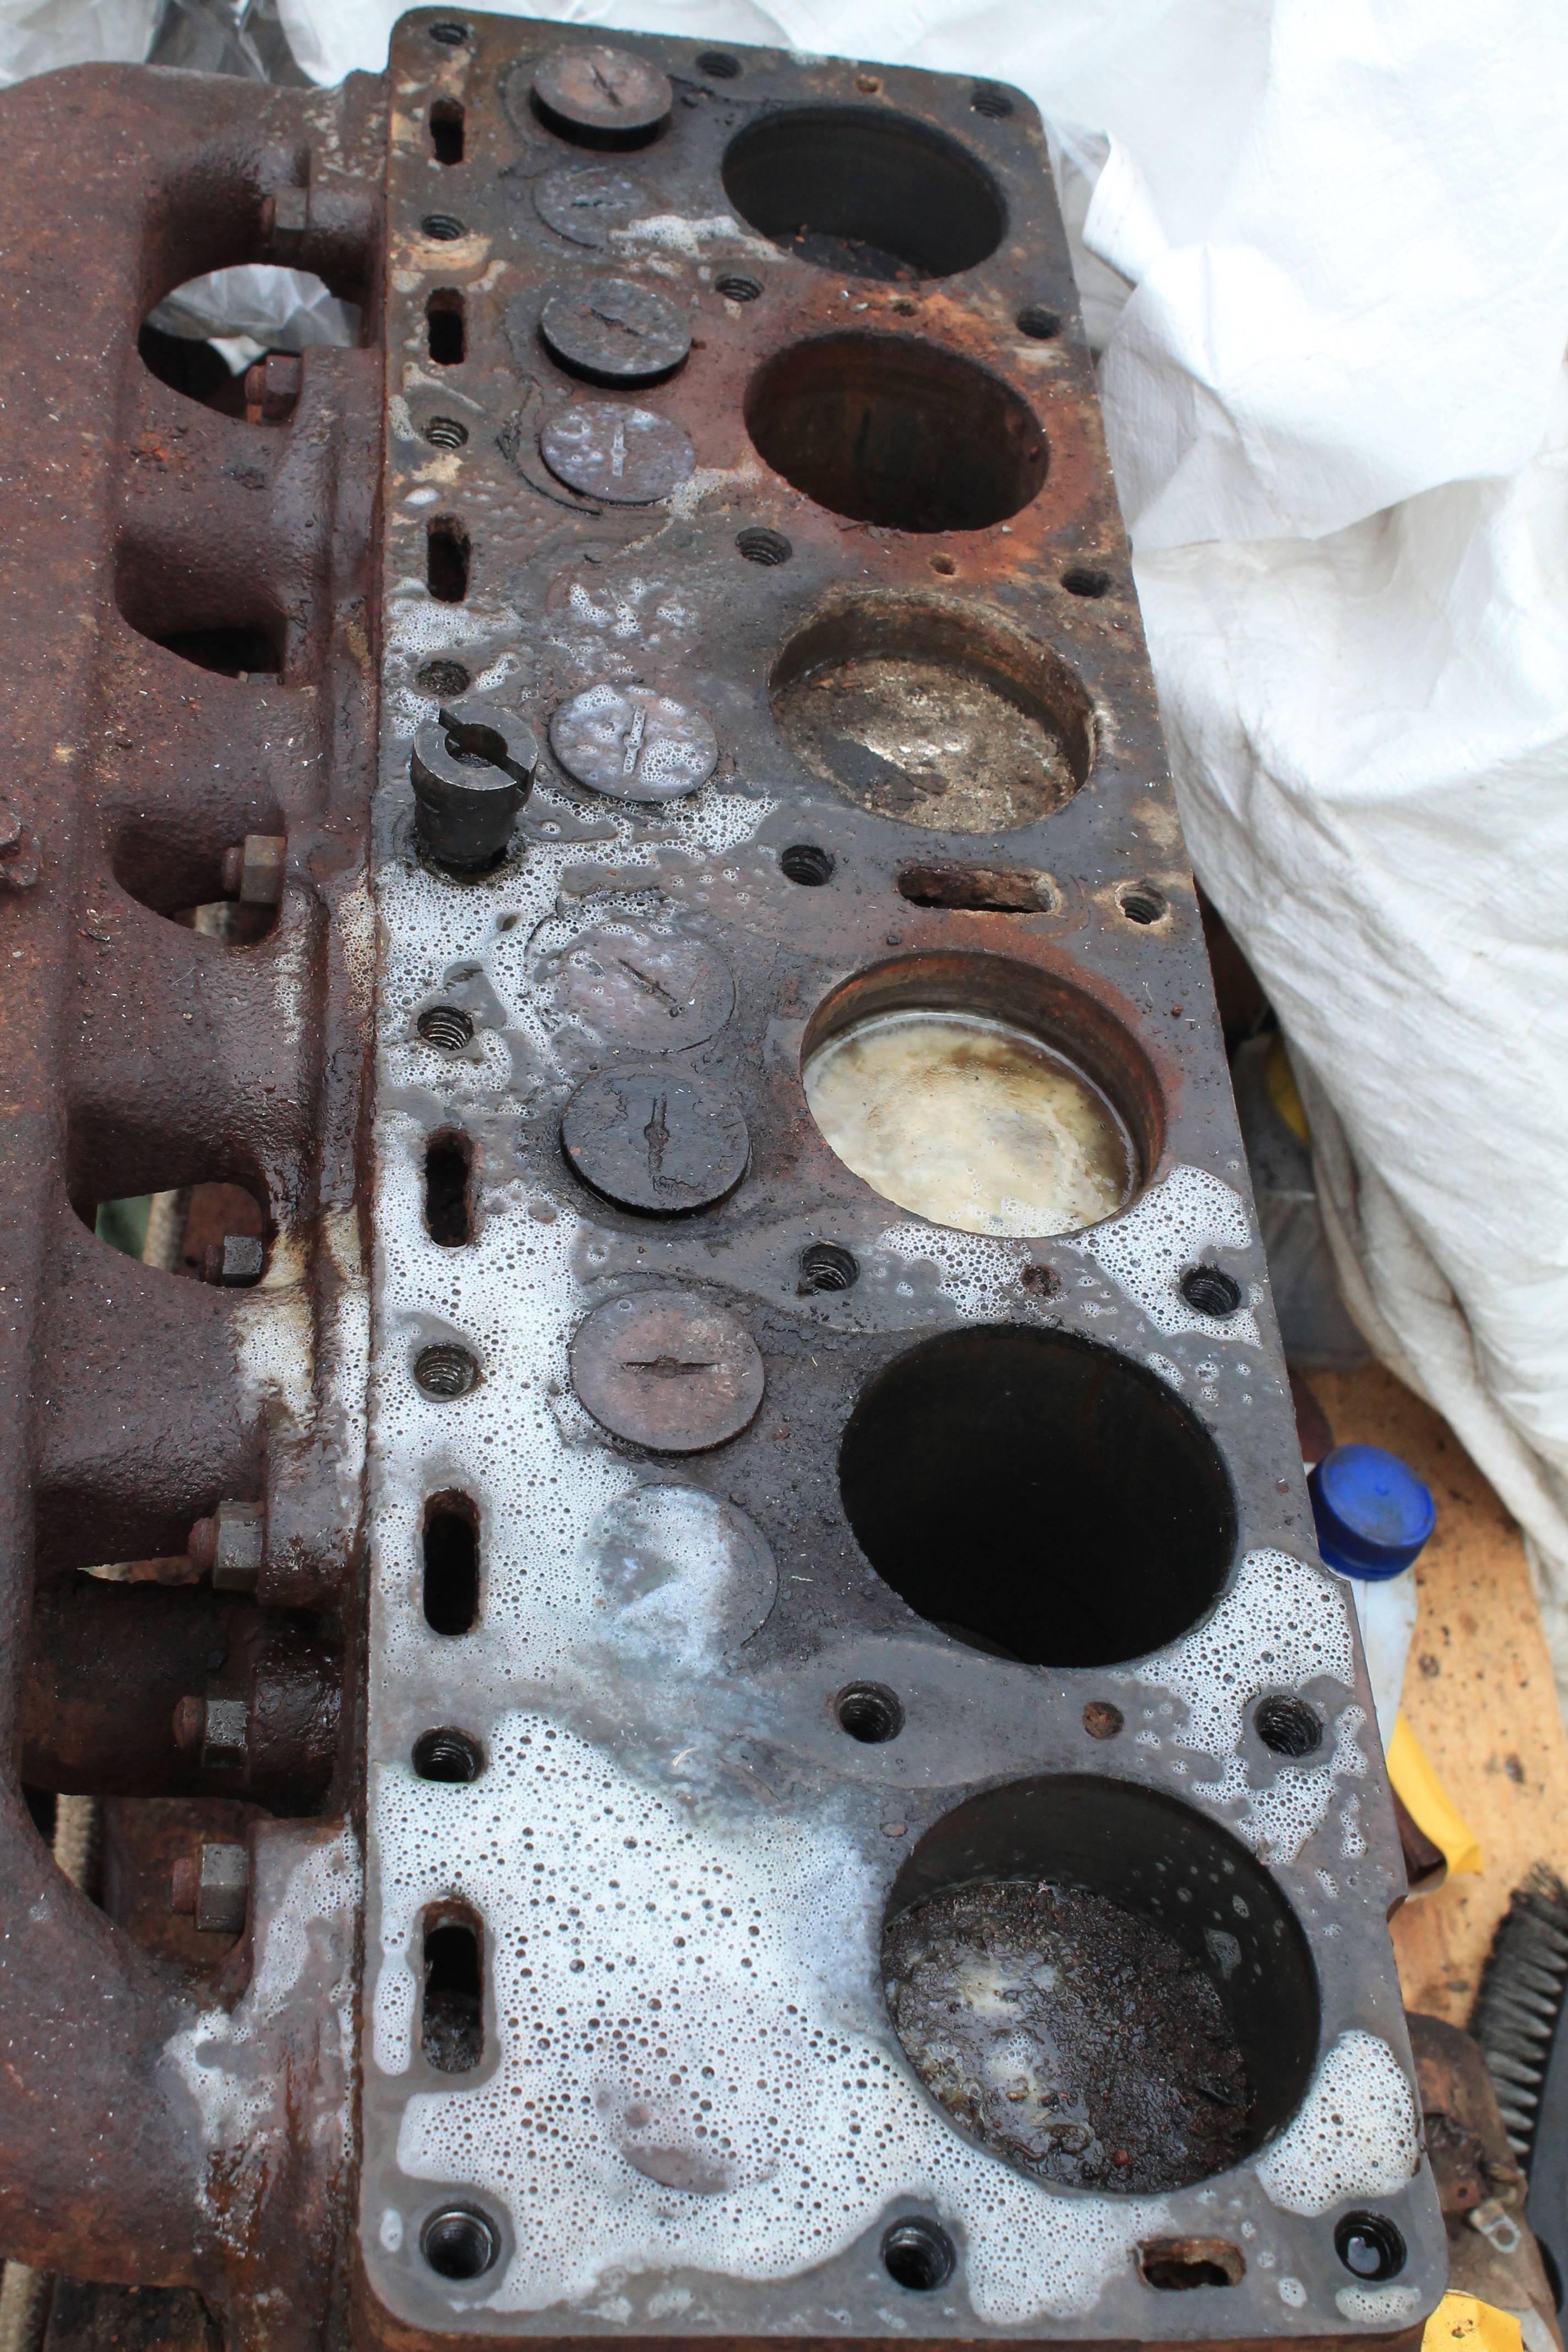
Hi all, this will be my 1st flat head engine re-build so any input, advice, suggestions, jokes, sarcasm will be welcomed. But first of all, I would like to give a big shout out to a top bloke, Sasha39 (Alex). He supplied the engine at a very good pay rate and bolted down to a pallet to make life very easy. I am sure he will be very interested in what this engine is like inside. So, thousand THANK YOU's to Alex. Part one: The tear down. Externally looks to be like any engine that has been sitting around for who knows how long. Lots of surface rust, totally expected but looks to be superficial. It was 'stuck' but freed up relatively easily after removing the head and pouring some kero down the cylinders and valves. Bonus! A copper gasket in one piece, I reckon I can re-use it. Apparently the previous owner who had it running could not work out why the generator was not producing electrons. Mystery solved. Timing chain to the cam and crank gear only. That is an assumption so far, I wont know for sure until I pull the front timing case off. Can you guess the odd one out. It took at least 3 hours to remove most of the head studs, still 3 that are a bit 'character building'. I feel good that I am better that Meatloaf...:) Any suggestions on best method to remove these studs without breaking or cutting then drilling them out? We are going to get some warm temperatures (+35c) in the next few days, so I might leave them out to get a sun tan. It looks to be about 0.020" over. The bores look to be 'okay' may get away with a light hone. Hopefully the Mopar gods will be kind to me.


-
I believe the shims are there to move the pinion gear forward, or back with no shims, they actually move the main shaft forward which in turn moves the pinion gear to mesh better with the flywheel gear. The main interface of the starter motor shaft and the pinion gear is the Bendix spring. The back bolt MUST seat well into the shaft (there should be a key between the shaft and bush) with its tip and should be very tight on the spring. And the front bolt should not make contact with the shaft but should obviously be tight on the spring also.
-
Is this with free delivery to Brisbane Bernie? Then again, I am flying down to Melbourne tomorrow to visit family, I wonder if Tiger Air wont mind me having it as 'carry on' luggage...:) I re-use +90% of bolts and nuts I remove from a project. Wire wheel turns an old bolt/nut into a brand new one. Its just like magic.
-
Just be aware, there are two different thread sizes of bolts. The Ford ones are the small ones. I cant remember the actually sizes.
-
Is there any oil in the box?
-
I should add that there are adaptors that fit over the 1/2" shaft to accommodate various engine block hole sizes, 3/4" seems to be a more common OD. The length of these vary as well. Unfortunately my Delco Remy book does not cover dimensions. So, yes, 'tinkering' is required.
-
It seems that a lot of them have 1/2" shaft, one obvious variation is the length of the shaft and drive gear to match the engine. Also, the neck length of the housing needs to be considered as well. And yes, advance weights/springs need to match the rotation direction.
-
Any tinkerers of these out there?
-
If the price was right?
-
I changed the sump gasket once, actually twice. Does that count?.... I totally understand how you feel BJ. I have done a couple restorations, to be fair, nothing like what you are doing, I have total admiration for your efforts, skills and knowledge. Many restorers question their reasons for the project throughout the process, going through the roller coaster of self motivation. I think when you enjoy the challenge of finding solutions, seeing results and knowing that you are just a custodian of some history of the car, really helps self motivate. Im 47yo and have always wanted my own shed, I have spent all of this year to get a shed plan approved through city council with no luck so far. Maybe next year...