hursst
-
Posts
1,557 -
Joined
-
Last visited
Content Type
Forums
Gallery
Events
Everything posted by hursst
-
John, It's got a rust hole in the driver's side rear trunk area, a little hole on the frame where the upper chassis tube gets closest to the batteries, a few some areas in the floorboards, and both rocker panels have rust holes in the middle portions. Overall, pretty minor. Lots of minor surface rust throughout the body, but nothing structural...so far! We'll see the full damage once it's blasted. Chris
-
Thanks for the advice. I'll weld in another piece at the top of the door gaps. I won't be going rotisserie at this point, but I will keep all that in mind as this progresses. -Chris
-
Is that piece rubber or metal?
-
1937 Ford, 1941 Pontiac, 1941 Chevy Truck
-
Some more progress, finally. Got my welder hooked up and watched a few videos on youtube and from Eastwood. Using a flux-core MIG welder, per the suggestion from another restorer friend. Had a lot of problems, but found I was using too low of a level of voltage. Did a lot of practice on some scrap and got good enough to get some reasonable welds. Tried it out on the MG by trying to weld in the 2 support brackets to fill in the door gap. I probably didn't need them, but I wanted a fail safe, since I wasn't 100% sure the MGA body was sturdy enough. Welded the brackets in and got some welds that are plenty sturdy, although I wouldn't call them good welds by any stretch. Don't laugh too hard. Body is now ready to come off, with no sticking anywhere. Two people could yank this thing off right now, but I want to get some saw horses set up to put it on temporarily, then build some type of mobile platform. May be 3-4 weeks before I can get all the supplies ready and get a buddy or two to help out. Can't wait to get the body off so I can continue with tearing down the chassis.


-

Dodge Club Coupe - Parts Search
hursst replied to bypass's topic in Automobiles and Parts - Buy/Sell
I have a dome light. Please see PM. -
I have a dome light for it...please see PM.
-
Not too much going on lately. Taking off some misc items, like the VIN plates, door striker panels, but have spent most of my time installing a 220V outlet so I can use my new welder. Just got that job done, so now, have to get the welder set up and get a couple quick lessons so I can weld on some support brackets to the body, before removal. Probably going to be a little slow before the body is off, but need to learn a little and do the job correctly.
-
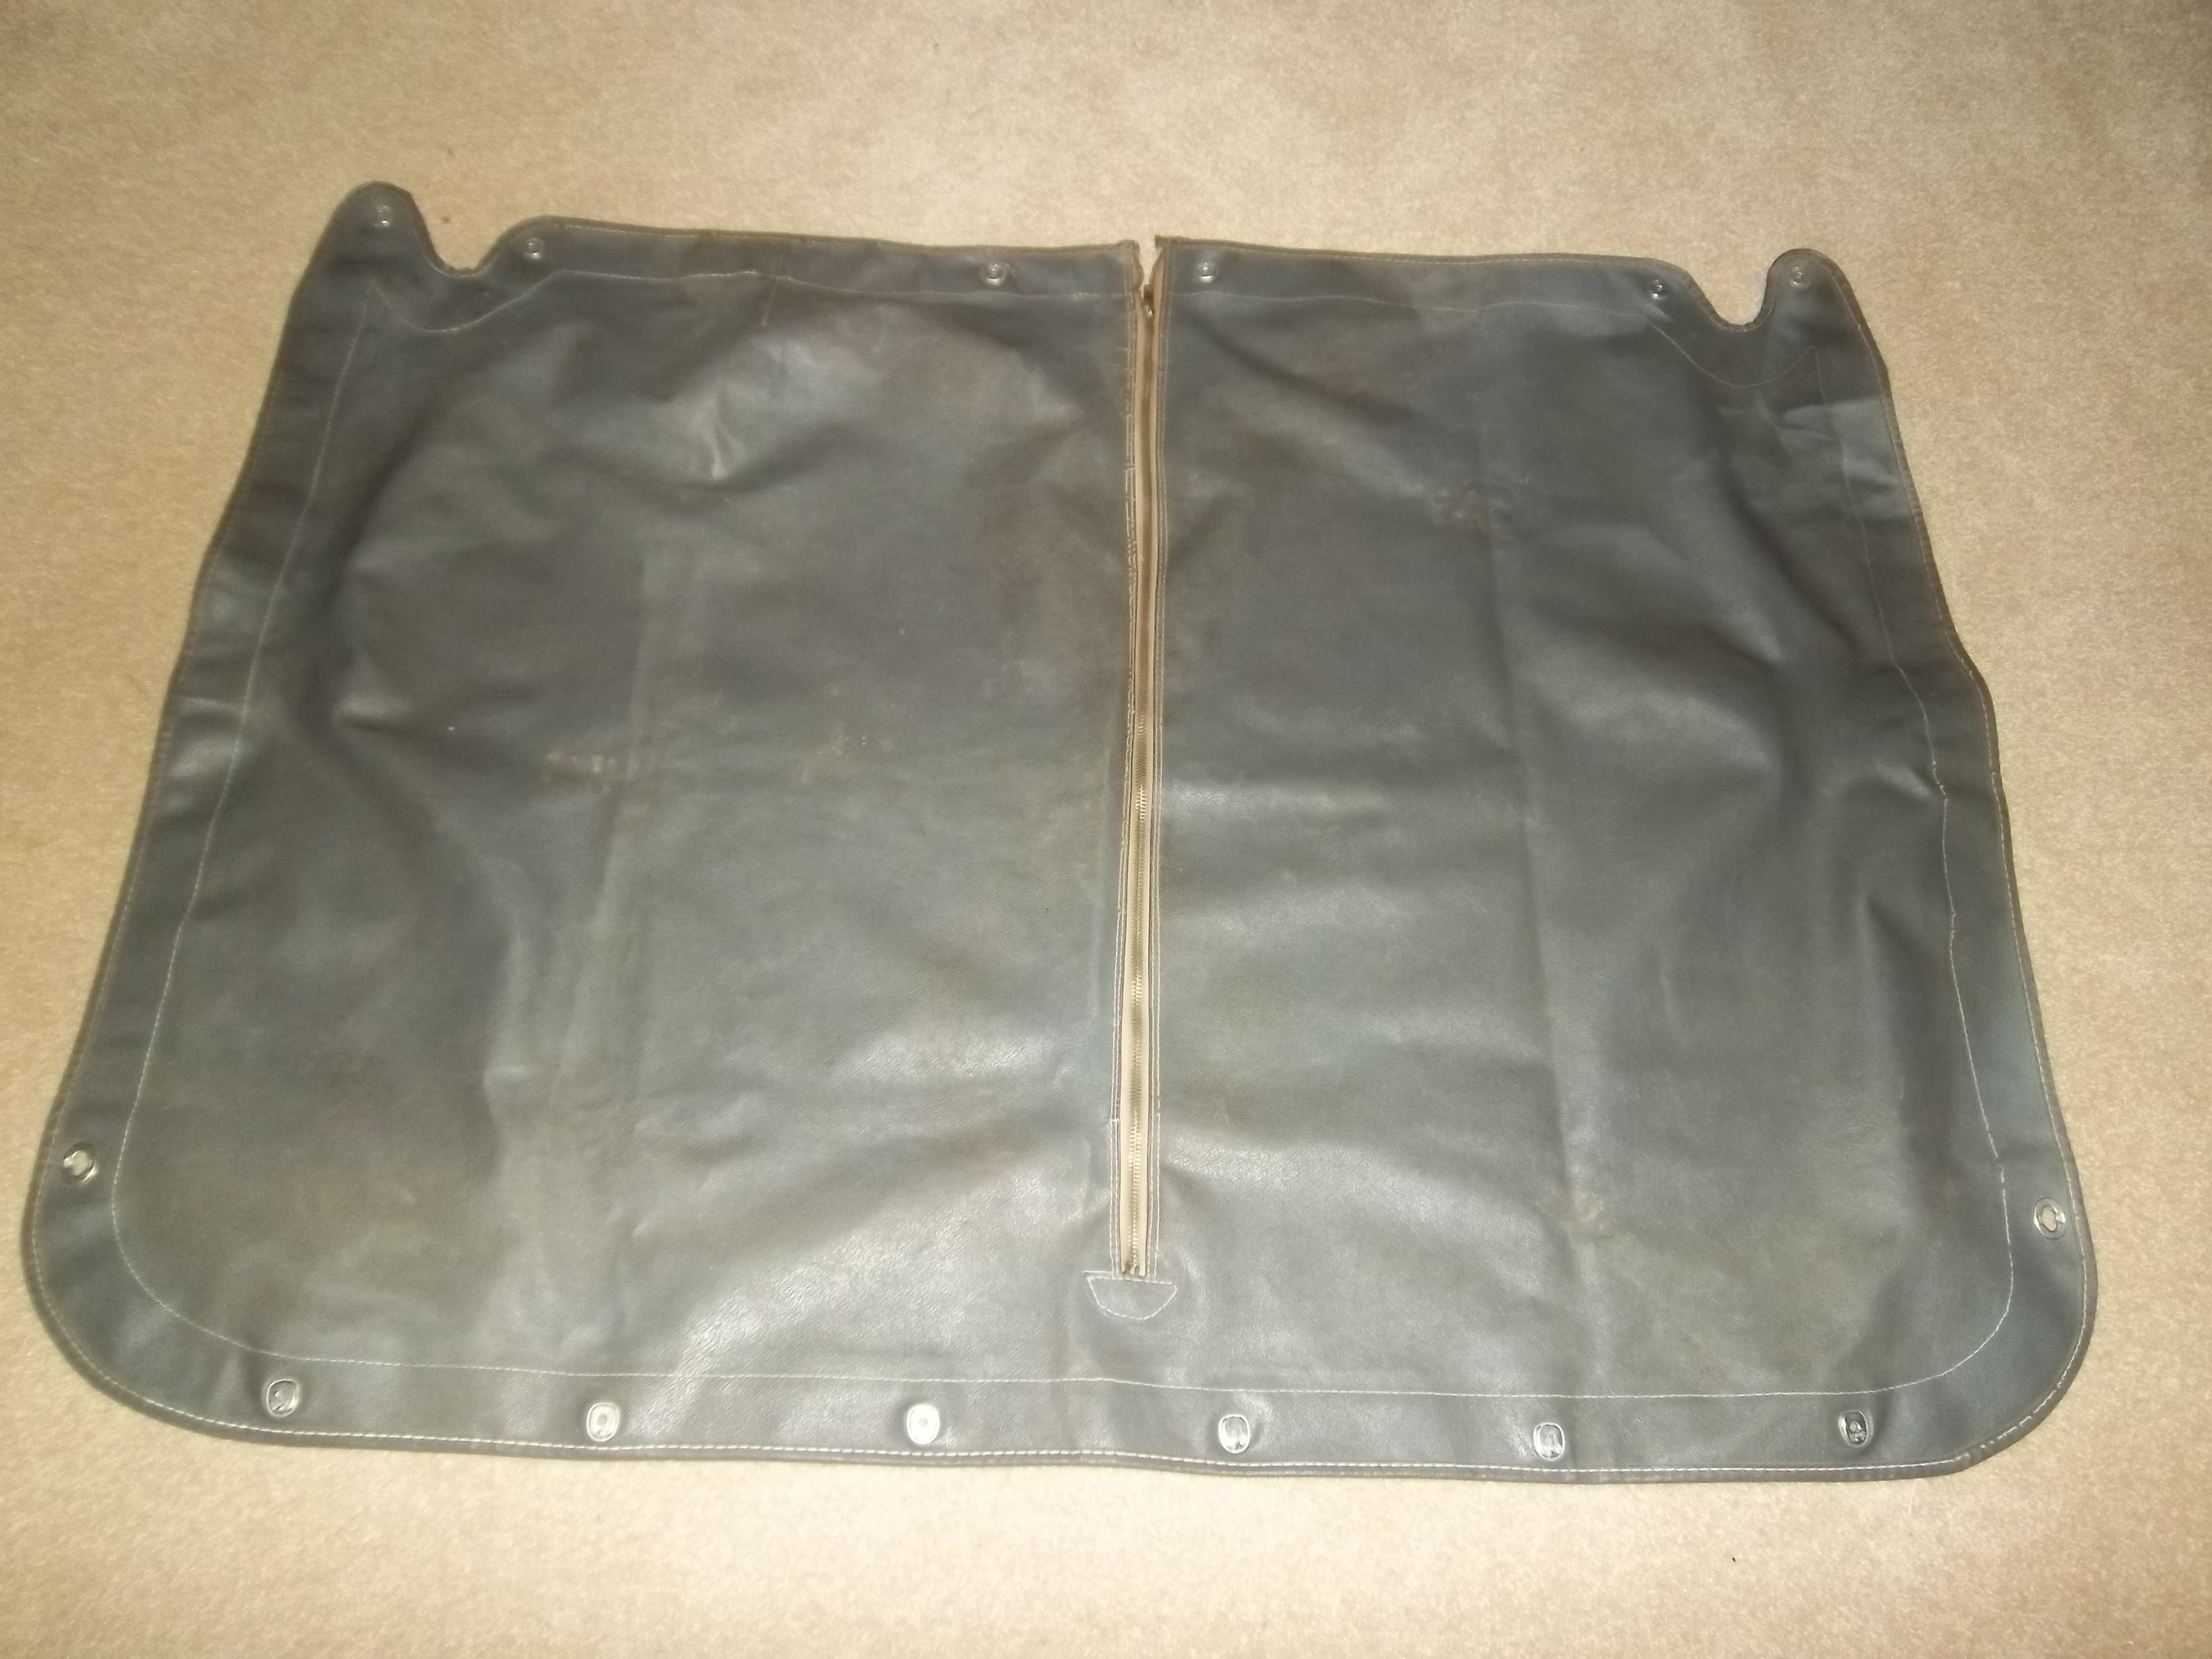
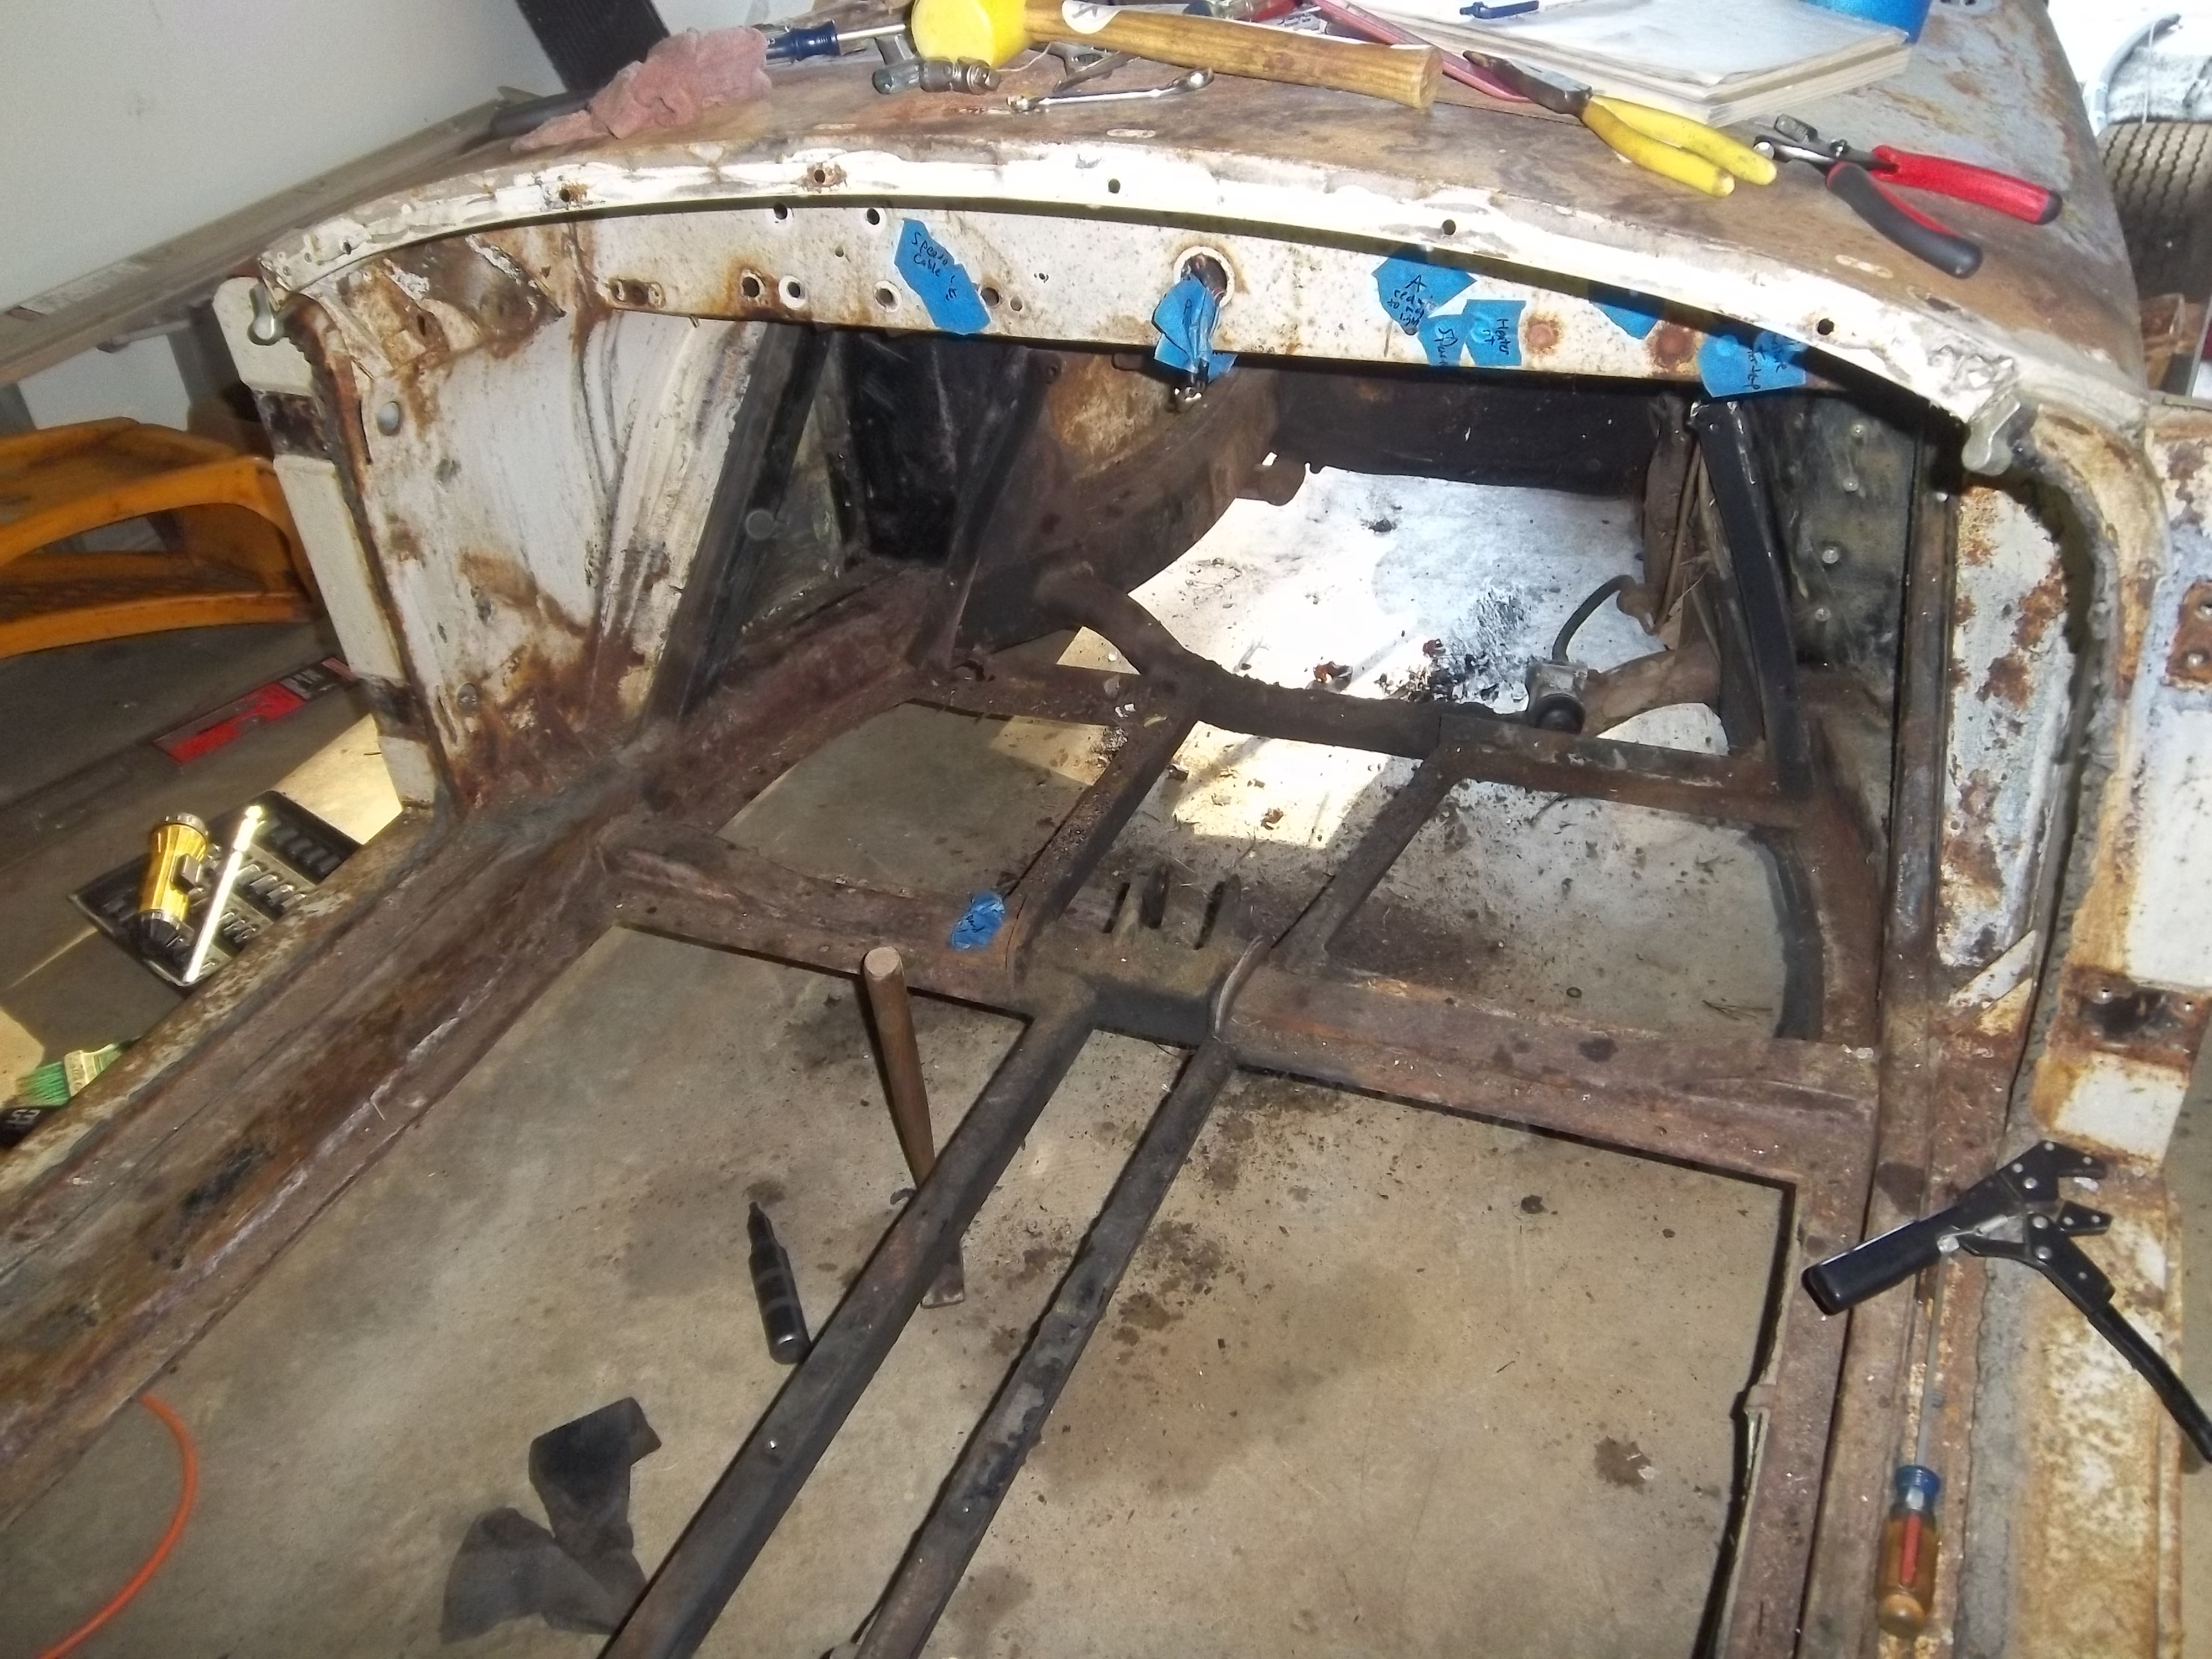
A little more progress over the last week. Finished getting all the wiring harness out of the body. What a mess (Photo 1). It's mostly labelled and ready for use as a template, although I should be able to use all the hardware and maybe some misc. parts from it. Not sure yet if they repro the whole harness or if I have to have one made up. The engine bay is getting pretty empty now (Photo 2). I removed all the body mounting bolts and only broke 1 (there's always at least 1), so I'll have to drill it out. Body is ready to come off, but have a lot of work to do before I do it. Have to weld on some door opening supports, have to get wired for 220V in the garage, and have to learn to weld. Luckily, I have a good friend who can help with all the above. Not sure how I'm going to remove it or where I'm going to place it yet. In the meantime, I hand-re-sewed about 1/2 of the threads on the original tonneau cover by doing maybe 2 hours a week for the last 3 months or so (Photo 3). It was really easy when you space it out and all the original holes were there, so it was like connect the dots. Although I want a Grand-National-worthy restoration, I really don't want to trash any original pieces that are 95% good, I'd rather save them if they are in reasonable shape. The tonneau is a little stained, has a small rip in the zipper at the end, and now has 1/2 old and 1/2 new stitching, but looks okay and is original. I think with further cleaning, it will get even nicer. I'll have to do the same thing with the top. It has a rip about 9" long in it, but is otherwise in very good shape and is original. I think maybe I can make a folded in seam, like on the side of Levi's where you see a crease, but no stitching. I would hate to have to replace the whole original top when a 95% good original exists. I guess we'll see when I get there. While I wait to get ready for the body situation, I will start restoring a few small pieces just to continue to make some progress. Maybe try different rust removers or techniques to see what works best.


-
1961 Mercury Meteor 800 restore
hursst replied to Laughing Coyote's topic in Our Cars & Restoration Projects
I really want to see this car when it's finished. Will you take it to AACA shows when it's finished or will you drive/tour it? What are the general plans for it when it's finished? -
Progress has been slowing a little, due to Carlisle, Hershey, and a busy work schedule, but it's still moving. In Hershey, picked up a door (the wrong one, unfortunately), tail lights, gas filler neck and cap, rubber block-out piece, and rocker panels, so had a really good score. Also bought a welder and paint guns in preparation for body work. Bought a nice repro key fob and tech manual from the MG club in the UK, bought a sales brochure at Hershey, and am ordering a key from a British key shop in Maryland. I think it's the details and original features that really make a restoration stand out from more plebeian efforts. It doesn't cost all that much more, but makes all the difference on the show field and on the road. As far as working on the car itself, I was finally able to clear out everything from the dashboard. Very frustrating as I broke a few pieces, as they were locked in place due to corrosion, but may be able to fix them. Now able to move on, at least. Got the whole dash panel out, the soft trim piece, and the wiring harness out of the interior area (what a mess, but complete for use as a template) (photos 1 and 2). Otherwise, I just have a few trim pieces in the back and under the hood, then I'll be ready to remove the body. Went to the Hunt Country show in Marshall, VA yesterday. Thanks, all, for bringing it up earlier, although didn't get to meet everybody.


-
1961 Mercury Meteor 800 restore
hursst replied to Laughing Coyote's topic in Our Cars & Restoration Projects
Incredible work! Great attention to detail. One of my favorite threads. -
Bob, yes, we can compare notes any time. Yes, I have the Moss motors catalogs, just haven't used them yet. First name is Chris, guess I didn't mention it. I will do the blasting myself, but not sure how I'm going to do it yet. Don't have a rotisserie or an easy way to transport the body. May use a wire wheel or sander or some kind, due to the surface rust and lack of an easy blaster. I have a sand blaster, but I don't think it will work with an entire body as it's small and clogs up every 20 minutes, so it will take months to do. I'll worry about the body when the time comes and come up with something. First things first. I'm going to try to do the metal work myself, for the same reasons above and the cost of paying someone is incredibly high. Still have to buy a welder and get some lessons. Still have to strip the chassis down once I get the body off, and I hear it can be difficult (front part especially). The chassis and engine will be restored and put back together before I get to the body. I plan on trying to get over to the Hunt Country meet...
-
Yes, there will be a new wiring harness, no way I could trust the existing harness. Great for reference, though, as it appears to be all there and original.
-
Still making slow but steady progress on the way to removing the body. Have been working mostly on removing the dashboard items, then the dashboard itself. Had a few problems. Didn't know how the get the knobs off the dash, so worked with one that was already cracked. Didn't discover until breaking the knob that it has a push-pin style retainer that is on the lower side of the knob. Once I found that out, still didn't help me too much, as they were all quite rusty and would not move. Time for a great MGA forum. They told me how to build a tool for this job with a pin through pliers in order to press in the knob retainer pin. My tool is quite amateur, but it worked for most of them (photo 4. Still ended up breaking another one. Having trouble getting the ignition switch out, don't want to break this knob, so I'll be back to the forum soon. Once that's out, the wiring harness and everything else will be free from the dash, so I can remove that panel as well. Next are some mics under hood items, like the rest of the wiring harness, hood release, coil, etc., then I'll be just about ready for the body removal. Not much left of the interior or under the hood anymore (other photos). Once body is ready, then have to weld on some support pieces for stability after my friend teaches me some basic welding, since I've never welded before. Have to buy an actual welder, too. Once the body's up in the air, I'll start stripping down the chassis. I hear it can be very difficult...


-
Could be this: http://www.caddydaddy.com/1940-cadillac-closed-convertible-series-62-72-vacuum-wiper-motor-rebuilt-free-shipping-in-the-usa.html Listed as a SSM-19, but also mentions SSM-219. Not sure of the difference. Looks the same as yours.
-
The Powerwagon looks like a surplus WWII ambulance. I agree w/ Keiser '49 Merc. Since the hubcap is missing, I would give the car 2-3 year of age at least, since a new car owner would never be seen missing a hubcap. It could be a smudge, but there may be a TV aerial to the slight left of the pitch of the top of the roof, so that would probably date it early-mid '50s. I'd guess 1953.
-
I'm not even sure if it's automotive, but it does have a part number S01359. Anyone know what this is?


-
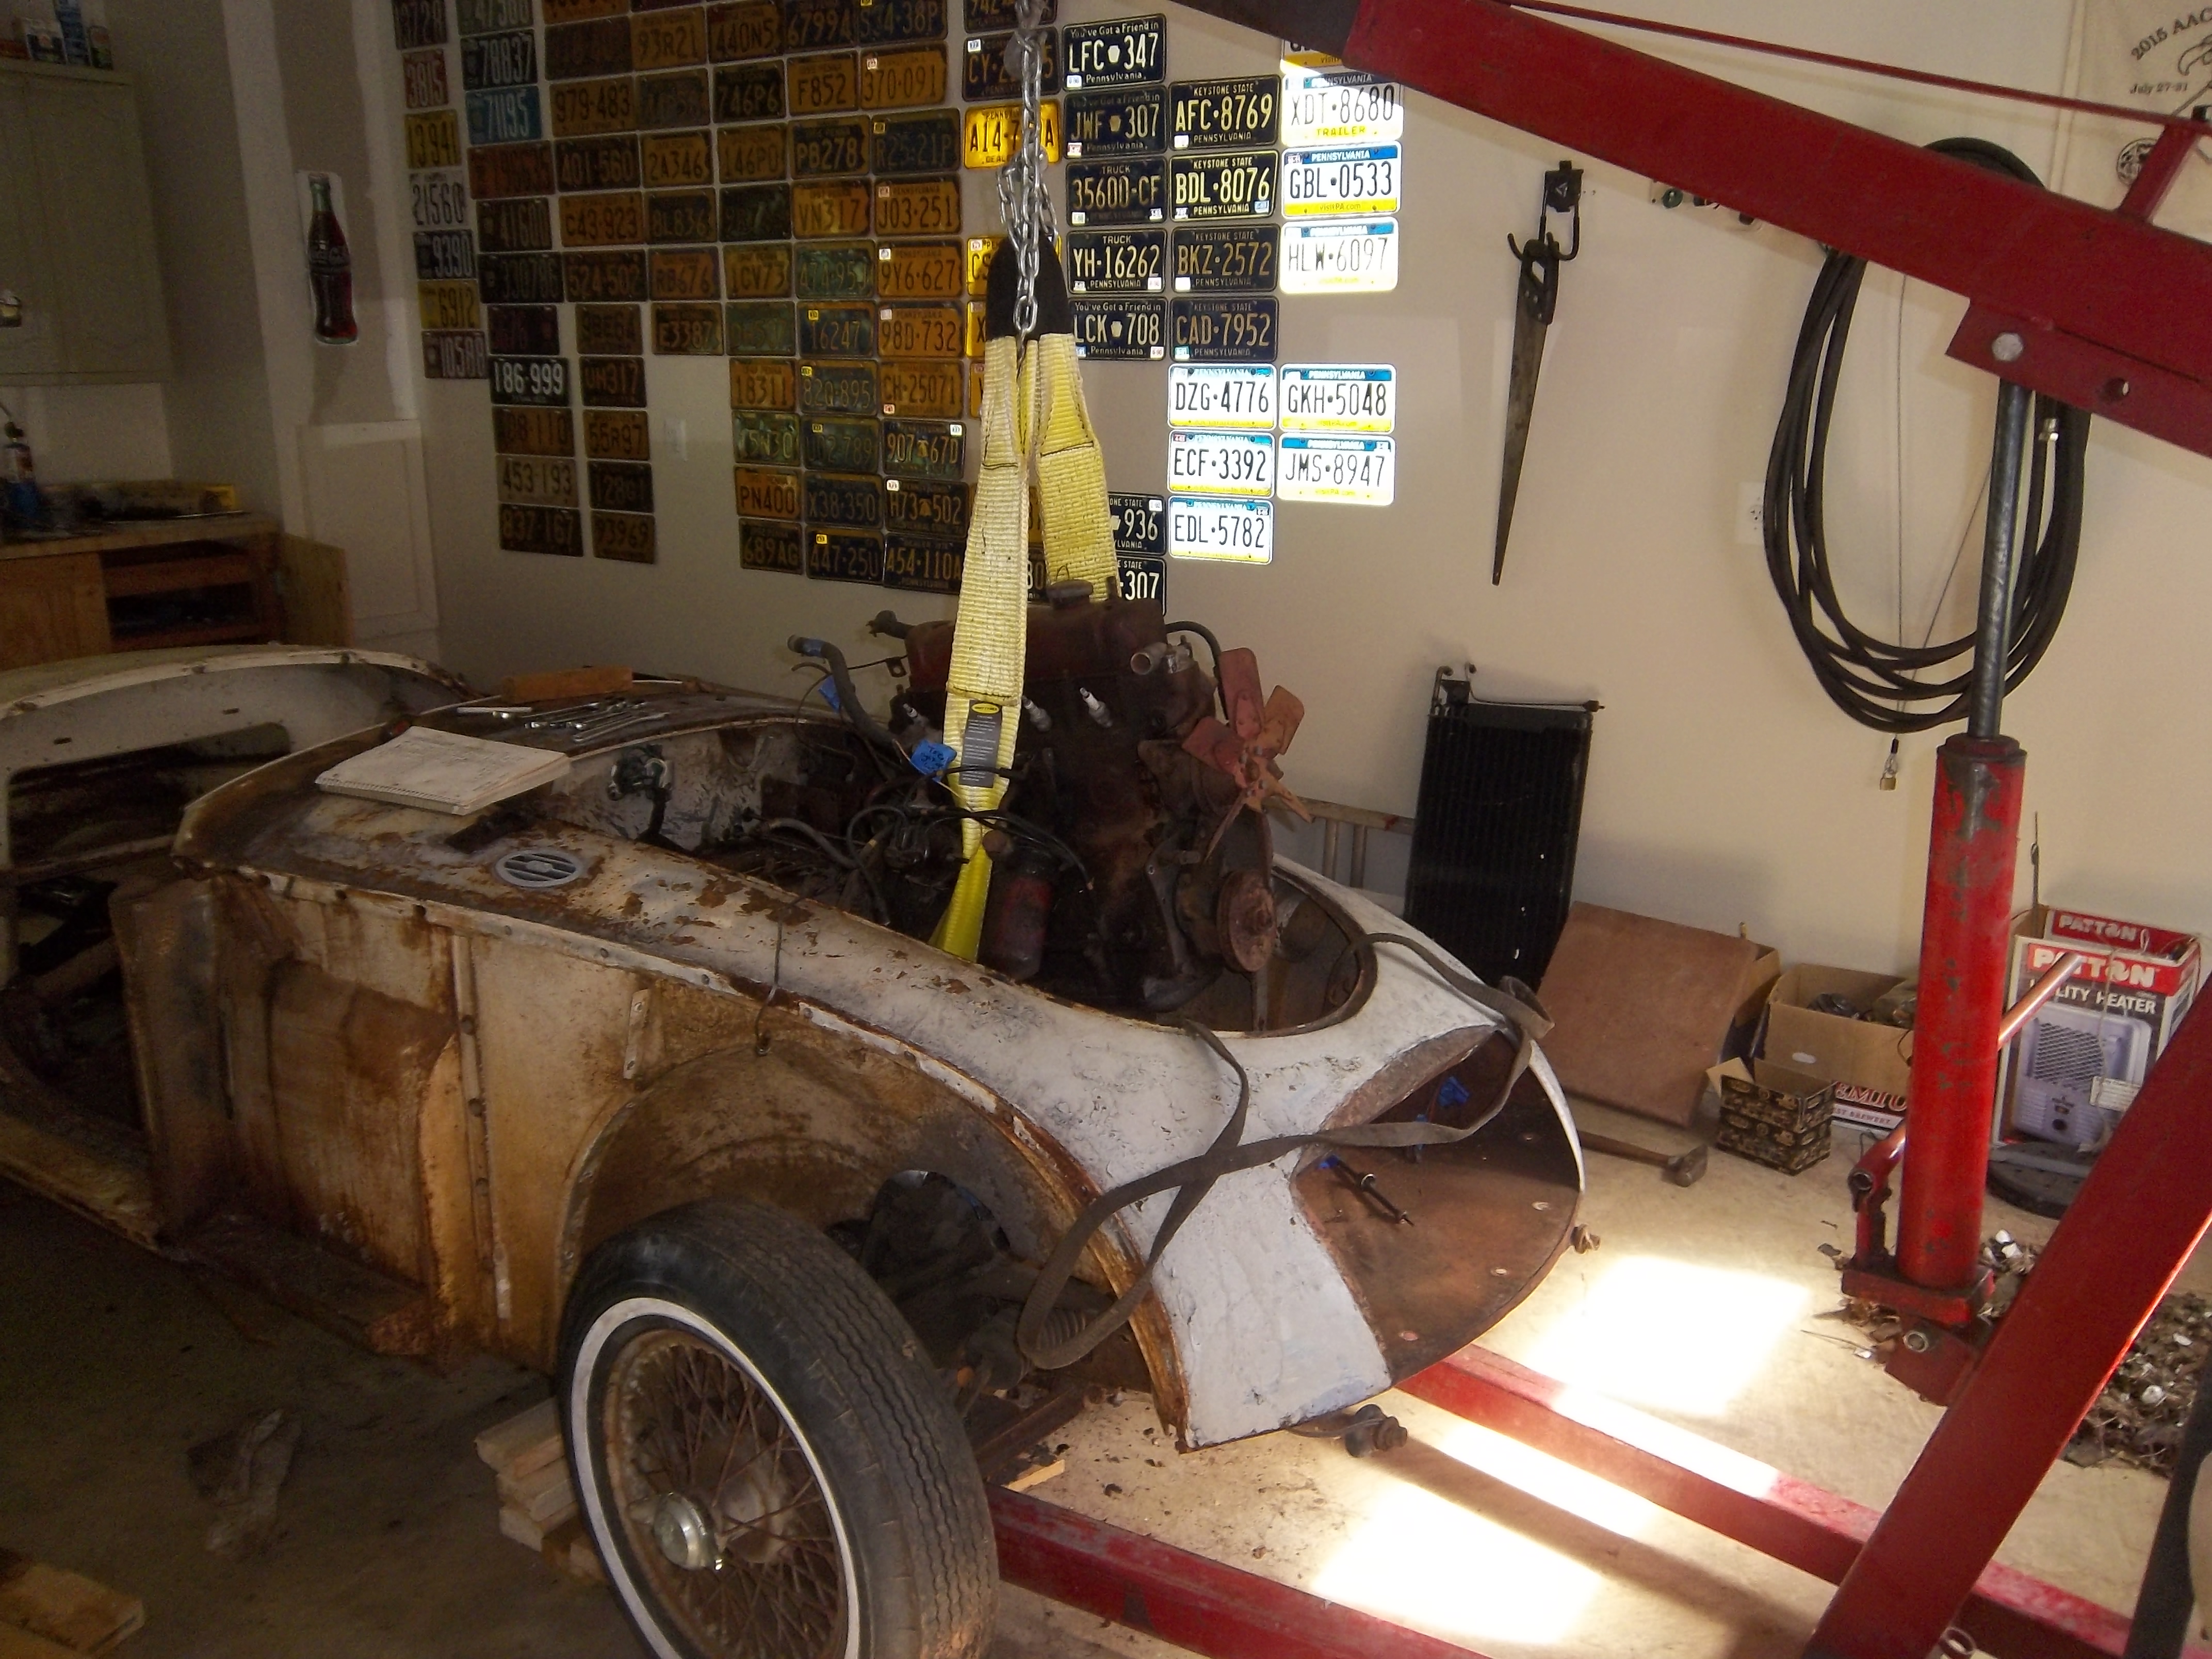
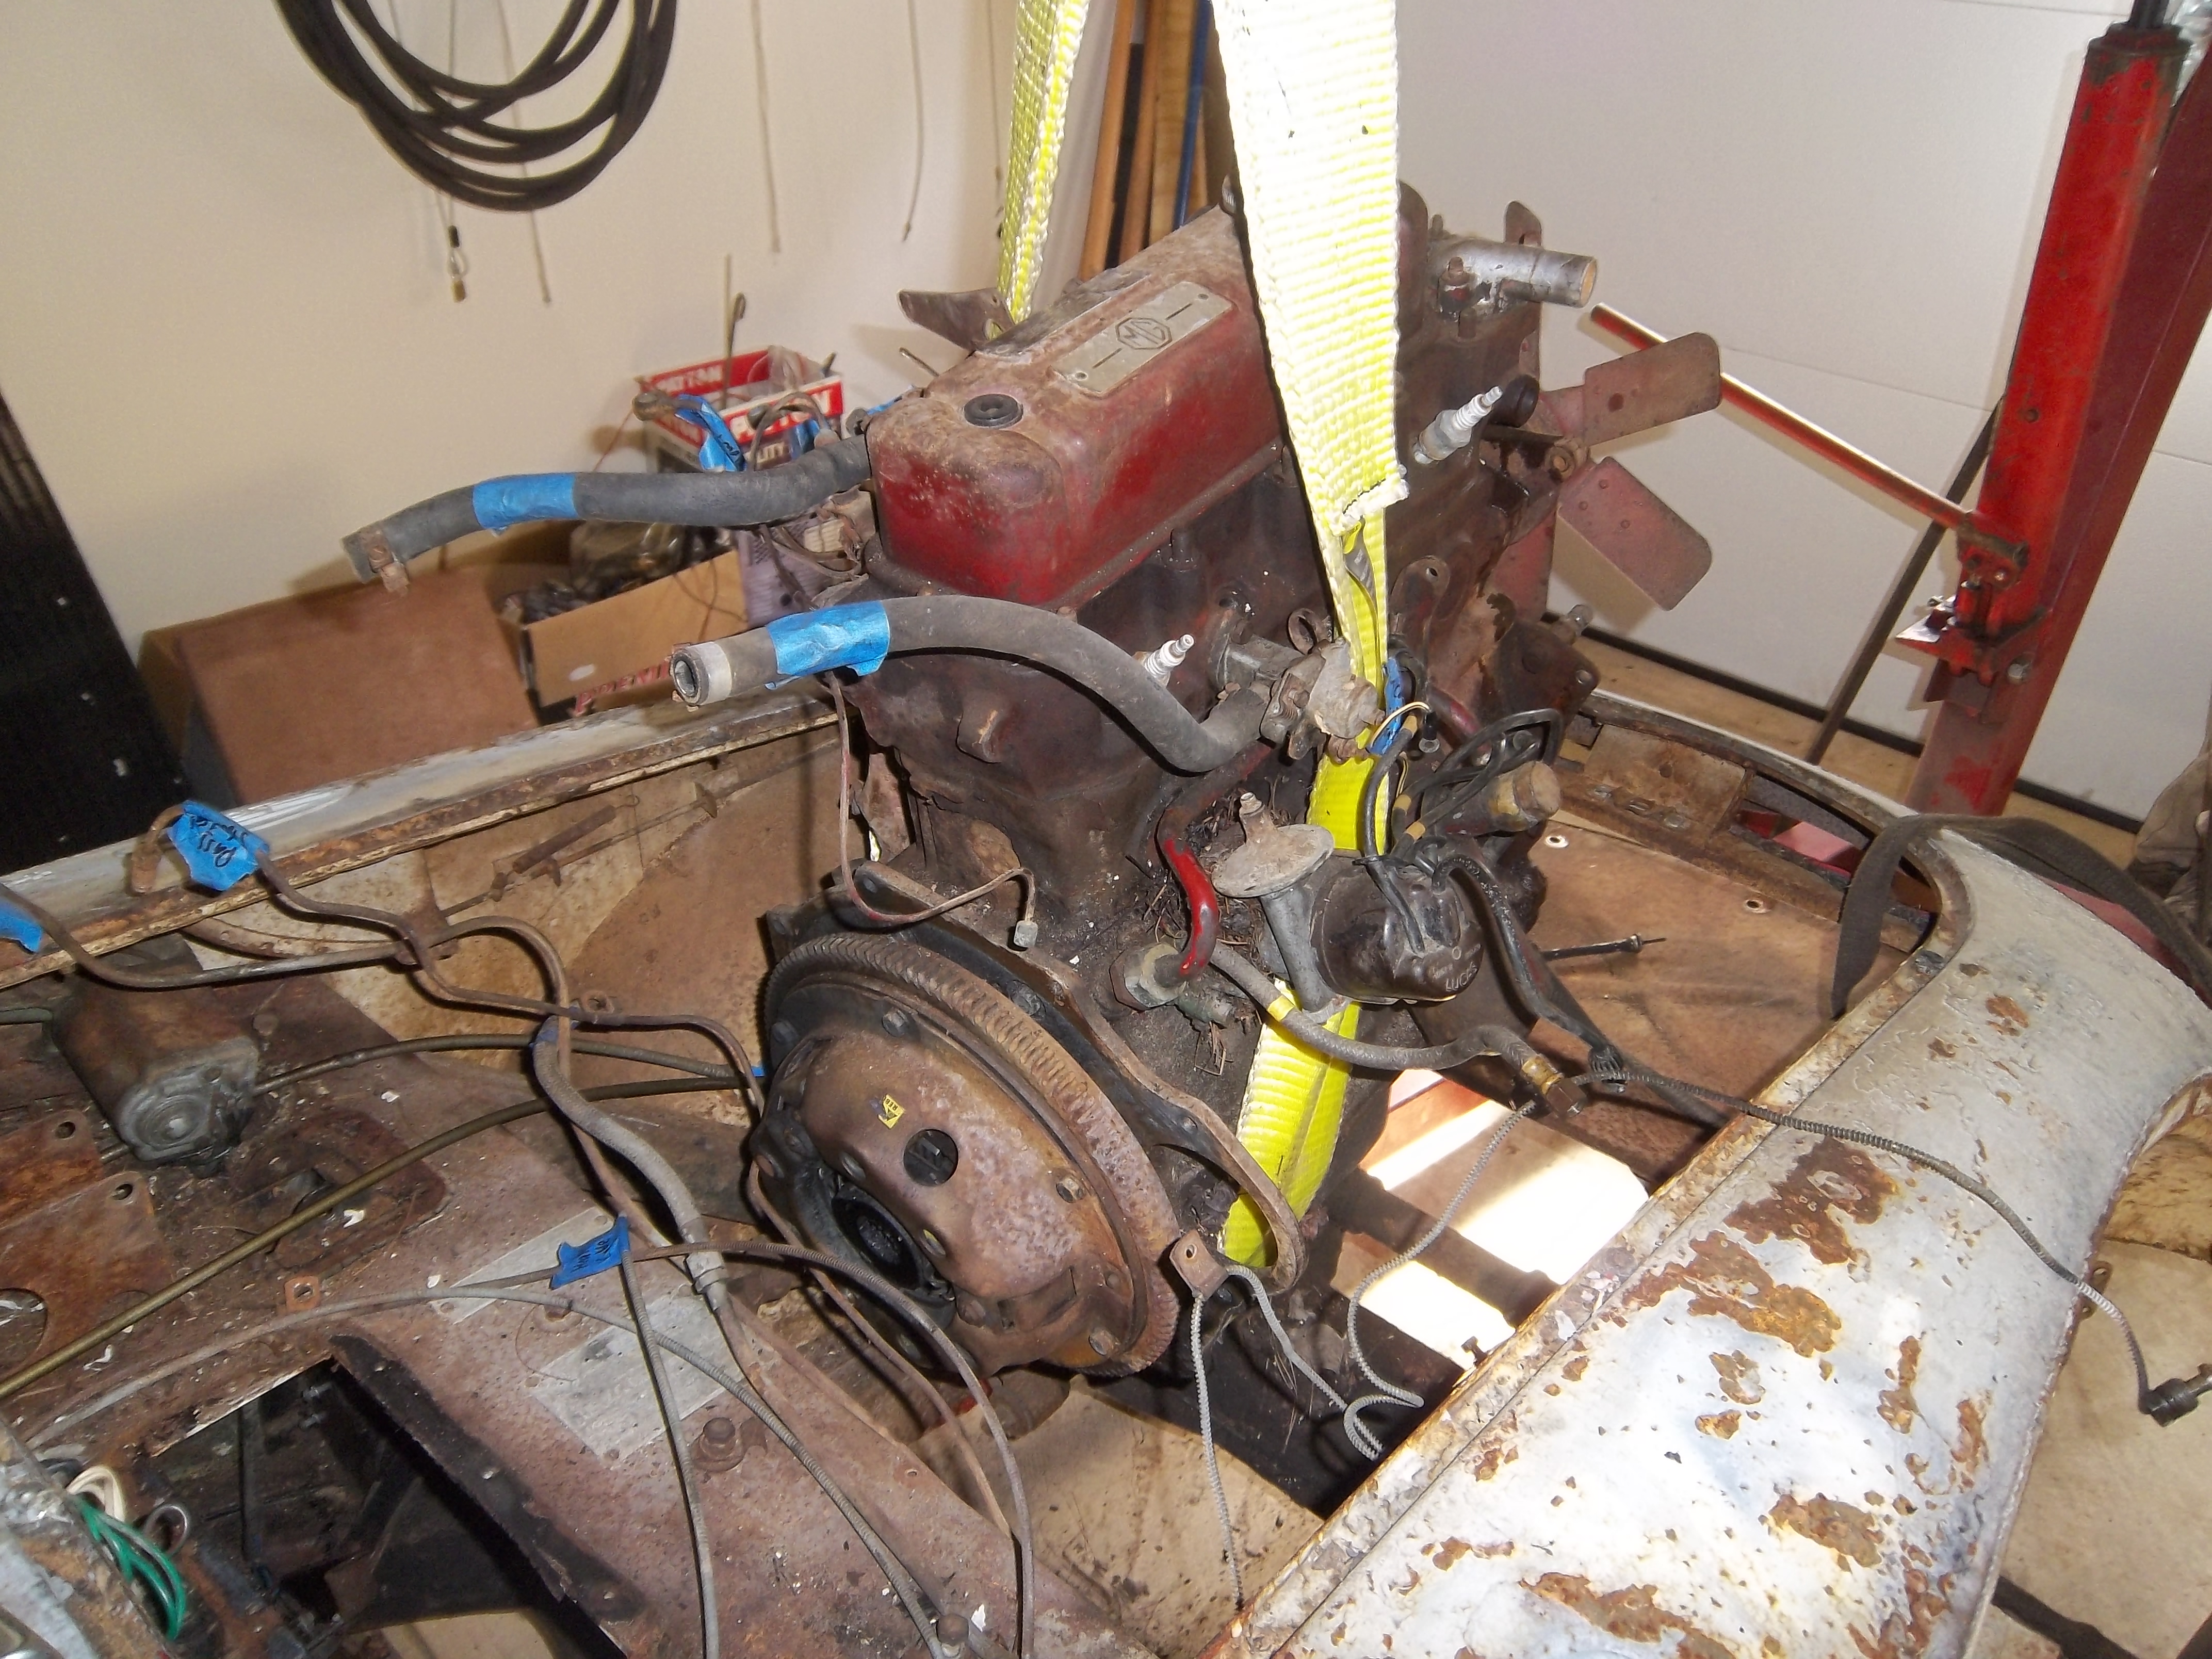
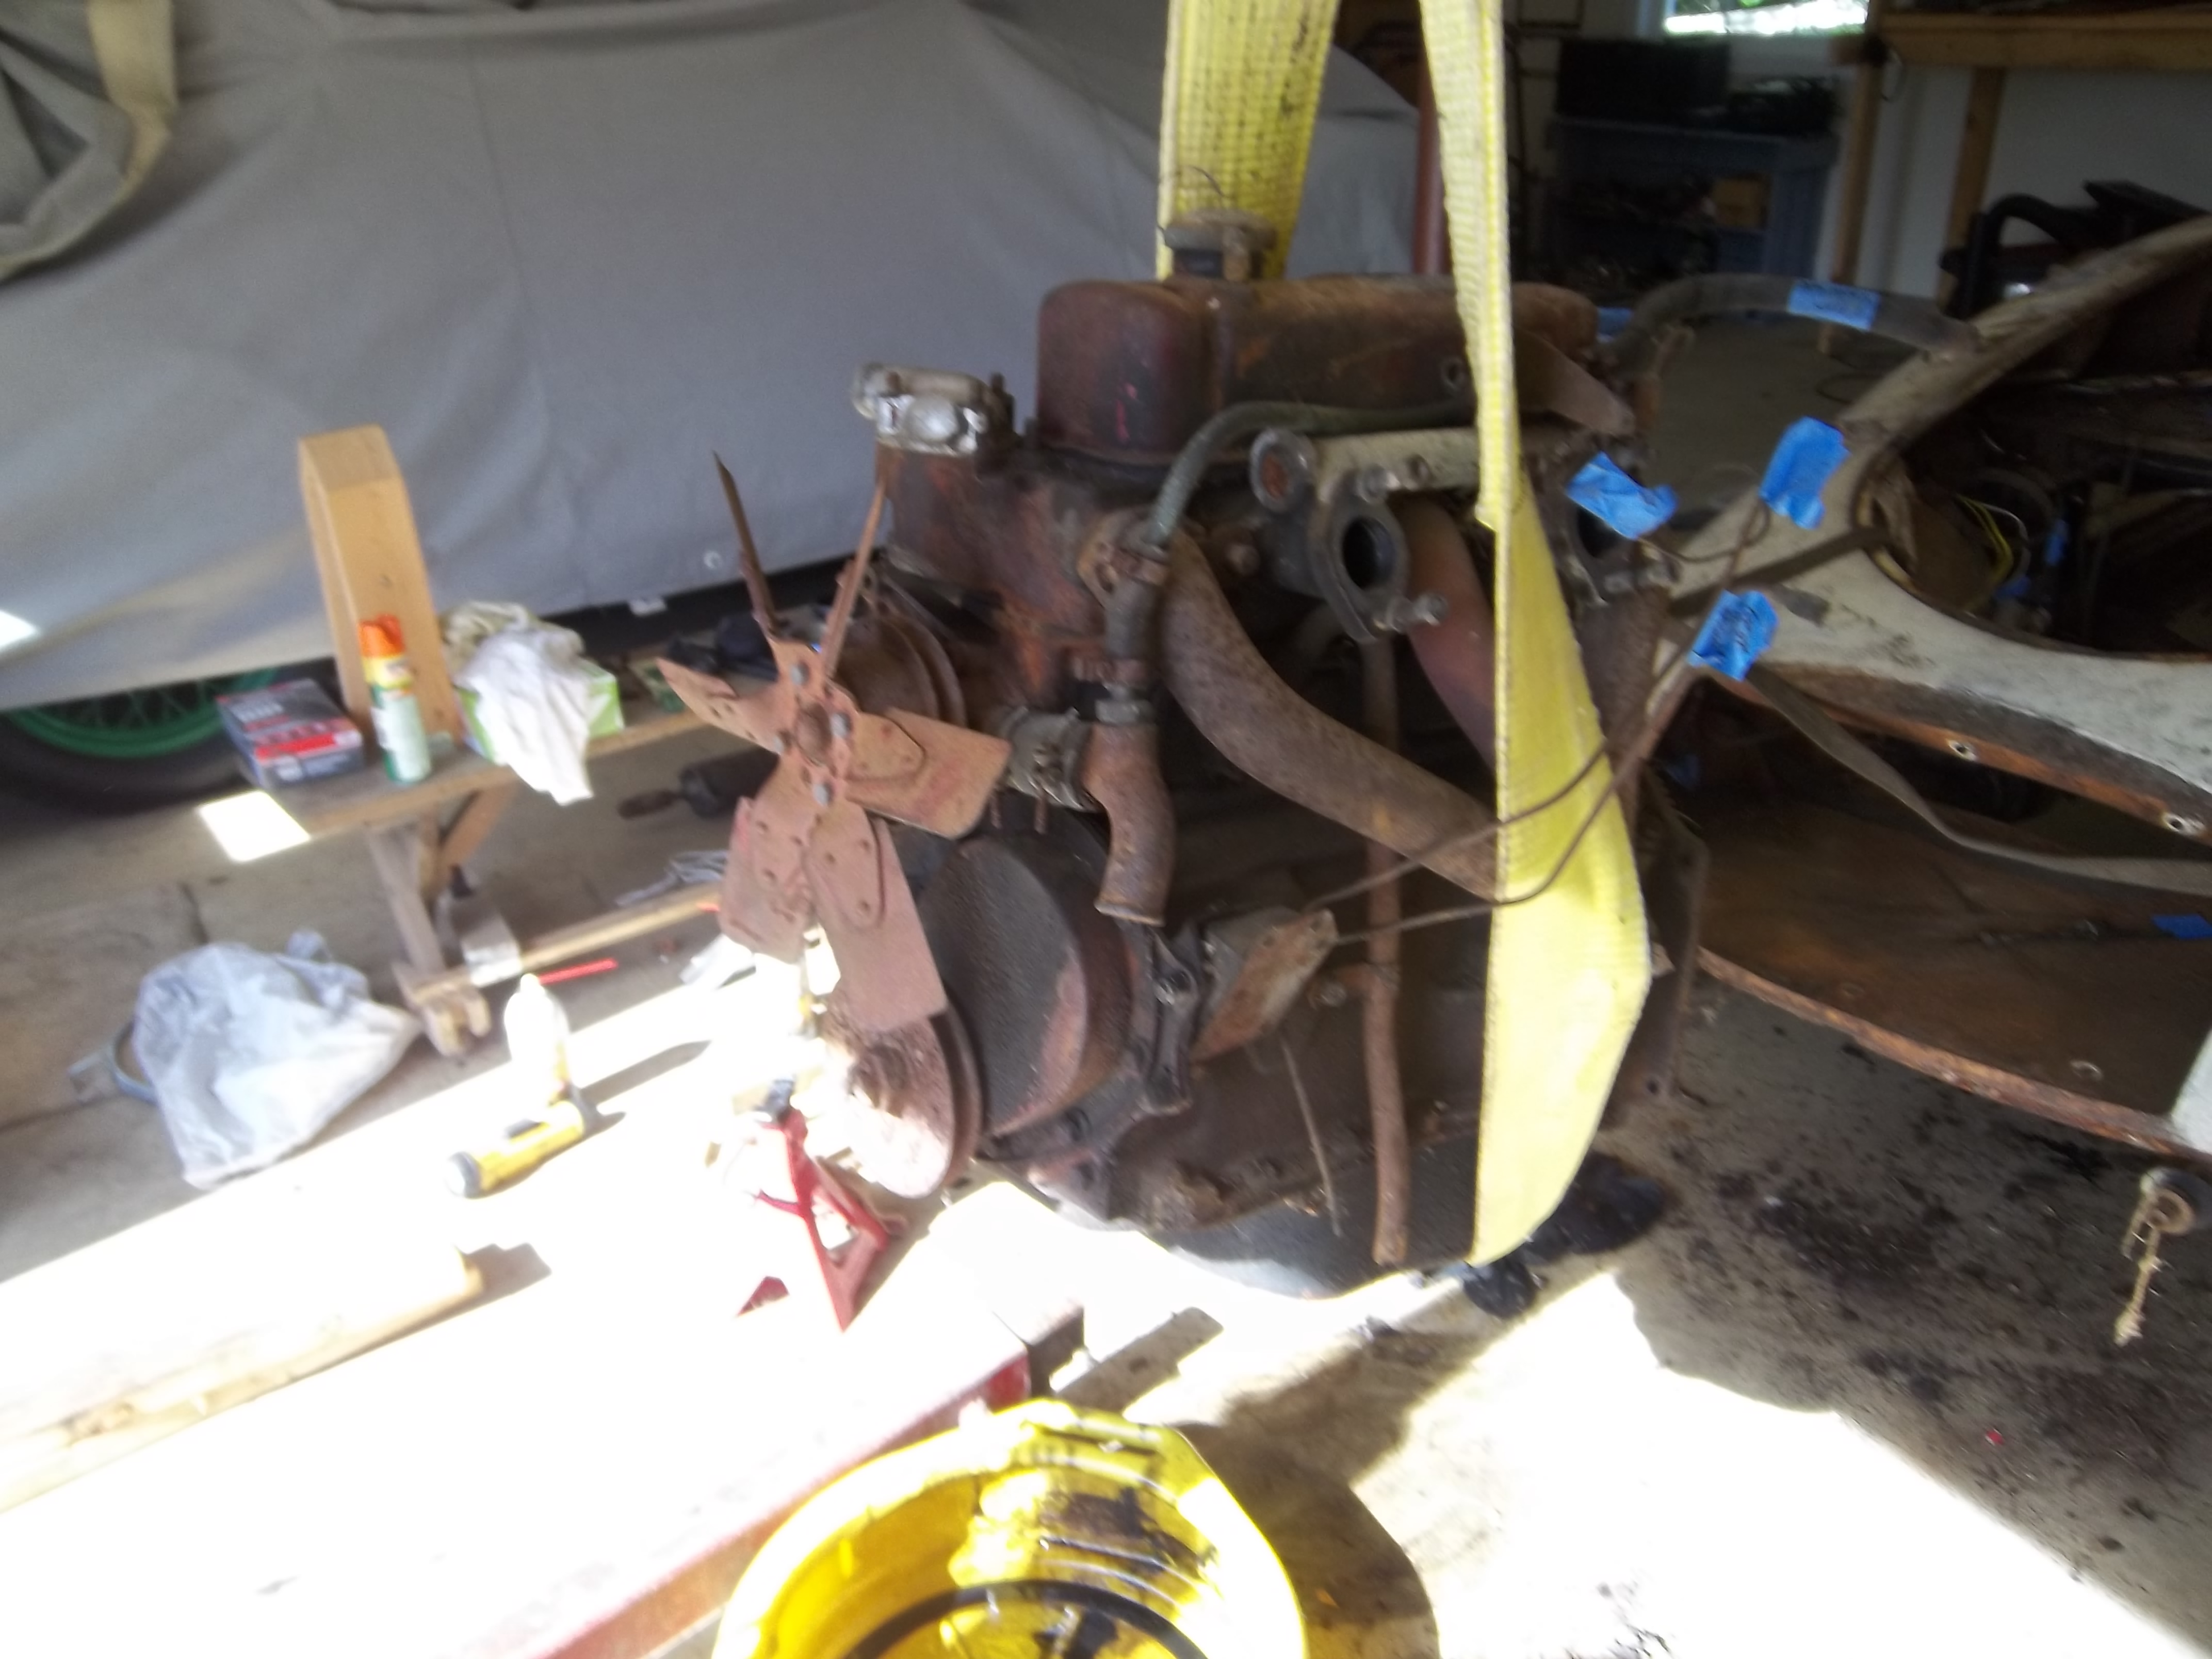
Reached a huge milestone today, got the engine out. In hindsight, I probably should have waited and taken the body off first before I took of the trans and engine in 2 separate pieces, but it was fairly straight forward. Now, back to the body and stripping out the dash/gauges and all the myriad tubes that go through the cowl.


-
Thanks for the advice, I'll be extra careful with it.
-
Been a while since an update, I was on a 2-week vacation. Have the engine all ready to come out, but plans fell through to yank it out yesterday. It will have to wait. Been spending time taking off a lot of misc stuff, like the exhaust hangers, fuel tank straps, rear bumper mounts, windshield wipers, and tonneau cover snaps, among other bits and pieces (photo). Next will be working on removing the gauges and knobs from the dash while I wait on getting my help together for the engine pull.

-
1961 Mercury Meteor 800 restore
hursst replied to Laughing Coyote's topic in Our Cars & Restoration Projects
Your work is really inspiring for the rest of us. Shows what can be done with some patience and attention to detail. The final product will be well worth it and I'm sure you'll be heavily rewarded if you plan on showing it. They should just mail you the Grand National Award now. -
It was 102 today with a heat index of 110. Time to spend all day in the garage. Actually, my garage is about 15 or more degrees cooler, so I was able to work on the MG in relative comfort. I've been working slowly over the last 2 weeks toward getting the transmission out, but haven't had much time until today. I saw on article on the Moss Motors website where a guy took the trans out through the passenger compartment. Seeing how long the trans is and how little room there is in the engine bay, it made sense to me to take it out through the passenger compartment (which I can do myself), then yank the engine straight up when it's ready instead of having to tilt it 278 degrees and stand on my head. Easier said than done, but really no time lost as the whole car has to come apart anyway. Ended up having to take out the clutch and brake pedal assembly, the master cylinder, the clutch slave cylinder, loosen the starter, remove the steering column, remove the accelerator cable, remove the metal portion of the lower firewall, remove the heater, and remove the fasteners from about 10 of the 3,000 cables running from the dash through the firewall/engine compartment (photo 1). With the help of a floor jack, I was able to get the trans high enough up to tilt it so it didn't get caught on the frame structure and so I could grab it and move it out. I was surprised how light it was, as I was able to easily yank it out through the passenger compartment by myself. Photo of the trans removed (photo 3). Aftermath of all the parts removal today (photo 2). I also spent a few minutes examining the wheels. Unfortunately, 2 of them appear to have sunken into the ground at some point for a very long time, so there's a portion at the bottom that is severely rusted as it was probably buried. Judging from the age of the batteries, I appears to have sat for about 43 years, if I did my match correctly, probably in a dirt-floor barn, as it would not have survived outdoor storage. I think I can save the other 3 wheels, but I won't know for sure until the wheels are stripped. Next step will be getting the engine stripped down more so it can be removed.


-
Made some slow but steady progress this last week and weekend. Working towards getting the engine out, but have to get the transmission tunnel out first, but have to get the floor boards out to get to the transmission tunnel. I got all the floorboards out except the upper driver's side one. It's been quite difficult as most the fasteners are severely corroded and must be drilled out. Some I've been able to save, but I must use an impact screwdriver, which is very time-consuming, but want to keep as many good fasteners as I can. It's also been tough working in 95 degree heat. Luckily, I'll be able to save about 1/2 the original floorboards and use the other half as templates for new ones (photo 2), along with parts of the carpet and jute padding which are in good condition. Going to be another busy week, but hope to have the transmission tunnel out soon.


-
Trying to do a little each day and a lot on weekends when I'm around. Got the driveshaft out (photo 1) and am continuing to disassemble the passenger compartment for now. I got the original tonneau cover with the car, but a lot of the stitching is coming apart. Overall, it survived quite well and I think the piece is nice enough to clean and sew it back up, so I'm going to sew it up by hand, a little at a time. Should be easy, since I can just follow all the existing holes. It will take a while, but a good project to do a little at a time at night (Photos 2-3)