

.jpg.191e711d602e121cf9f7b5de3b7948da.jpg)
38Buick 80C
-
Posts
2,769 -
Joined
-
Last visited
-
Days Won
20
Content Type
Forums
Gallery
Events
Posts posted by 38Buick 80C
-
-
4 hours ago, MrEarl said:
Spending some time in Denver here lately are ya?
yup
-
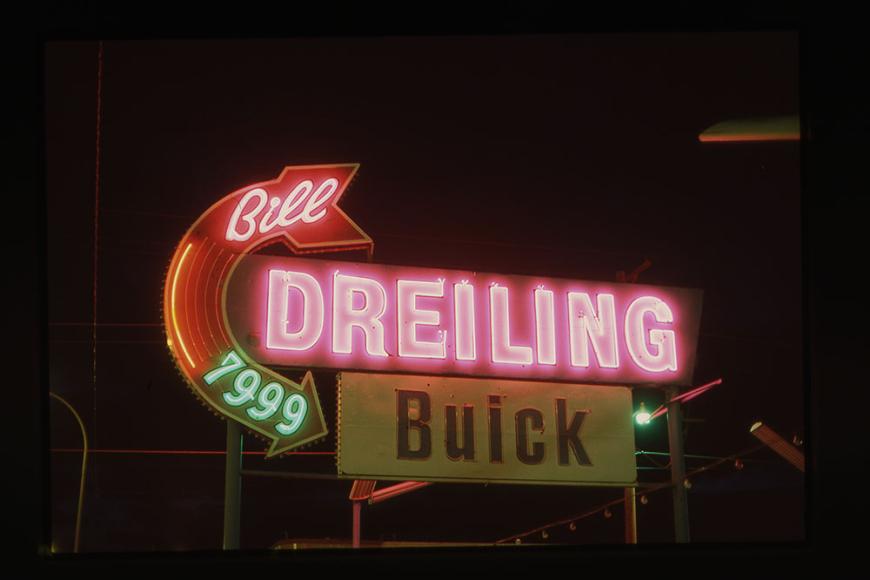
looking for any info on this dealership please
Bill Dreiling Buick Denver/ Lakewood, CO at 7999 W Colfax Ave. Does anyone have any post cards for the store or anything else. just found a handful of pictures from a Google search, but looking for more.
Building is still standing by the way... soon to be another brand 😉
-
 1
1
-
-
4 hours ago, EmTee said:
Those door latches look great! What did you use to restore them?
nothing crazy and nothing to the nines.
I wire brushed them and de-greased them. Then I used 0000 steel wool and mothers polish to clean up the catches that are chrome. I taped them off and then put a coat of Seymour Cast Blast paint on them. that's all so basically just cosmetic clean up is all.
-
2
-
 2
2
-
-
6 hours ago, MrEarl said:
Anybody know name or location of this dealership

Hull, GA
-
2
-
-
-
more clean up of parts today (mostly to get them off the floor of my garage and put up some place safer.
before and after for door latches


before and after for window mechanisms, I didn't go to extremes on these as there was a lot of grease and crud and I haven't re-greased anything just yet


also got the exhaust manifold all apart.

but I have to get the flapper valve functioning again. I've douse it with 50/50 ATF and Acetone.

I want to get the heat riser pipe out of the old center section but so far no luck. The repro's don't have this.

I need to take the two ends to the machine shop to have them turned as they don't fit in the repro center section (likely gone oval shaped as they are prone to do. With that and once I get the flapper working I can take all to a different powder coating place I use for high heat powder coating of manifolds.
I didn't take after photos but also started working on this pile of parts and got a lot of them cleaned up and put away, but several I haven't touched yet.

I really need to get stuff out the door to various shops, 1. I need the room, 2. I need the progress Things will slow down with work and boys soccer and what not kicking back up so if someone else can be making progress that would be good.
-
7
-
-
This morning i was able to get a few bits done.
I cleaned up the bypass housing and made it so the bypass cannot fail. My version that I have used for some time and recommend is as follows. I cut a piece of stainless tubing (any tubing that wont rust out is fine though).

the length is equal to the length between the lower washer /spring support and the upper washer with the spring full extended. I then place the tube over the shaft and as you can see it fits within the spring.


Now the spring cannot collapse rending the bypass unable to fail and forcing all the water to run through the radiator. yes it takes a little longer to warm up but I don't plan on a lot of winter driving.


I also dissembled the master cylinder so I can send it out for powder coating. It appears to me it may already have been re-sleeved as it looks like a brass material in the bore and I don't recall brass being in my 80C's master cylinder. Once it is powder coated I will rebuild it and mount it to the trans for safe keeping.

-
4
-
-
Today I decided to focus on making small things ready to go back on the car.
The details like cleaning and painting the bolts for reuse.

I also put the torque ball and mounting bracket on the trans. I loosely bolted it together and no seals or gaskets yet. Just more about having it all together keeps things tidier and less chance of loosing things.

I am quite certain both of these (master cylinder mount and pedal mount) will have to come back off at some point, but for now they are out of the way and bolts are cleaned and painted too. (and if you look closely you will not the speedo gear installed)

steering linkage guts cleaned and reassembled.

hood latch mechanisms cleaned and painted

I cleaned up the engine breather tube slightly. I left it this way as I wanted to picture the green over black paint. I've seen this tube painted both colors on well restored cars. On my 80C I did it in black, but I've seen many green tubes as well. Anyone know for sure. I'm leaning towards black since most bolt on parts were black and this is definitely bolt on.


-
2
-
-
No huge progress today but lots of little things, no photos though
Prepared some more stuff for powder coating.
Also got the steel core for the front motor mount unstuck. Now all 4 motor mounts can go to Steele for revulcanizing.
Called the machine shop(s) to see about getting my block and crank in. My preferred shop can do all the work but turning the crank (it's simply too big for their equipment), but they are 2 months out. The shop I used for the crank turning on the 80C is open but didn't give me a lead time. I need to borrow/rent a truck as well. Will do this after the new year I guess. Got to order the valves, springs and guides too just to make sure they are new and in good shape.
The local stainless polishing shop is backed up 6 months and won't even accept my work.
Gonna put the rest of torque ball together too I think...
I think that's about it for today.
-
3
-
-
Then I went back to the trans having found the gasket kit and attaching the rear, well I don't know what it is called, speedometer gear housing / front of torque ball. I gave it a fresh coat of satin black, but will ahve to find some green and cream paint to dab on it at a later date. I'm quite pleased with it. I need to start bolting some other bit back on to it soon.


I also cleaned up the hood catch mechanism. I'm guessing this should be a cast grey color, but if anyone knows I'd be curious.

finally the last thing I took a photo of was the disassembly of the hood side louvers. I didn't go this far on the 80C and these were so rusted out I figured I couldn't make them worse so I ground the rivets out and took the louvers apart from the stainless. it would seem the rivets were integral to the stainless and not separate rivets. That might prove difficult in putting them back together. Regardless I need to get another set of louvers so I may have taken these apart for no reason but to learn for future.

I goofed around with the steering column some more but no notable progress.
I received by bore measuring device but haven't tried it yet, but regardless I need to get the motor parts and pieces out the door to the machine shop to see what I have got and then place an order for new rings, insert bearings, possibly pistons. etc. etc. I'd also like to get the stainless out for polishing and a few other things. Tomorrow and Thursday I cant spend the entire day in the garage, but maybe I will get to do a few things.
-
6
-
-
Today I had another good day's worth of progress.
Lets start with the motor.
First i took off the last few bits and pieces off the exterior of the block, brass fittings and what not. Also removed the timing chain, cam gear and front motor mount plate, but first i took a photo of TDC so i have documentation of the too dots on the gears (both on the right side)

Then I checked via plastic gauge the #2 rod bearing. it appears to be out of tolerance at .002 with the book stating the max is .0018, it babbitted with shims


Here are a few other shots of some rods, I'm guessing I will be having the crank turned.


No pictures of the mains.
Took the crank out, which was my arm work out for the day. It only weighs as much as a modern Hyundai.
Next to come out was the cam and then all the lifters here are a few shots of the cam.


and the fruits of my labor:


-
3
-
-
well @lancemb jinxed me...cause I made no progress for weeks and guy at the shop got sick and is behind then a quick cold didn't help me either. its all your fault... just kidding.
The good news is I hit it hard today. Actually since the whole family had a cold we cancelled our travel plans so I have an unexpected week to work on the car and I am going to try and make the most of it.
Today was transmission day mostly. My goal was to rebuild one... which of course would be a major milestone since it would mean I am now putting things back together instead of just disassembly.


but first disassembly. It's been 15 years or so since I rebuilt the one on the 80C so I glanced through the shop manual and recalled a few things. Things mostly came apart fine. I did manage to damage the thrust washers on the counter shaft anyone have a source for the steel one?

Once apart I cleaned up the case really good and found green marks just like i did on the 80C, 2 instead of one and not quite as liberally applied as the one on the 80C. Also found a cream mark on the top and there may have been red marks as well but they didn't stick around with the cleaning process so not gonna worry about it.


With the thrust washer killed I decided to rip apart the spare trans I had (which I also planned to rebuild for another reason). So it really was transmission day as I completely dissembled that one as well and cleaned the case on it as well. I stole the thrust washers from it for the rebuild and reassembled the trans that came out of the 87 all the gears looked good and I installed new repro bearings from Bob's. I will need to order new bearings for the spare trans and find the replacement steel thrust washer before I can reassemble that unit.
spare unit before tear down

I need to find the gasket set I bought so I can reassemble the torque ball unit and give it a coat of black paint, but that will be later this week.

I did also wire brush the steering box some as well as i am trying to get the last of the really nasty dirty parts cleaned up some.

Goals for the rest of the week are to check the engine out thoroughly and determine if i need to bore the cylinders and turn the crank, plus general disassembly of the short block.
-
6
-
-
51 minutes ago, DonMicheletti said:
There is an oil pressure switch on the oil galley. What was that connected to?
It was part of the electric fuel pump. no oil pressure no fuel pump (one setting of 3) for safety. Other positions were off and on (for priming).
-
1
-
-
Now to begin checking tolerances and determining next steps on the rebuild. Been a long time since i went through a motor...the 80C was the last one some 15+ years ago. I didn't really touch the 69 Charger as it had been rebuilt and just had a cosmetic restoration for the latest rework of the car. The 30 Buick had never been run so it wasn't touched either. We will see how out of practice I am.
-
1
-
-
not much activity today in the grand scheme of things but I accomplished my main goal for the weekend.
The motor is not mounted on the stand.

I also pressure washed it, the bell housing and the trans to get some the major grease off.

found what appear to be potential original factory inspection markings on the block...Can anybody confirm?


-
I checked the parts book. Apparently the louvers are the same for all series in '38. Just the name plate changed. That's good. I can find some better louvers.
-
2
-
-
got a variety of small task accomplished today.
removed the louvers from the engine side panel. Found some bad news on those as they were rusted and bondo'd. I thought i maybe the Special just had less louvers but no they have the same count which I am assuming means they are smaller. I will have to check the parts book or if some has a special and cant take a measurement. assuming Special louvers are different i will have to repair the existing as chance of find Roadmaster ones are non-existent. I removed the stainless from the middle too, which are covered in paint so that will be a fun task to clean those up, probably going to let the polisher handle.


Prepped a bunch of parts for the powder coating place, so those will go out next week. (photo further down of all the stuff in the cardboard box)
The other major progress for the day was getting the trans off the bell housing, disassembling the torque ball, and the getting the clutch off the fly wheel and bell housing off the block


Tomorrow I want to get the block on the stand and begin checking tolerances to see what machine work I need to have done.
I ordered glass for the car this week and I spoke to the shop. The shop owner has had some health issue so hopefully he will be caught back up soon and can take the car in and separate the body from the chassis and send both next door to the media blaster.
-
3
-
-
That's a shame.
I served with Chuck on the BCA BOD, in fact I recruited him to be on it. Also we worked side by side on the Springfield National Meet that he chaired. Great man and great Buick man. Fascinating career at Wal-Mart too. Since coming off the BOD we'd chat from time to time but hadn't seen him in some time with COVID and all. Will miss him.
-
A couple more photos for your use. And yes looks like it was off the bell housing


-
1
-
-
6 hours ago, EmTee said:
Brian, do (or did) any of your '38s have an exhaust bracket on the front exhaust pipe that attaches to somewhere on the engine block? I see a picture in the shop manual that shows one and states it is for all except the 40 series. My Model 61 doesn't currently have one, but I'm thinking about making one based on the sketch in the shop manual. I'm not sure where it attaches to the engine though... I'm guessing it attaches to the outermost clutch cover bold, but would like to confirm that. A picture of the bracket would be great if it's handy, but not if it's packed away. Any info you can offer is appreciated -thanks!
If you look closely at the pictures above noting the mistake on the repro exhaust you will see the bracket in question on the "original" exhaust front section. My 80C did not have one, I have never seen another one but this one. I don't have a good photo of where it mounts but I beleive it was more to the bell housing for the flywheel then the engine but it may have been to an oil pan bolt.
-
1
-
-
That totally ran when parked!
-
1
-
 2
2
-
-
1 hour ago, DonMicheletti said:
I see there are brackets in the trunk for the shelf. Did the car originally have side mounts?
I have wondered if cars that came eoriginally with side mounts had the trunk shelf too?
What is the story?
No it did not have sidemounts.
-
8 hours ago, dship said:
From what I'm seeing in your pic's, the floor and trunk pans look to be in very good shape. BTW, I enjoy reading about your progresses on all of your restorations....thanks
There are definitely some opportunities in various spots. Media blasting will show the worst of the worst but from what i see i have metal replacement needed as follows
1. cowl vent area
2. bottom of the cowl left and right ( along with wood rot replacement
3. front floor boards... pretty much though-out
4. rear floor boards at dog leg
5. below the rear window
6. I think the trunk area is well hidden but i expect media blasting will show the area in the tool tray will be in need of attention.
-
8 hours ago, EmTee said:
Brian, is that chrome gas cap original? I have the same one on my Century and I was assuming it was aftermarket. If so, it's interesting that they'd use a chrome cap when it's hidden in the fender...
That's a Bob's repro (or comparable to) though I didn't buy it, was on the car at time of purchase.
-
1
-


Carolina Roadmasters: Collect all 4 - '38 Roadmaster Model 87
in Me and My Buick
Posted
i had to go look to understand it myself but it would seem the red are two seperate rivets that just happen to be on e on top of the other. the red with yellow arrow moves, but you can just barely make out another piece below it it sandwiched between the moving part and the overall latch housing. that doesn't move and is the other rivet you are seeing in the green arrow'd latch opposite side.