


Gary W
-
Posts
1,058 -
Joined
-
Last visited
-
Days Won
14
Content Type
Forums
Gallery
Events
Everything posted by Gary W
-

1937 Buick Model 48: RESTORATION HAS BEGUN! (Photo)
Gary W replied to Gary W's topic in Buick - Pre War
Please check out my work here. I think it looks about right. I guess I won't know for sure until I build the top end and follow the book, but I think I'm very close now: Same photos...just turned on it's head so it looks more like the book. I'm working upside down.


-
1937 Buick Model 48: RESTORATION HAS BEGUN! (Photo)
Gary W replied to Gary W's topic in Buick - Pre War
I better double check that. I had the book out, counted the links and put a dab of white paint to make it easier to line up but working on the block upside down and feeling the tappets move.......trying to make sense of it all when 1 is on its power stroke and both valves are closed.... I'll look at it again. Thanks for the "heads up"! -
Very nice work! Thanks for posting. I'll be tackling that job this summer. So what exactly is it that the vendors sell?
-
1937 Buick Model 48: RESTORATION HAS BEGUN! (Photo)
Gary W replied to Gary W's topic in Buick - Pre War


-
1937 Buick Model 48: RESTORATION HAS BEGUN! (Photo)
Gary W replied to Gary W's topic in Buick - Pre War
Back in the garage today to continue building up the engine: Installed the rings on the pistons, Heavily oiled the grooves, Compressed the rings, Greased the rod bearings with the moly lube, Oiled the wrist pins Inserted the pistons into the block and Torqued the rod cap down to 40 pounds. Repeat seven more times! ( I Didn't finalize the cotter pins yet, going to re torque tomorrow.) Dismantled and cleaned the oil pump. Timed the engine and installed the timing gears and chain. ..I tried to upload photos but I'm having trouble tonight. Haven't encountered any upload trouble before. -
1937 Buick Model 48: RESTORATION HAS BEGUN! (Photo)
Gary W replied to Gary W's topic in Buick - Pre War
Today I'm absolutely sick to my stomach. I wrote on a previous thread that I would take a lot of the chrome parts locally to reduce the cost, but I will spend to have the grill, headlamp rims, hood vents....the centerpieces of this beautiful automobile, all chromed at one of the professional shops. So, after weeks of research, phone calls.... I decided on Paul's Chrome Plating in PA. Their staff is really great, and explained everything so I sent my grills and other parts via UPS. Today, Dawn at Paul's Chrome sent me photos of the damage. UPS dropped the box, or dropped something on the box, and BROKE BOTH MY GRILLS! And I had everything double boxed, extra padded..... I can't imagine the weight that had to have dropped on the box to do this much damage! My stomach is churning.


-
1937 Buick Model 48: RESTORATION HAS BEGUN! (Photo)
Gary W replied to Gary W's topic in Buick - Pre War
The answer to both 1 and 2 is no. The car ran very very smooth. She let out some bluish smoke on acceleration, and you could faintly hear the wrist pins when it was idling. Other than that, it was a very good running engine. I had to pull the engine to replace the flywheel ring gear and the throw out bearing. I figured it needed rings, and found a cracked ring in #2. also, to fix the wrist pin noise, I decided to get new pistons. But the crank, cam, rods.....all in great shape. I didn't feel the need to have everything magna fluxed. 3. The block: The block is standard so I wanted to keep any machine work to a minimum. I figured no one can bore it as good as Buick did 80 years ago so I used a hone on an electric drill to simply "deglaze" the cylinder walls. A ridge reamer was used to remove the carbon from the top of the cylinders. I bought a set of standard 1938 "domed" pistons and there is enough clearance. The head: my local machinist removed the original valve guides and installed the new ones. I bought all new valves but re-used my springs, keepers... as all that stuff is all in great shape. So very minimal machine work was done, although it is a complete rebuild of the engine. Aside: My piston rings arrived tonight so Ill be installing the pistons in the block saturday, putting the oil pump in and the pan on and then moving on to the top end. -
1937 Buick Model 48: RESTORATION HAS BEGUN! (Photo)
Gary W replied to Gary W's topic in Buick - Pre War
Today I cleaned the tappets. One at a time and kept them labeled 1 through 16 so they go back in the same place they came out. I'm still waiting for my new piston rings, but I did hang the pistons. I started by first sliding the wrist pin and bolting it in the proper position. Then I marked that spot to make it easier to line everything up when installed. Those parts are tight and don't rotate so easily once in the rod. It made it much easier when sliding the pin in place.


-
1937 Buick Model 48: RESTORATION HAS BEGUN! (Photo)
Gary W replied to Gary W's topic in Buick - Pre War
So my next step was to assemble the pistons. I bolted #1 piston to #1 rod with NO rings to check the clearance of the '38 style "domed" piston to the head. There is room so I was quite relieved. I checked the ring gaps and they were within spec. So then moved on to installing the rings. #4 ring went right on. The three-part oil ring in the third groove also installed easily. Then came #2. The Grant rings are so hard, that when I spread it, it immediately cracked in half! So, I tried another and BANG, another ring split in half. And then the third one cracked. I successfully installed one using the ring compressor, and by putting the ring on the outside, and sliding the unit over the piston, it slid right into position. Needless to say, it was a disappointing end to a great day. So I ordered new Hasting rings, and am waiting for them to arrive to finish the pistons and install them in the block. So I primed, sanded and painted the pan and the flywheel cover gloss black and called it a day.


-
1937 Buick Model 48: RESTORATION HAS BEGUN! (Photo)
Gary W replied to Gary W's topic in Buick - Pre War
Started building the engine Saturday. Rechecked all rods and mains with plastigauge to make sure everything was in spec. Everything checked out nicely. (.002) Smeared assembly lube moly on the cam bearings and inserted the camshaft. Then treated the main bearing surfaces to the same moly-lube, and the center main thrust surfaces. Oil holes were pumped with motor oil. Once the crank was set, I torqued the four forward main caps to 80 pounds. (IS THAT CORRECT?). Then the flywheel housing bolts have to be attached before the rear main cap in installed. Put new seals in the rear main, and again, inserted the rear main cap and torqued it down. Bolted the flywheel on (I was really surprised it can be installed in 6 positions! I thought because the timing marks are cast in the flywheel that the holes would be offset so it would only go on one way.) by putting the #1 rod journal at it's TDC position, and bolting the flywheel so the ADV.... shows through the flywheel housing hole above the starter. Pressed in the pilot bearing, installed the clutch disc and pressure plate (it was marked with two punch marks) and new throwout bearing.


-
Good for you Dave! I would be sick to my stomach if I dented the fender....I'm glad things worked out for you!
-
1937 Buick Model 48: RESTORATION HAS BEGUN! (Photo)
Gary W replied to Gary W's topic in Buick - Pre War
The next nasty job was the complete cleaning and degreasing of all the engine parts. I took a day and many gallons of thinner and gasoline, and by washing, scrubbing, air dry and doing it all over again, the parts started cleaning up. Back breaking work! Once those parts were cleaned, I polished the crank journals and mains, and the cam shaft lobes and bearings. I used a rope, and starting with a 400 grit automotive paper, smoothed out the surfaces. Then did the same with 600, and finally finished with a 1500 paper. The surfaces polished up great! I got new pistons (1938 "domed" style), and new valve guides and valves. My local machine shop installed the new valve guides, and the head is now ready to be installed. So the next move is to begin engine assembly!


-
1937 Buick Model 48: RESTORATION HAS BEGUN! (Photo)
Gary W replied to Gary W's topic in Buick - Pre War
The past couple weeks I entered that phase of the restoration where you are constantly working, but it doesn't seem like you are making any progress. But it is work that needs to be done. So, I've been stripping the seats, removing all the fabric, batting, cotton wadding, burlap and........of course............mice. The mice created a mouse condo in every spring coil! Gross work, wear gloves and a mask to protect your lungs.


-
You are very welcome! I bought my first Buick just over 3 months ago and for sure was a "newbie". But I found very quickly that with the help on this forum, the Buick Shop Manual(s), and a couple knowledgeable friends, your learning curve is very steep! Honestly, you'll have the tank out in about 30 minutes tops! It's not a tough job. Good Luck and have a great day!
-
1937 Buick Model 48: RESTORATION HAS BEGUN! (Photo)
Gary W replied to Gary W's topic in Buick - Pre War
Today I got a few hours to work on the engine: First, I used a 1000 grit paper to polish the crankshaft journals. Next I used a 100 grit with a heavy block of wood to clean up the head Then, using a valve spring compressor, I removed all keepers, springs and valves Then deglazed the cylinders using a hone on the electric drill Everything was mic'd by the machinist. All bores are standard, crank journals are 10 thousandths under, all mains are standard. All bearings have a .002 clearance so I'm comfortable using the same inserts. Then the backbreaking job of cleaning all those parts. and cleaning. and cleaning....... It took almost an hour to remove the pan gasket! I don't know what kind of adhesive was used! I'll place the order for new valves, guides, pistons, rings......Monday morning.


-
Removing a 1937 Buick Fuel Tank ..... Accessing the fuel tank sender unit: This is how I did it: (Same sequence with photos) With the car still on the ground: 1. Drain the fuel tank into a suitable container by removing the 9/16" plug from the bottom of the tank. 2. Once you have (or think you have) most of the gas out, replace the 9/16" plug lightly as more will come out as you turn the tank to drop it. 3. Remove the gas filler neck and rubber fender grommet. (Originally you would unscrew the "extension" that protrudes out the fender from the tank filler pipe. My car's filler pipe was cut and the previous owner simply used a heavy duty hose and clamps to attach the two.) 4. Release the bayonet base wire (sending unit wire) in the trunk and pushed the wire through the hole and rest it on top of the tank 5. Remove completely the fill pipe support clamp from the chassis and the fill pipe and slide it off. Jack the car up at least a foot, and securely set jack stands under the frame by the rear running board support irons. Chock the front wheels. 6. Disconnect the fuel supply line from the front of the tank. Need a 9/16" and a 1/2" flare wrench 7. Remove the gas tank support straps using a 9/16" deep socket 8. Tank is now loose and ready to drop (If it has't already!) 9. By pushing the drivers side up and forward you can carefully turn the tank and it will come down. 10. There may be a dedicated ground wire attached to the base of the sending unit. If not, you may consider adding one before re-installation. 11. Remove the sender wire from the sending unit. It's a good time to check the end is soldered tight and the insulation/shrink wrap is good. 12. Sending unit is affixed with 5 machine screws and a gasket. Remove the filler neck extension from the fuel tank fill pipe. My car has this heavy hose and clamps. Originally, the extension unscrewed from the fill pipe. The extension can be pushed right out of the top of the fender. Completely remove the fuel tank fill pipe support clamp from the frame and the pipe. Slide it off. Here's the frame connection. Same clamp, here's the fill pipe connection. This is the bayonet base sender wire that comes through the bottom of the trunk. (out of sequence) Disconnection the fuel feed tube. A 9/16" wrench at the tank and a 1/2" flare wrench at the flared connection. And once all the external parts are off and released, use a 9/16" deep socket to loosen these nuts. The support irons will come down, releasing the tank. Use the deep socket to reach to the bottom of the "T" bolt inside the support strap. A couple of twists and turns and the tank will drop out. That's the sender wire from the trunk hanging off the sending unit. Remove the five screws and carefully pull up and remove the sender. Tip it 90 degrees to get the float out. On reinstall, consider attaching a dedicated ground wire to one of the mounting screws. Gary


-
This is how I did it: 1. Remove the gas filler neck and rubber fender grommet 2. Released the bayonet base wire (sending unit wire) in the trunk and pushed the wire through the hole and rested on top of the tank 3. Removed completely the filler neck support from the chassis 4. Disconnect the fuel supply line from the front of the tank. Need a 9/16" and a 1/2" wrench 5. Remove the gas tank support straps using a 9/16" deep socket 6. Tank is now loose and ready to drop (If it has't already!) 7. By pushing the drivers side up and forward you can carefully turn the tank and it will come down 8. Sending unit is affixed with 6 machine screws and a gasket. Have a great day!
-
1937 Buick Model 48: RESTORATION HAS BEGUN! (Photo)
Gary W replied to Gary W's topic in Buick - Pre War
We had a nice Nor'easter roll through today so I got a few more parts ready for blast... I started by taking the headlights down to their guts so can get the shells blasted, the reflectors re-silvered and the rims chromed. I'll just polish the trim, it looks good. Then the fender lamps, pretty much the same. All lamps need to be re-wired. Out to the garage to remove the windshield wiper motors off the car to be re-chromed. It's only one bolt and disconnect the center link and they lift right out. (Marked BL & BR) Next, I removed the cowl ventilator, the rubber gasket and most of the handle. The rest of the handle is riveted to the frame. Removed the emergency brake handle so I can have the handle wood grained to match the dash Took out the high beam floor switch, Removed the dome light wire from behind the dash all around the door frame to the lamp And finally removed the cowl lacing. My plan is to build a wood frame and HOPEFULLY lift the body off the chassis Saturday if I can get some muscle! I will be meeting the machinist Saturday also, so maybe too much for one day........ I'll keep you posted!


-
1937 Buick Model 48: RESTORATION HAS BEGUN! (Photo)
Gary W replied to Gary W's topic in Buick - Pre War
February 8, 2017: Begin engine overhaul Today I started on the engine. First I used a Ridge Reamer to clean up the top of the cylinder wall. There was no ridge, so I just used it lightly to remove the carbon ring around the top of the cylinders. After all eight were done, I made some preliminary measurements. I used plastigauge on the rod journals and the clearance is .0015" to .002". I then measured piston #1 (3.088) and cylinder #1 (3.096) and those are standard measurements. This block has never been bored, and has very little wear. Also, the engine has the original '37 style "flat-top" pistons, each one numbered one through eight. I just read that I may be able to use the '38 style "domed-top" pistons on the rebuild. (The reason I'm ordering new pistons is there are a couple of loose wrist pins that are contributing a little noise, so I'll get new pistons from EGGE) Then John showed me how to remove the rear freeze plug. He punches it into the block on one side, causing it to "spin", and then simply grab the side sticking out with a plier and pull. What a mess we found inside the block! So I removed the other two freeze plugs and being it was 64 degrees today, I took advantage of the beautiful weather and fired up the power washer and gave the block a good cleaning out. After that, it was about an hour and a half meticulously blowing out every port, drying the mains, camshaft, and fogging the block with WD-40 so no rust will set in. This Saturday I'm having the block mic'd at the machine shop so I can get accurate readings and move forward with the engine components. Using the ridge reamer to remove the carbon ring at the top of the bore. Maybe one or two revolutions did the trick. Plastigauge used to check the rod journals as a preliminary measurement. The machinist will double check all my mains, rods and block before ordering new parts. Measuring the plastigauge. You can see it's between .0015" and .002". I think were good here so if the machinist confirms our measurements, we'll re-use the rod bearings. Piston #1 measured 3.088" Cylinder #1 measures at 3.096". This is very close to standard 3 3/32" (3.0938") 248 cubic inches displacement. Of course, this caliper only measures at the very top of the cylinder, so I'll have the machinist double check with real instruments! Removal of the rear freeze plug revealed this cruddy, muddy mess inside the block. So, being it was warm enough outside, I wheeled the block onto the driveway and fired up my power washer. Look at that river of rust and debris coming out from the block! I hit it from every angle I could to dislodge and remove all the rust and scale. Here I'm pumping the water INTO the side water outlet and letting it back flush clear out through the freeze plug holes. Beginning to run a lot clearer now. The final product. I'm pleased and pretty confident that 95% of all that crud is gone. (maybe more?) She should run nice and cool now.


-
1937 Buick Model 48: RESTORATION HAS BEGUN! (Photo)
Gary W replied to Gary W's topic in Buick - Pre War
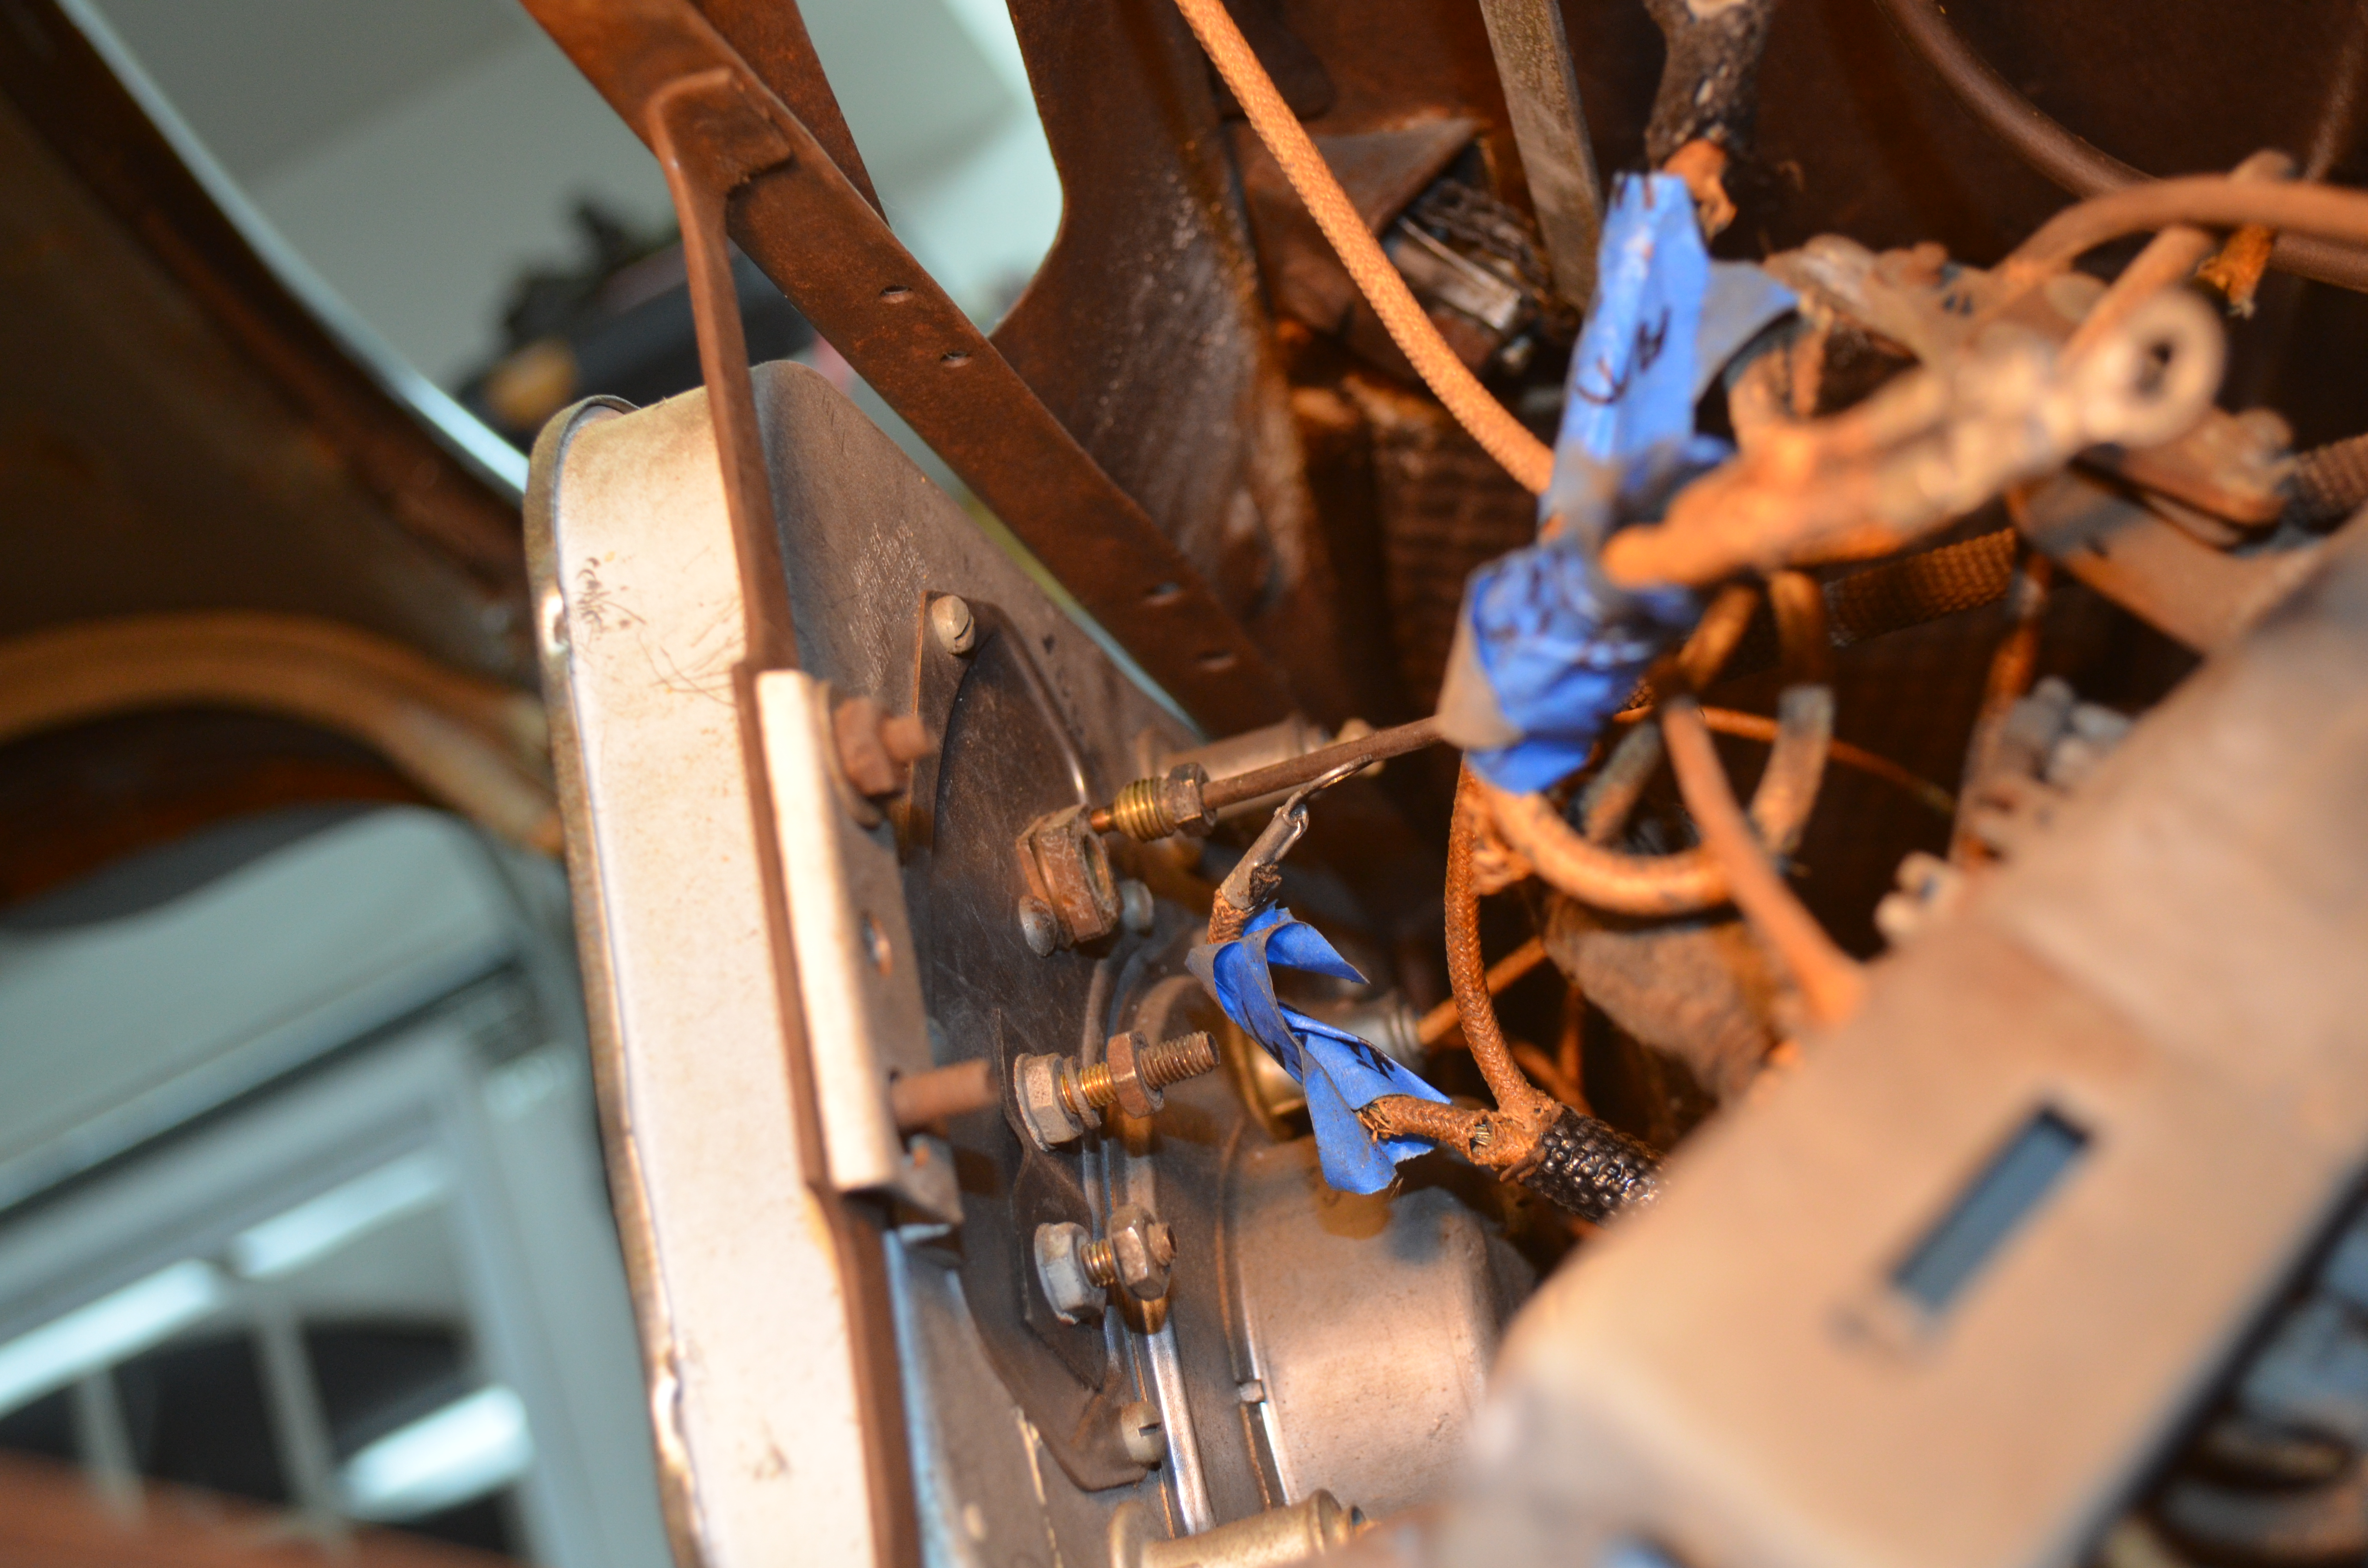
February 5, 2017: Finish removing the interior of the car Today I finished stripping the interior: What a job in an 80 year old car. I think I found some 80-year old mice! The sequence was like this: First the handles, door and side panels, glass and outside door handles and outside trim molding. Next I removed the front seat, peeled up the rug, removed the back seat, scraped that burlap stuff off the floor and got rid of more mice nests. Then the headliner: I released it from the front windshield, then around the rear windows, then released it all around the perimeter of the interior. All the ends of the listing wires were visible, and the sharp pointy clips all face forward. So I grabbed the rear most wire and pulled it forward off the clips. Then the next one forward and so on. The headliner kind of came out like an accordion as one unit. I left all the wires in the headliner so I can re-use them the proper sequence when I order the new interior kit. It took over two hours to scrape the burlap, the "particle board" panels under the rug and floor burlap. Then I disconnected the remainder of the wiring under the dash, and completely removed the wiring harness. And finally, removed the firewall insulator by removing those 10 large screws. All the screws were peened over the nuts on the firewall, so that took much longer than I thought it would. Another couple hours of clean up and I'm ready to pull the body bolts next in preparation for the sand blaster. Thanks to all the guys offering advice on this forum. It is truly a wealth of information! So next question: How do I get the knobs off the window and door handles before I send them out for re-chrome? (last picture) Removing the door handles using a tool that my buddy John Torchia bought over. Actually, a thin, small flat screwdriver was ideal to pick out the wire clip. Removal of the front seat: Pretty straightforward getting the cushions out. Then the slide mechanism and the seat supports were all removed. Front seat and all it's supporting components are now removed. Lifting up that "particle board" and the burlap insulation that was under the rear carpet. Rear seat completely removed and now starts the fun job of scraping out all that old, stinky burlap. There were tons of mice droppings and mice nests throughout the car. After freeing the headliner from the perimeter of the interior, I grabbed the rearmost listing wire and tugged forward. Then the next and so on... The mice built nests throughout the headliner as well and all that kept falling on me as I worked. Here's the headlamp switch under the dash. Note the condition of all the wires. Everything is cracked, dry-rotted and breaking. Removing the screws that affix the firewall insulator to the firewall. Every one of these were peened over in the engine bay and made removal nearly impossible! Interior is completely stripped now. I spent well over two hours cleaning and vacuuming up the mess that was left over. How do you remove the plastic knobs at the ends of the window risers before I ship the risers out for chrome? Look at the condition of the chrome bezel around the dome lamp. 3-weeks into the restoration today.


-
1937 Buick Model 48: RESTORATION HAS BEGUN! (Photo)
Gary W replied to Gary W's topic in Buick - Pre War
February 4, 2017: Begin Interior disassembly / removal Today I removed the seats, windows, all the window channels, rugs, dome light, rear shade, electric..... I released the headliner from the front, rear and the sides. So.....how do you remove the headliner? There are many wire bows that it is attached to from front to rear. Each bow feels "free" on the ends. Do I just lift each wire bow out? They feel like they are attached somewhere in the middle? A little help would be greatly appreciated. Thanks! -
Congratulations and GOOD LUCK! She's a beauty! I recently acquired a '37 that I am restoring and learning. The members on this forum are a tremendous resource. Very helpful, knowledgeable and informative. Welcome!
-
1937 Buick Model 48: RESTORATION HAS BEGUN! (Photo)
Gary W replied to Gary W's topic in Buick - Pre War
February 1, 2017: Interior, Instrument Cluster Removal Tonight I decided to attack the interior. I finally figured out how to get those clips out from the door handles, and once the handles were removed, I was able to remove the door skin, the vent window (entire mechanism), the glass. (Do I just scrape the original sound deadening material out? I'm afraid there is rust under it. Or will the blaster be able to get it out?) So now the driver's door down to it's bare bones. Then I got behind the instrument panel and first labeled the wires. (Don't really know why as I will re-wire the entire car...but in case I need a reference) Then I carefully removed the wires, the speedo cable, the oil gauge and pulled the five dash lamps. Not real complicated, but it helps to keep up with your yoga! Four nuts removed and the instrument cluster came right out. Being I broke the temperature gauge in the block when I tried to remove it, I searched eBay and found one. So be careful when you pull that gauge out of the block. Look at the condition of the dash lamp wires! Still can't believe it didn't catch on fire. All the wires are so dry rotted and exposed. Moving right along! Driver's door skin removed, vent window mechanism removed and the glass. Behind the instrument cluster. I labeled all the wires and gauges. Then by removing those four nuts, the cluster comes straight out. Cluster out, dash stripped Dash lamps with old, dry rotted and splitting wires.


-
1937 Buick Model 48: RESTORATION HAS BEGUN! (Photo)
Gary W replied to Gary W's topic in Buick - Pre War
January 31, 2017: Steering Box and Flywheel Ring Gear: Today I got a few hours in the garage and made a little more headway! First I prepped the steering box for shipment to LARES for a rebuild. So I drained the fluid into a can, used a puller to get the pitman arm off, and wrapped and shipped it in a bicycle box out to MN. Then, using a heavy brass drift, I was able to knock the old, stripped ring gear off the flywheel. I set the flywheel outside for a couple hours in the 35 degree air. Next, I fired up the grill and set the new ring gear on a piece of foil for 20 minutes on high. And don't you know it, it slipped right on! It sat beautifully against the flange and looks great! Then I had to spend a couple of hours cleaning up the garage and getting ready for the engine work. Using a puller to remove the pitman arm from the steering box. The steering box is draining into the can it is sitting on. Using a brass drift, I slowly tapped the ring gear on all sides around the flywheel. Here you can see it beginning to break loose. Here you can see the flywheel ring gear dropping off the flywheel a little more. One more hit and it dropped free from the flywheel. With the flywheel sitting outside in the cold, and the grill on high, the ring gear expanded enough to be easily slipped into position. No hammer, just fell into position. Back in the kitchen to cool off! Came out very nice. My first try at this and it worked perfectly! Her you can see how nicely the ring gear is seated so evenly around the flywheel and the "ADV" and "UDC" timing marks can be seen. It took over three hours to clean up the mess from pulling the engine, and then organizing all the parts for the engine overhaul.


-
1937 Buick Model 48: RESTORATION HAS BEGUN! (Photo)
Gary W replied to Gary W's topic in Buick - Pre War
January 29, 2017: Condition of the Flywheel Ring Gear Here's what my flywheel ring gear looks like. Obviously the vacuum start switch on the intake manifold failed and the starter solenoid was trying to "start" the car everytime the accelerator pedal was depressed. I found a 1937 ring gear at Bob's Automobilia so I'll tackle that project soon. Going to put the new ring gear on the grill out back to expand it. Thanks for the advice on the clutch. I wasn't sure how thick the inserts are supposed to be. Here's the ring gear as it presented when the inspection cover was removed. Close-up of the gear teeth on the bench. There's no "fix" for this!.thumb.JPG.fb4ca7b0f5aa7013ebc256162af08a5c.JPG)
.thumb.JPG.6d6c22cd80e88ee81d6de51952391705.JPG)


.JPG.7f9ec25a31bf8fb9da49d942ff662bdb.JPG)
.JPG.79e9b40cff19afce0f5452f50f955392.JPG)