


RockinRiviDad
-
Posts
1,268 -
Joined
-
Last visited
-
Days Won
1
Content Type
Forums
Gallery
Events
Posts posted by RockinRiviDad
-
-
Wow!! Nice work!!
I call dibs on Scott painting my car next haha
I take my hat off to u guys that paint your own cars. That’s a ton of work.
-
 1
1
-
-
On 12/26/2017 at 8:48 PM, Scott Mckenzie said:
lots of work to go yet, aligning fender gaps etc.
Sweet ride…looking good
Sorry, late to the party. Did u have your car painted…why do your fender gaps need aligning?
-
A bit more ‘momentum’…
There’s been recent talk about aftermarket wheel fitment. This came 3-1/2” years too late haha.
Back in Post #147 I purchased aftermarket wheels & did NOT get the fitment right ?. In my case I wanted more of the staggered wheel ‘look’ & I felt my rear wheels needed more offset.
So, yea, time & money wasted. But a good lesson on my part. Luckily for me, my wheel selection is NOT too expensive…here’s what I bought to replace my two rear wheels…
American Eagle, Eagle Alloy, Boss 338, 18x9.5 (-4mm offset, 5” BS).

-
1
-
-
On 3/7/2018 at 9:39 PM, first64riv said:
That radiator is gorgeous. I think the welds are MIG. The aesthetic effect can be achieved with both processes. I think for radiators and mass production, MIG may be quicker. Someone that knows more than me can correct if i am wrong.
GREAT build by the way.
On 3/8/2018 at 6:02 AM, pyntre said:It would have been a crime to hide that under any paint !!! Could you share a part number on that radiator for us for future reference ? What would you say the weight difference is between the original and the aluminum ? Lookin good !!!!!
Thanks for the support guys. I appreciate the input. It really helps keep the momentum going.
Here is the part number right off of the box…hope that helps

-
40 minutes ago, Hazdaz said:
Those sure are some pretty welds.
I said the same thing when I saw the radiator
 . I think that is TIG right?
-
The radiator needed a little something something...I just couldn’t put my finger on it...so I bought a friend lunch 3 hours later..
.WHA-LAH!!!

-
2
-
-
A test fit of my new radiator now has me thinking NO paint will look good enough for who it’s for haha
Note: fan shroud damage. It doesn’t look as bad here. But it’s gonna take some glass work to salvage it.


-
1
-
-
3 hours ago, pyntre said:
Securing my overflow hose better tomorrow!!!!! Sorry to hear about your misfortune!!! You’ll get er back on the road soon!!!!??
Haha..a simple zip tie woulda/coulda prevented all this...thanks for the support
2 hours ago, Hazdaz said:Think of it as an opportunity to get a better radiator and fan.
U mean a better radiator like this one?? haha...everything happens for a reason right?
Love that video...thx for sharing...the plan was to go with an electric fan if I couldn’t find a replacement clutched fan. I did find a replacement pretty quick tho. So I am glad this video found that the clutched fan is not the worst option...phew. But now u have me reconsidering my choice....GRRRRR....dammit!!! haha
For most average guys (like me) trying to build a car with a wife, kids, mortgage, etc makes us resort to the label “budget build” (that’s code for “cutting corners” just to get the car on the road haha). I really really wanted a 4-row radiator back when I crossed that bridge. When my kids needed new school clothes, instead of a $400 radiator I simply “cut a corner” & just had my 3-row cleaned out haha. Now dad finally gets his cool 4-row radiator from Ricks Radiator in Azusa, CA. Woo WHOO!!
This radiator is suppose to be a replica of our brass & copper Harrison radiator. Its pretty close. So I bought it with the intention of painting it black. Some said painting it will take away from it dissipating heat well. I say bologna. I think its a bigger, more efficient radiator & a little paint isn’t gonna matter.
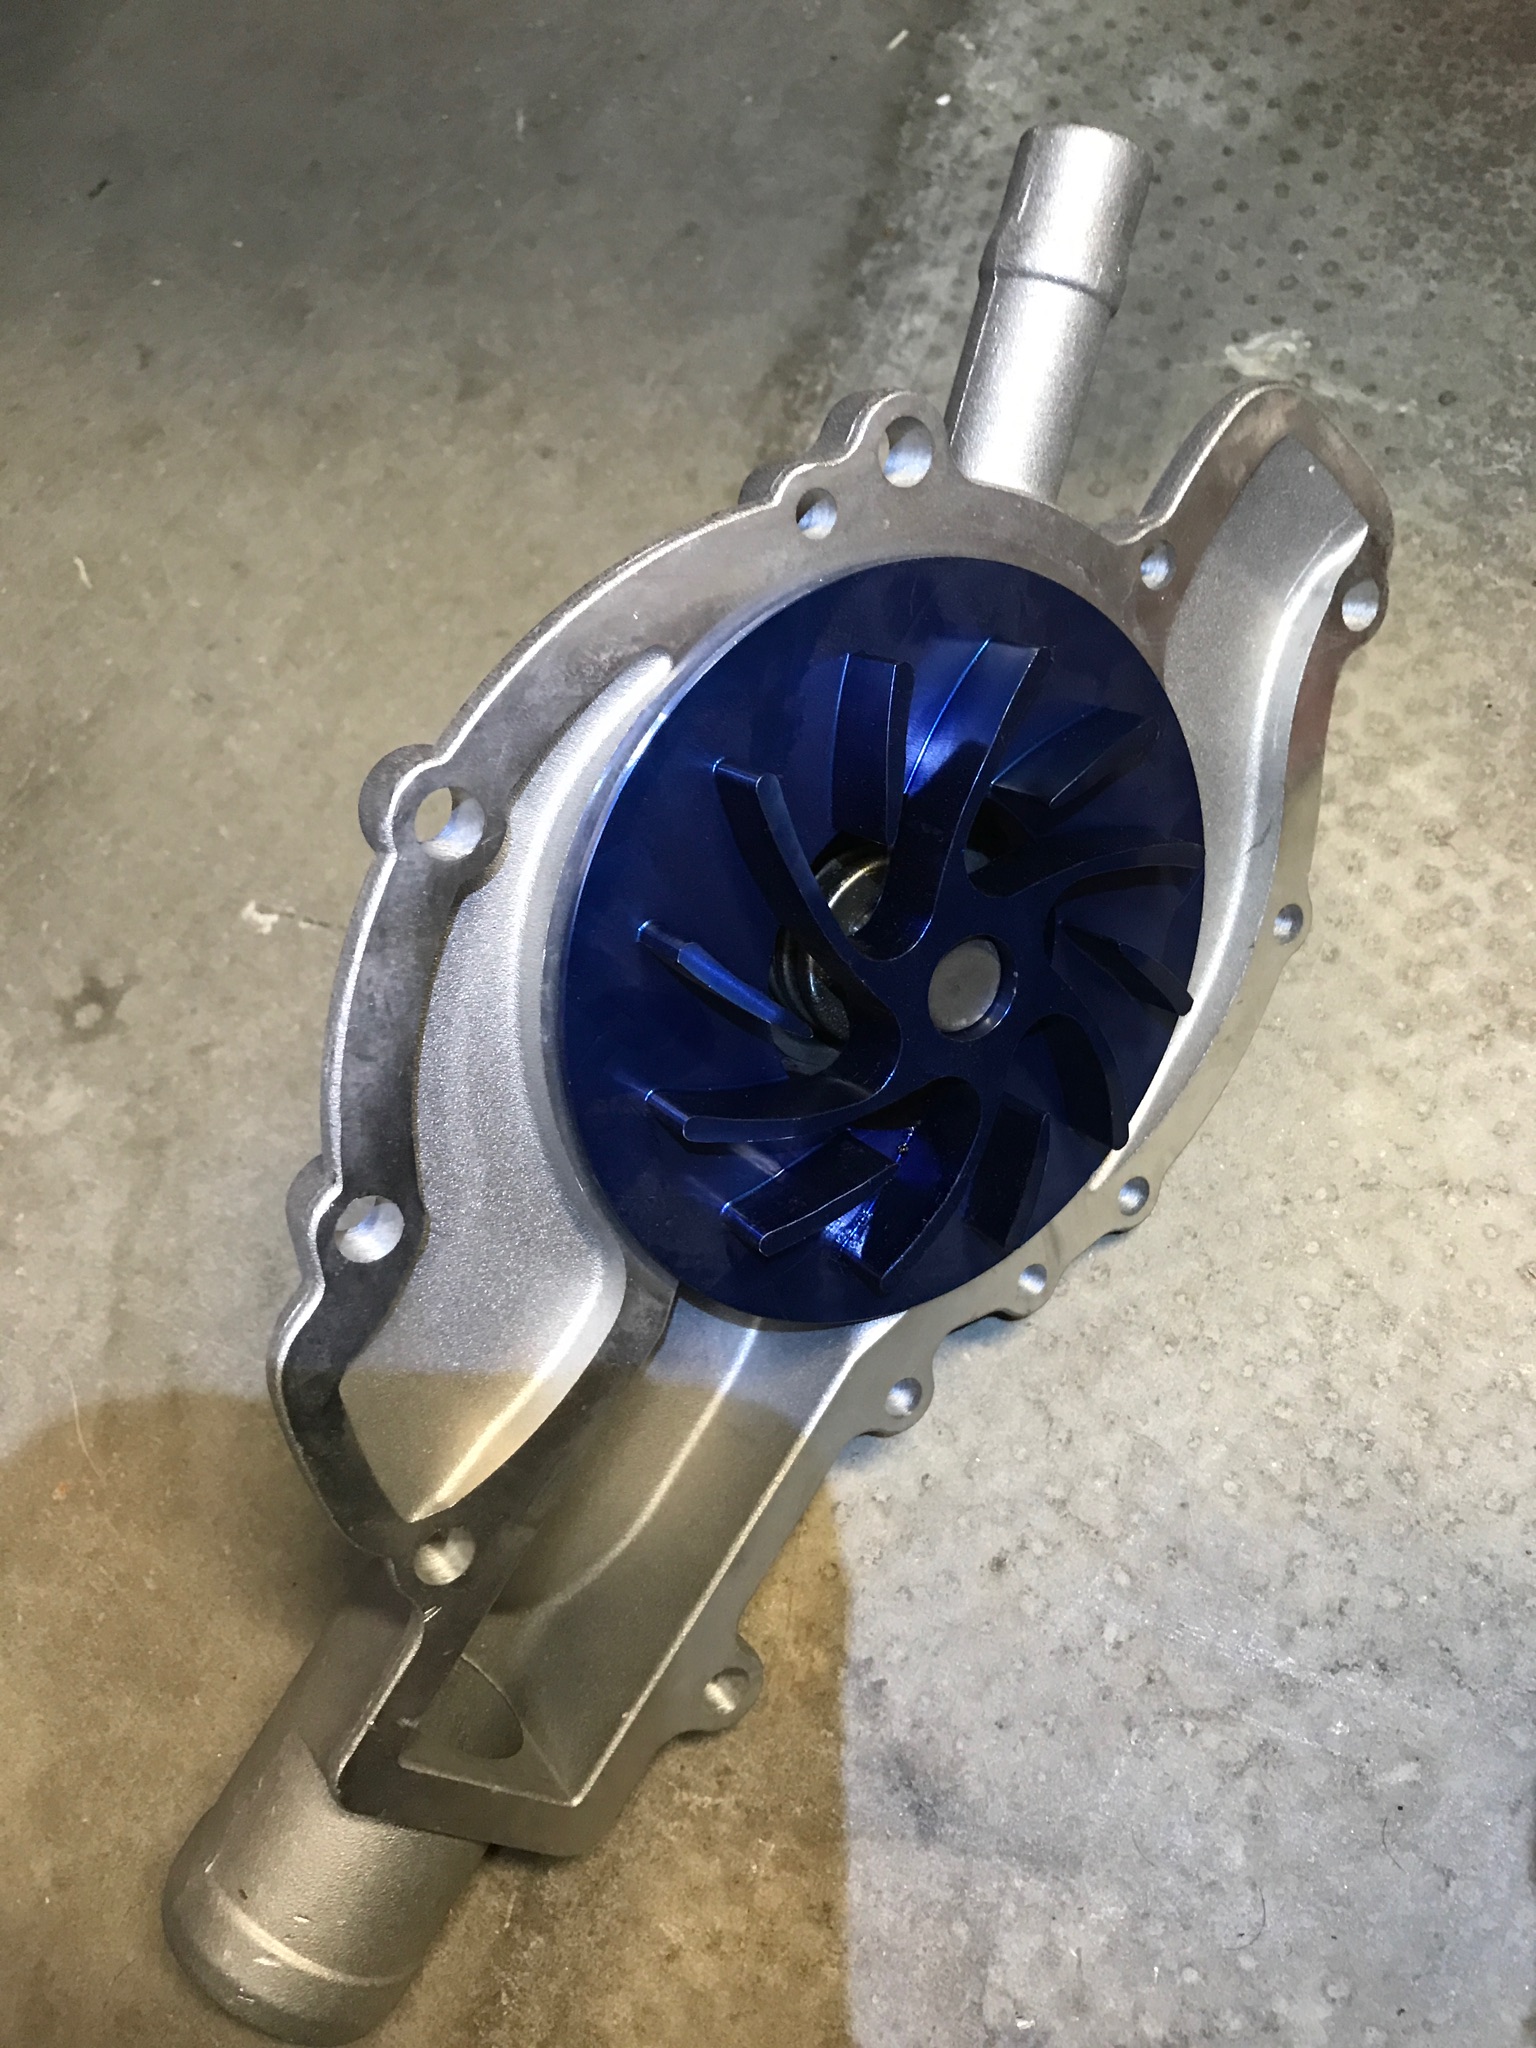
Besides, in Post #238 I mentioned a water pump leak. That leak magically sealed itself up...but before it did I had ordered a more efficient FlowKooler water pump. Its been sitting on my shelf ever since...that’ll be installed now too haha
PLUS...a heavy duty fan clutch...yea, so a little paint isn’t gonna hurt heat dissipation right??
(other than the price tag, what is the difference between a heavy duty or regular fan clutch anyway?? Haha)


-
1 hour ago, Seafoam65 said:
What caused this?
I’ve got the EFI installed & have been clocking miles (200) before doing a full write-up on my findings. This EFI turned my Riv into a rocket which has me flying around town in my car haha.
Simply put, I didn’t have my radiator overflow hose secured to anything other than the pet-cock on the radiator fill neck. It was stout fuel injector hose (not very flimsy, no excuse, I shoulda secured it better).
At 75 mph the overflow hose got sucked into my fan, PS belt came off, both overflow hose & belt wrapped around water pump pulley, overflow hose pulled radiator into fan, shredded radiator & fan shroud, pet-cock ripped off, coolant blew everywhere including onto my feet threw the firewall (can’t expalin that one ?. Good thing I have no carpet yet haha). I couldn’t even make it off of the freeway. Yea, towed it home ?
700 miles on my car & now she’s broken again haha…ugh…
-
Back to the drawing board ?…I’ve gotten pretty good at taking two steps forward & ten steps back haha


-
Thanks for the words of wisdom, Jason. Unlike me, U definitely have the experience from building multiple cars (maybe I can borrow your wallet haha). Thanks for the input.
I am not a quitter. I will keep plugging away. I may only be taking baby steps but that sure beats quitting in my book
Having fun with this is a great way to keep motivated. I shoulda placed this video in my thread prior to my showing u guys my bare metal & then epoxy primer process. Oh well...hope u guys enjoy me rolling into the sunset Cheech & Chong style with my poor mans drone haha...I got tired of this look pretty quick haha
-
On 2/10/2018 at 9:39 PM, jsgun said:
If I was in your position, I'd do the same. Get it running, drive the wheels off. Plenty of time to make it pretty later. It's got character.
My 64 has about 75% good paint, but it's a custom mixed color that will be impossible to replicate to patch up. I'm just going to go with it, and worry about making it pretty some point in the next 10 years.
I sure wish I woulda known 5 years ago what I know now...I woulda totally done the same “just go with it”...live & learn
-
VERY cool.
-
Leno does NOT own that 65. It belongs to a friend of mine.
I am trying to get him to create a username & login for the Rivi Forum to answer any Q’s.
-
1
-
-
I know the owner of that Riv. He has two 65’s. One is his & one is his wife’s haha. That one on the show is his wife’s haha.
He built both of them. Both came out AWESOME!!
I’m gonna try to get him to log in & answer any Q’s.
-
1
-
 1
1
-
-
On 11/1/2014 at 12:19 AM, BB401 said:
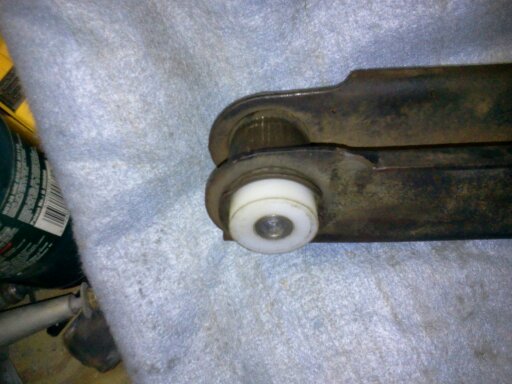
Ok Gents I tried several suppliers and different price ranges when I was replacing the bushings in my "65 Riviera. They all said They will fit, They all would not. So Instead of putting a two-piece bushing in my "Control" arms, this is how I handled it.
 I removed the bushings and the inner sleeves from the outer sleeves, leaving those still in the control arms.
 Took a Control Arm, an old inner sleeve, a new inner sleeve (the O.D. is different than from the old one) to a local machine shop.
Had the shop make some sets of bushings from Ultra High Density Urethane. Much tougher than the original rubber. They fill the bracket void from side to side. They do stiffen the ride quite a bit, but they are a perfect fit! Without removing the outer sleeve from the control arm! I have spare sets available if anyone is interested..

RG


Old thread, I know.
Everything I have read about urethane bushings says that they squeak like crazy.
Did u ever install these trailing arms and experience squeaking?
Has anyone tried this method?
-
39 minutes ago, slosteve said:
Glad to see you back at it David. Sorry for your bodywork dilema; it's the most expensive part of any build. That's one reason mine's not painted.
I'm planning on going the EFI route also and was wondering how you decided on Holley. Just wondering as I've heard they are very good units but I really don't know how to judge one from another aside from price.
Steve
Hey Steve,
glad to be back at it myself & glad to see your still here. It’s been a long journey. This forum changed a bunch & my pix are all jacked. My build thread needs lots of work to get it back to how I once had it.
yea I’m bummed about my bodywork. The cost for minimal bodywork is crazy. Now imagine the cost for the amount of work mine will need. The thought makes me ?…
I’d rather get her running right (EFI) & maybe spend my money to be cool like u with airbags haha (I think u had bags right?)
As for the EFI, I’m in the same boat as u. I didn’t know much. I didn’t do much research on any other units other than the Holley & FiTech units. The FiTechs got a lot of bad reviews & its only $200 cheaper. I needed the electric fuel pump setup too. With the deals u can find on Holley’s ‘Master Kit’ (includes electric fuel pump) it’s comparable in price to the FiTech.
Bottom line, I only pulled the trigger on the Holley kit due to the Holley reputation, good reviews & the cost.
-
1
-
-
I do appreciate the great sound advise u guys always offer. U guys are a wealth of knowledge. Thank u.
At this point, in regards to my bodywork, I don’t know which direction I will be going in. This project has definately become a huge pain in the a$$. I see why dudes quit & their projects sit & rot away...this sucks...
I did reach out to a couple of my more local than Larry Daisey contacts to ask about a good quarter panel to use...just in case...it seems I will have a quarter panel to use if & when the bodywork begins. I really dont feel this car of mine is worthy of spending the umpteen amount of money its gonna take to cut out sections of the quarter to replace with donor car sections. I’m leaning towards Randall & Jason’s theory, fix what I have with hammer & dolly as best as I can & use a bit of filler. I just wanna drive this SOB not show it
Cutting out sections to replace with donor car sections is great if this car had the potential to be as nice as any of your cars. I know its tough to read this entire thread & its been so long. You guys probably forgot. Here is the recap: my car is NOT a prized Gran Sport, my car is NOT highly optioned, my car is NOT numbers matching, it DOESN’T have the original engine block, the engine block is NOT even from a Rivi, the body always sat krooked on the chassis & now I’m sure its from this damage. The frame machine is an awesome option that I will consider, thanks for that idea. All good ideas, thanks brothers. I’m just irritated...we will prevail...somehow some way
As for now, I like that my car is one solid color. It totally gets the juices flowing again. So I’ve been driving the snot out of it. My latest concerns are trying to get the damn thing to idle right. She runs like a champ. But at times when I first put it in gear (R or D) she starts to sputter badly & wants to die. Ive been asking my buddy’s for advise, including our old pal Chris Nolan (Alini), in getting it right. Ive been bouncing back & forth between timing, fuel/air mixture, idle adjustment... no luck. I even ditched the points & went to Pertronix...I’ve spent time looking for vacuum leaks...NO LUCK

In order to stay motivated, keep my sanity & continue to enjoy this journey, here is my solution...yes…I’m “that” guy ?


-
1
-
-
4 hours ago, Rivman said:
it doesn't look rusted, damaged yes, but NOT rusty.
a body man good with a hammer and dolly might be able to get that a bit more into shape, then weld up any holes, and all you would have would be a skim coat of filler to smooth it out? I'm sure not an easy task but doable I believe?
Again, liking your progress, looking good.
Thx for the feedback.
I was so bummed when I uncovered the damage on that quarter panel that I thought I was gonna need a donor car. My plan was to drive my car off of the nearest cliff. On my way to that cliff my gut said ‘ask a pro at your local bodyshop for his opinion.’ There happened to be 3 shops on my way to that cliff. Luckily for me all 3 shops said what u described.
It’s gonna take a lot of hammer & dollying to get it close to right for sure. Then a fraction of the body filler that I took off will make up the difference. The bondo I took off must’ve been 3/4-1” thick.
Edit: u are correct. NO RUST
-
I am very pleased with this shops work & the look of this PPG DP90 epoxy primer. Apparently, some dudes run this as their top coat for that satin look. Interweb says it doesn’t have the UV protection that most top coats offer. I dont plan on keeping it this color. But this look will definately work well until I do get the bodywork started. Plus I keep my car garaged so it should hold up for a bit.


-
1
-
-
Good news:
The black epoxy really got the juices flowing. So much so that I didn’t wanna skip a beat in my momentum. I asked the shop if they would spray the front half of my car in the next couple of days if I got it striped for them. I told the shop owner I would take the next day off of work just to get ‘er done! He was cool enough to allow me to leave the car there & come back the next morning with my tools to strip it there on his lot. That helped me from destroying my garage again haha...so off to work I went haha
Obviously, taking off the light grey primer was kind of a step backwards. After striping it down, I went back the next morning to take hood hinges, grill & bumper filler off. The boss said “you’ve come this far, u might as well take the fenders off”...yup...more steps backwards but in a good way. Ugh, what a journey haha


-
1
-
-
Bad news:
The light grey epoxy I bought from my local PPG paint store apparently is not the best. It was described to be a good product for the DIY guy like me. The bodyshop uses a professional grade product called PPG DP90. They offered to continue batheing her in my DIY crap or select to use the shop stuff...
 ...I opted for the better stuff under the agreement that this shop does the bodywork for me later on too. They agreed...on one condition...they wanted the old DIY epoxy primer OFF. UGH!! What a journey, right? I agreed.
I was also given a choice of color. I chose the black option & boy am I glad I did haha. It looks frigin AWESOME dents/dings/cellulite quarter panel & all


-
1
-
-
Here she is the day she was dropped off at said bodyshop. They quickly jumped on getting her ready for her light grey epoxy bath to match the fenders & doors. U can see the different colored grey on the hood. Like I mentioned earlier, that was the sandable primer (poly I think) that was used over the epoxy by the other bodyshop during the block sanding of only the hood.


-
1
-
-
In an effort to keep the juices flowing I went back to one of the first body shops that originally turned me away. They originally said my car was too much work. My new plea to them was that if I brought them the light grey epoxy that I used on front of the car & if I striped the rest of the black lacquer paint off would they help me get it all one color. They agreed. Off to work I went...
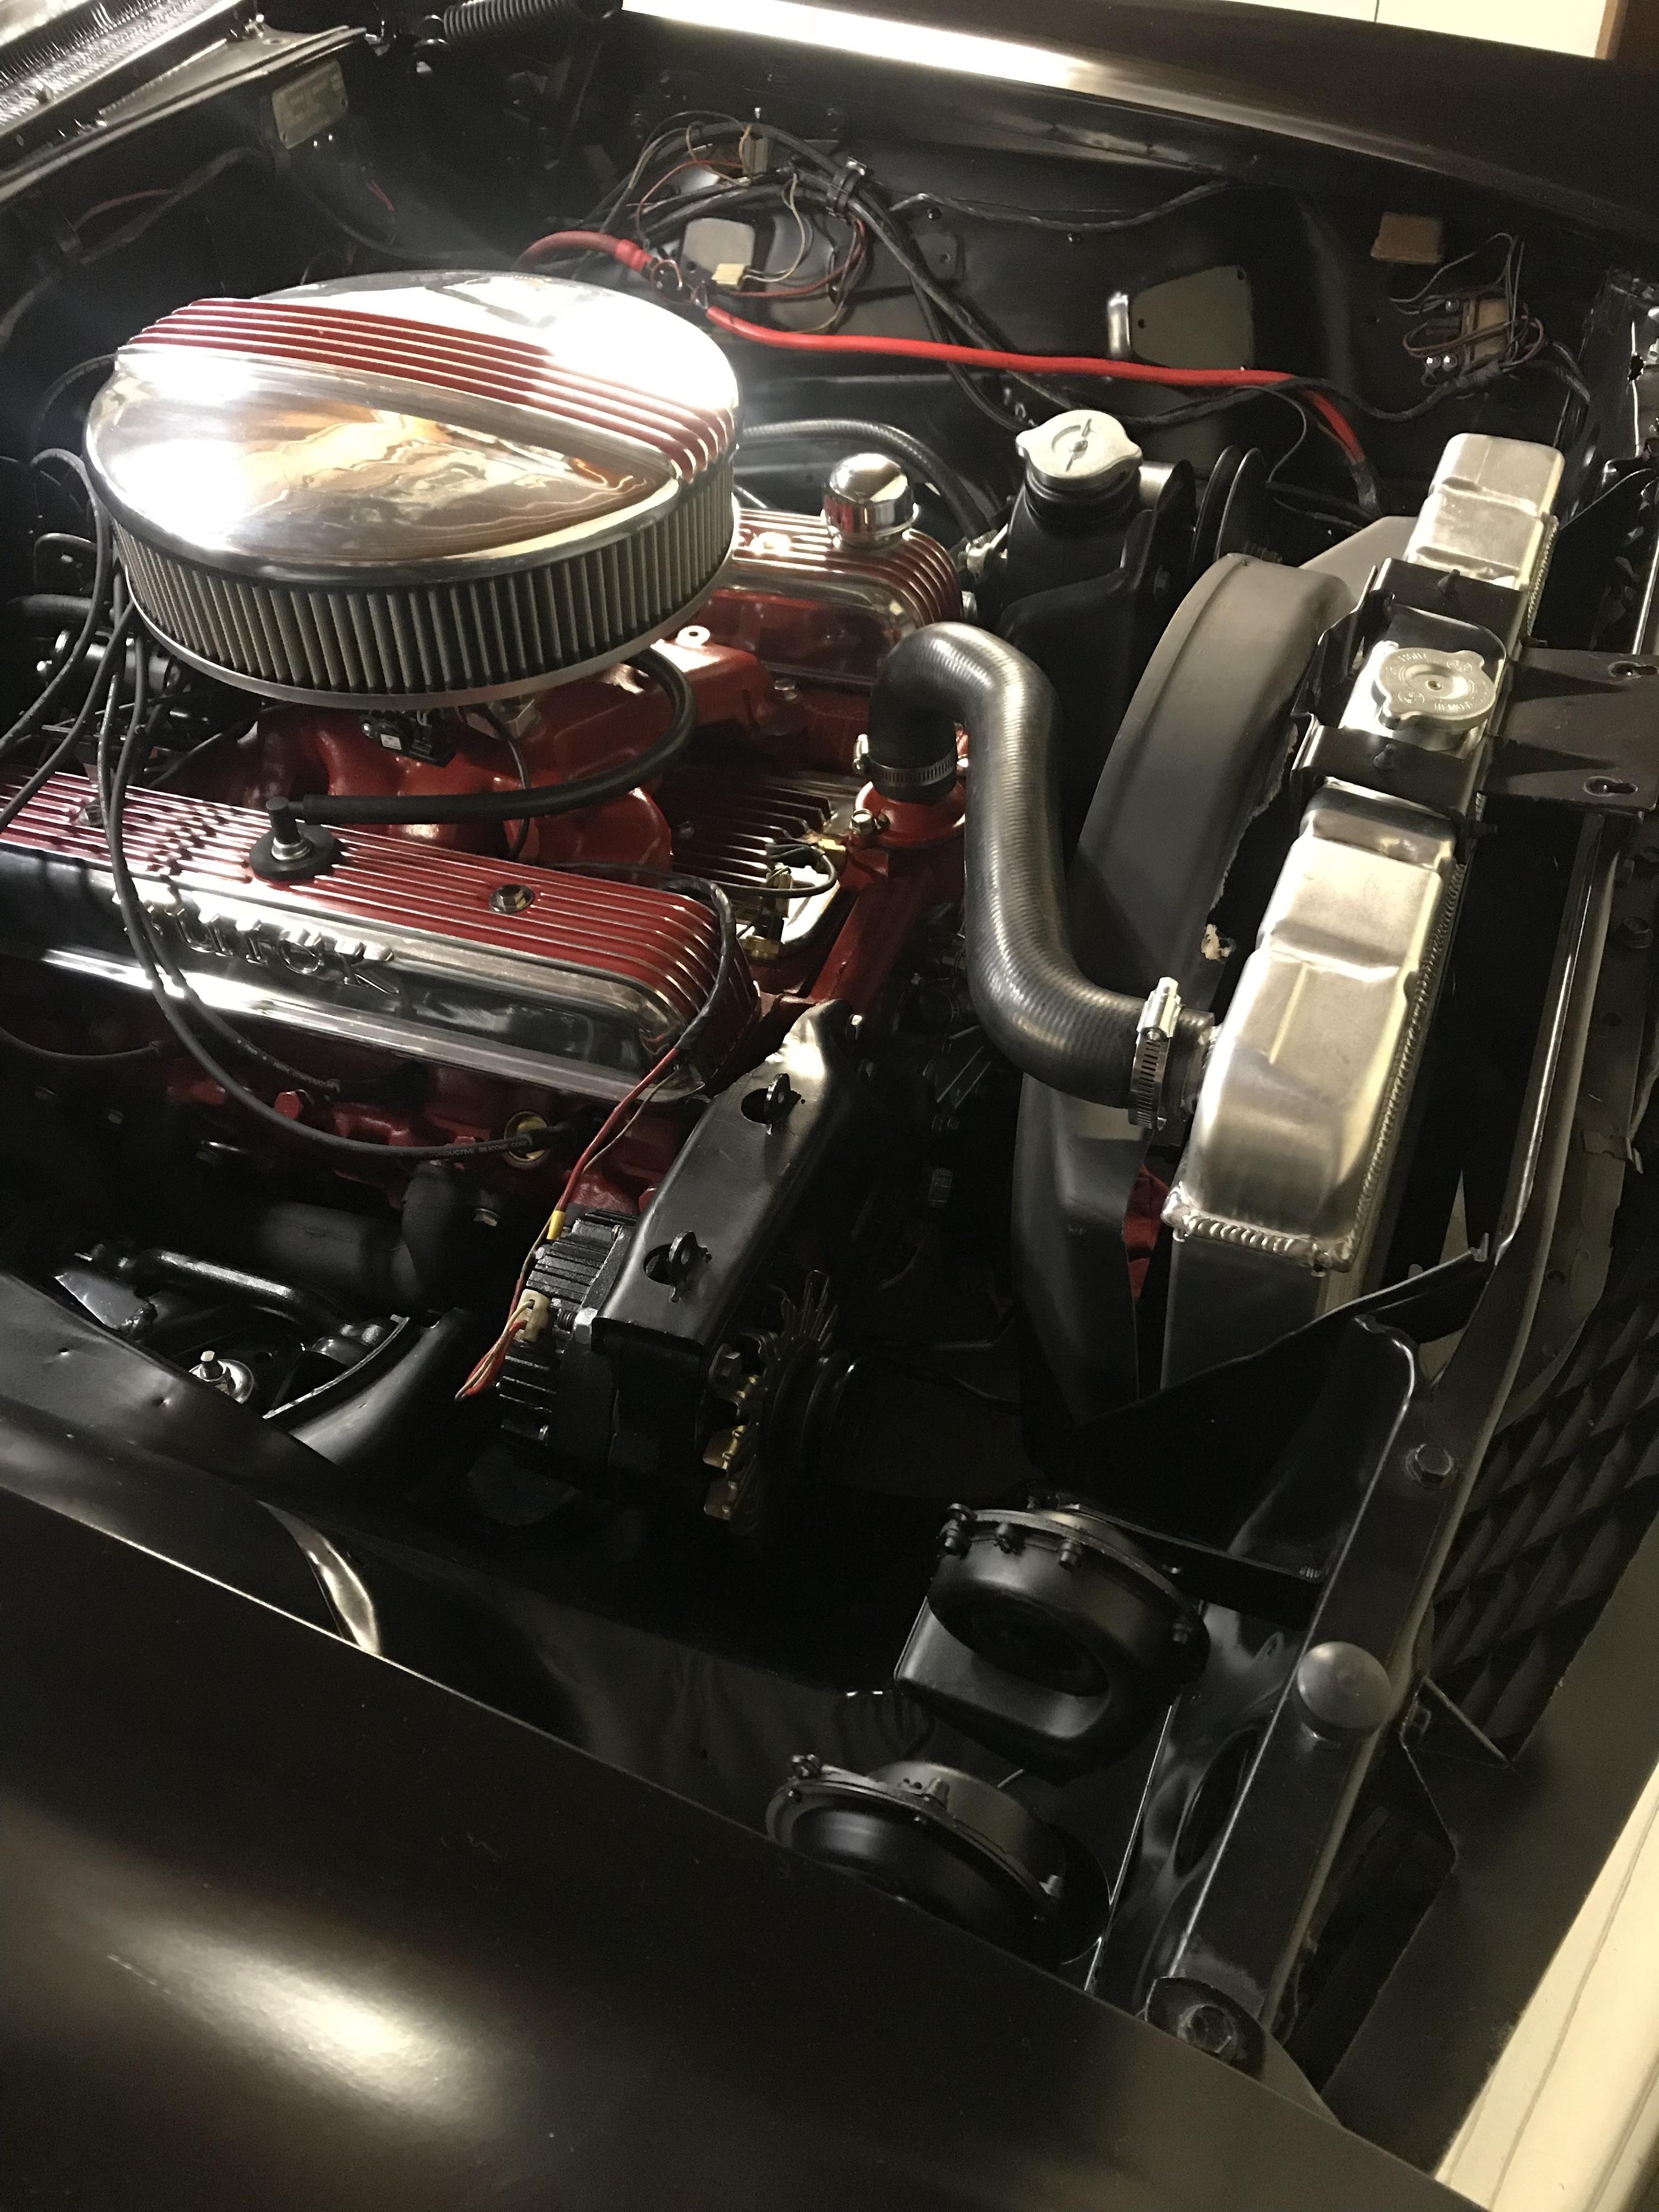
I masked off my entire garage with plastic. I did the best to cover my nice Nailhead & went to town on striping. LOTS of work...LOTS of hours...LOTS of beer haha. Despite hanging plastic & covering my Nailhead my efforts only helped a little. My garage was DESTROYED haha
I quickly proved that my car IS a pile of caca haha & it WAS really a bondo cake on wheels. Driver quarter panel was the worst. My heart sank & I almost threw the towel in on this project after seeing this. What I discovered was horrible!!!
DISCLAIMER: the discovery of what was hidden under the bondo is of graphic nature haha...images not suited for persons under 18 years of age haha...ensure u are sitting to avoid any head trauma from possible fainting spells haha


Engine Vibration - 1965 Riviera 401
in Buick Riviera
Posted · Edited by RockinRiviDad (see edit history)
Not to hijack but I just did this last night. Finally getting my car together & service manual calls for 200 ft lbs
Am I missing something?