


RichBad
-
Posts
731 -
Joined
-
Last visited
-
Days Won
1
Content Type
Forums
Gallery
Events
Everything posted by RichBad
-
Big moment today, the body went back on and this time it’s not coming off. Big thanks to Matt for all his help. Matt picked up the chassis so we could put the body on at his place rather than me trying on my own with an engine crane and stuffing up the paint. Body being lowered in to place, much easier this way! Body’s back on again!


-
Matt’s worked his magic… one happy camper! Thanks Matt, done more in a week than I’ve managed in a year;)


-
Drum roll
-
Fantastic work Ron, looks awesome!
-
Restoration of Victory Six sports roadster.
RichBad replied to Mattml430's topic in Dodge & Dodge Brothers
Wow! -
Naa, probably dragging Stu at the lights:)
-
Restoration of Victory Six sports roadster.
RichBad replied to Mattml430's topic in Dodge & Dodge Brothers
Absolutely amazing work Matt, it is stunning and a testament to your great workmanship especially considering everything from painting & plating to wheel building and trimming was done completely by you. And thanks for taking the time to share it all with us and help us all out along the way! -
And a few days later it’s almost ready for a topcoat! All masked up and some filler going on. First rub down - Matt’s taken out all the bumps I put in:) A coat of high build and it’s starting to look like it could be a real car again. Another rub down to get all the small lumps and bumps out. In primer, she’s looking great!


-
Lockdown 4.0 can’t slow down Matt! He’s been cracking on with prepping my body for paint. It’s looking great just pi$$ed I can’t get down there! Just before lockdown Matt made up a set of the sill panels (that go just below the doors). They were very challenging as they were “U” shaped but had a curved profile (following the body profile) and a swage along the top edge. Matt figured it out and they came up a treat!

-
1929 Dodge Brothers DA Tourer "Doc's Dodge"
RichBad replied to RichBad's topic in Dodge & Dodge Brothers
Work has been a little slowed by lockdown 4.0 in Melbourne but here’s a brief update of progress just before we went into lockdown: * Finished off the rear floor panel and stretched the battery box access opening, as the original was too small to remove the battery without lifting the floor. Coated the underside of floor panel in black. * New battery and starter cables fitted to starter switch and mounted to toe board. Starter works! * Valve clearances adjusted and re fitted the side covers. * Vacuum tank and brake fluid reservoir fitted to the firewall and pipes connected up. punched holes in the new firewall insulation panel. * Attached the new insulation panel with bifurcated rivets, but need a few longer ones (1inch) to complete the job. * Re fitted the manifold. * Re installed the steering column, wheel, and pitman arm etc. * JJ has made up a pair of stainless rear bumperette ends and is in the progress of making mountings. Hopefully the lockdown will be over on Thurs!

-
Here’s a pic of one of mine (only had one and it’s off a RHD). They attach to the top of block sump flange I believe (that’s where mine has the attachment points). Also had a couple of a slightly earlier engine (3 point mounting) which I think was LHD? thanks to Matt for the donations:)


-
Restoration of Victory Six sports roadster.
RichBad replied to Mattml430's topic in Dodge & Dodge Brothers
Looks awesome mate - the creases will may come out in a Melbourne cold wash:). Anyway, when it’s raining you’ll be on the inside so won’t see and when the sun’s out the top will be down! love the side curtains! -
1929 Dodge Brothers DA Tourer "Doc's Dodge"
RichBad replied to RichBad's topic in Dodge & Dodge Brothers
Oops - I haven't updated for a while - don't worry though, work has been continuing at pace with Trevor, Lindsay & John. Trevor has stripped and cleaned all the door hardware, all working nicely and the handles are ready for chrome (and internals for Nickel). Camshaft is back - all the followers have been refaced (the cam was already re-ground) and has been re fitted and set up. Remaining engine parts (timing case, valve covers etc) have been cleaned and painted and re-fitted to the engine - she'll be ready to start once we've got a radiator plumbed in! The fuel tank rear cover has been re-fitted and the body fully bolted down with all the doors aligned correctly. Steering wheel has been re-painted. Metal trays have been re-fitted under front and rear seats. New wood floors have been made and re-fitted.


.jpg.37d349a0c63f92ac65a2c0cc079252a5.jpg)

-
Restoration of Victory Six sports roadster.
RichBad replied to Mattml430's topic in Dodge & Dodge Brothers
Looks impressive mate! -
1929 Dodge Brothers DA Tourer "Doc's Dodge"
RichBad replied to RichBad's topic in Dodge & Dodge Brothers
And there's more... another big milestone Sometimes you just Someone is happy! Not bad progress considering it was only about 3 months ago when we lifted the body off!


-
1929 Dodge Brothers DA Tourer "Doc's Dodge"
RichBad replied to RichBad's topic in Dodge & Dodge Brothers
Another good week of progress with John, Trevor & Lindsay, it's really starting to look good. Ignition switch repaired, new keys cut and tested and new LED lights fitted to dash. Aluminium clips made to secure the wiring loom to the engine. All four wheels finished, fitted and brakes adjusted. Fuel line fitted to tank and oil filter plumbed in. New radiator drain valve & socket made and off to the radiator repairer (currently having a new core fitted). And she's back on her wheels again:) Just need the camshaft back and we can get it fitted, and then we should be pretty close to firing her up.


-
Restoration of Victory Six sports roadster.
RichBad replied to Mattml430's topic in Dodge & Dodge Brothers
Yes, gutted to break Matty’s baby:(. First time I’ve borrowed someone else’s car too. Was an awesome day and I think there were 8 Dodges all up! -
1929 Dodge Brothers DA Tourer "Doc's Dodge"
RichBad replied to RichBad's topic in Dodge & Dodge Brothers
Almost rolling again...
-
Restoration of Victory Six sports roadster.
RichBad replied to Mattml430's topic in Dodge & Dodge Brothers
Try some of these guys, they may have the extruded brass? https://windshieldframes.com/index.php https://www.autoyas.com/XX/Unknown/1603105549930947/Bates-Hot-Rod-%26-Vintage-Frames -
Restoration of Victory Six sports roadster.
RichBad replied to Mattml430's topic in Dodge & Dodge Brothers
I’m sure I’ve seen a company in the US that does various profiles and even makes complete screens - I think the bulk of their work was for hot rods. Will have a look on the PC tonight to see if I can find them. -
1929 Dodge Brothers DA Tourer "Doc's Dodge"
RichBad replied to RichBad's topic in Dodge & Dodge Brothers
Update for this week - Body painting is finished and delivered back - thanks Matt! John, Trevor and Lindsay have done another day on the chassis and it's almost ready for the body to go back on. Bit of a drama last week - fitting the spare to the rim (new tyre, tube and band) the rivets on the hub joiner let go and the tyre burst off. Luckily no major injuries (few bruises) but will need a new rim as it's not round anymore. Brake drums refitted to the freshly painted wheels. New exhaust system made (including mounts etc). NOS Purolator oil filter to the engine. New Optima battery fitted (we stuck with 6V but using optima for reliability being a club car).


-
Restoration of Victory Six sports roadster.
RichBad replied to Mattml430's topic in Dodge & Dodge Brothers
Far out, that's nuts mate for a 1929. Have a chat with some of the guys in the club this Friday as I'm sure that wasn't required for vintage vehicles pre-ADRs. I thought you just needed evidence to show that it had been purchased in Australia. Hopefully it doesn't become a big headache - otherwise you could just put it on club plates to get you up and running (that may even get the chassis number logged in their system). -
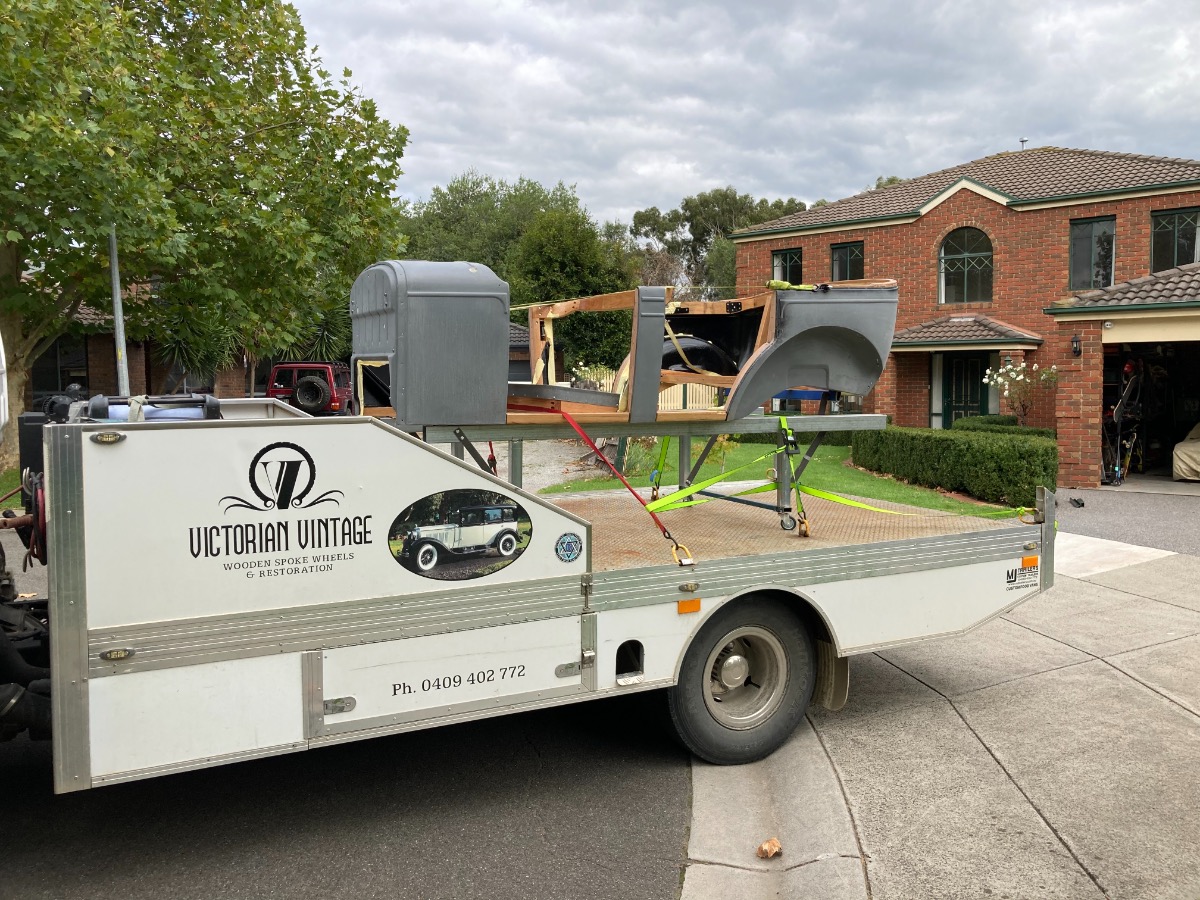
Off to Matt’s for painting:)
-
1929 Dodge Brothers DA Tourer "Doc's Dodge"
RichBad replied to RichBad's topic in Dodge & Dodge Brothers
I recon that stripe will look good in the same colour as the pin stripe in the wheels. With the two dark colours it defines the line nicely and gives a touch of class:)


.jpg.37d349a0c63f92ac65a2c0cc079252a5.jpg)


