


rageracing
-
Posts
218 -
Joined
-
Last visited
Content Type
Forums
Gallery
Events
Posts posted by rageracing
-
-
Going back through this doing amazing work. I feel everything I put together on mine is seen to nick or scratch the paint. I should maybe be doing a better job taping everything off but that adds time and time is a hot commodity for me like I’m sure everyone here. My painter tells me not to worry and that’s why you see high end builds constantly be going back to paint for touching up here and there. Maybe I’m being picky but my dad tells me too perfect and you won’t drive it so just get it together, drive the crap out of it . What an awesome build you got and thanks for the education. I’m trying to learn as much as I can
-
 1
1
-
-
Polarized the generator at the regulator. Seems to be charging correctly. The amp gauge never goes to zero. Sits around 7 amps so I’m guessing it’s not changing the generator output. Next is I will put a meter on it
-
So finally got the it running after 7 long years. Two issues came up. 1.) first two spark plugs are leaking alittle around the ever dry seals, or whatever they are called. They have the dished washer and rubber boot. 2.). My generator was putting voltage out wrong. I flipped the field and armature wire and it is now showing correct on the amp gauge. I tried switching polarity by tapping the field terminal with the negative post on the battery. What am I missing here?

-
Quick question, where is the correct place for the battery ground off the battery
-
I will look into something and get some rubber in and make a bunch. I’ll gladly send you a pair when I do.
-
Thanks ply33. Do you know if a source for the C shape one?
-
The pedal off my car came like this with too seals. One is c-shape. Is that needed? I am going to put new seals on them. Also for the new ones, do they install from pedal side or the bottom side. Hoping pedal side otherwise I have to take that all apart again

-
There is a decent amount of room here to take up. I think originally a dust boot was there maybe

-
I finally got around to finishing up the steering. Is there a seal or anything that goes between the pitman arm steering box?
-
Anyone know the proper drag link setting for 33 HC? The book I have says back off 4 full turns for 34 KC
-
So I pulled the lower mount, put the top mounts on, centered the studs coming up from the top rubber mounts into the bell housing steel bracket, tightened them down. The 7/16 bolts that go into the bell housing I had in but not tight, just before bottoming. I then installed the bottom and bolted that tight and tightened the top mount completely. After machining the lowest rubber mount to 1 1/4” thick it seems to have about 1/8” compression now. The top bolts are slotted in the bracket so I let them float alittle. Maybe I shouldn’t have but I’ll see if the shifter now fits and works without having to shim that up
-
I can try that, I’ll pull the bottom crossmember again and get the tops bolted in first.
-
That’s after cutting the bottom mount to 1 1/4” overall height. It’s tight but I think it should work. I can’t get the top mounts on it’s too tight so need to loosen the mounts and get them on then retighten everything
-
-
-
Yea it’s a 34. I took an 1/8” off the rubber and will get it remounted today hopefully. Gonna put alittle touch up paint on first where they hit. I’ll keep you posted.
-
1
-
-
Got all the mounts redone and now it seems to close to crossmember. Scratched my new paint too dang it . Should I ship lower crossmember down?


-
27 minutes ago, knobless said:
Sometimes the remedy is only a question away, dust shield for trans, my option/ remedy/ product, first pictures of seal, 3rd photo seal “ sandwiched” between trans and crossmember with shift bar accesss,,,,making them for all interested,,,,


I’ll buy 2 if you have them, my 33 pickup needs one too.
-
17 minutes ago, knobless said:
Yes, correct two piece top cover, you have both pieces? Then you just missing the rubber boot, cup,,,
Not sure what you mean by two piece top cover. Both rings looked to be stamped into the trans and crossmember. The top of the trans is two pieces if that’s what you mean. Anywhere to source the rubber boot and cups? Thanks!
-
They each have a ring where it would have centered on
-
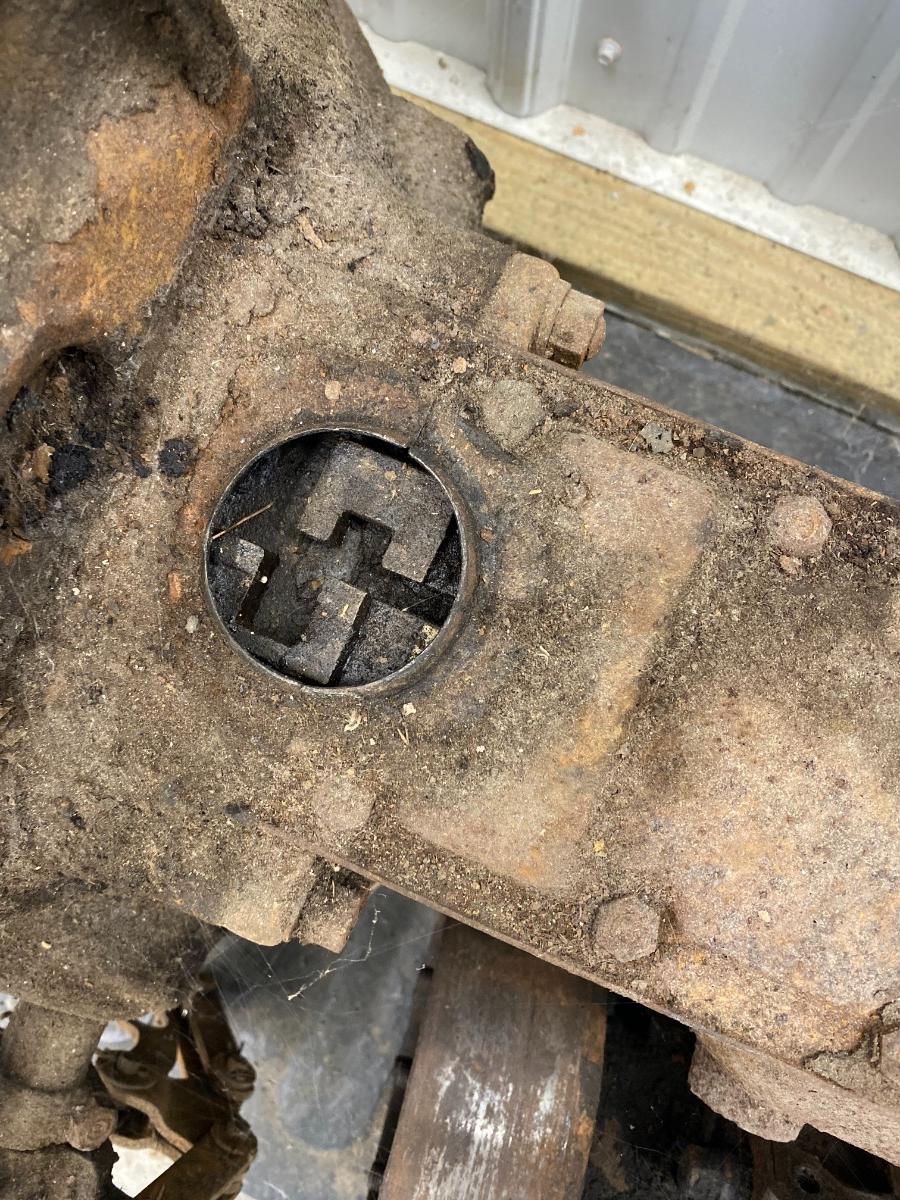
The dust cover that goes between the opening and the trans and the bottom of where the shifter goes.

-
1
-
-
I was wondering what are you going to use for dust shield between the trans and the top crossmember. Need to get something for mine
-
I located a set of tie rods from Andy Bernbaum and they are the same as the ones I removed from the truck. So the HC pickups are different then the cars. The boots are dry rotted, anyone know of someone that can redo the boots?
-
Rebuilding the steering finally! Just been so busy lately. I bough parts from rare parts. Will get some pictures shortly


My new to me 1933 HC
in Dodge Trucks
Posted
I’m guessing the pitman arm stretched so I made a spacer to get it tighter on the splines. The nut was bottoming first. If anyone knows of a good pitman arm let me know