


chistech
-
Posts
2,816 -
Joined
-
Last visited
-
Days Won
24
Content Type
Forums
Gallery
Events
Posts posted by chistech
-
-
The car will not run correctly with that small of a gap. I just bought a spare 31 engine and it didn't want to run well. Pulled the plugs and they were gapped at .025. Opened the gap to .040 and it ran perfectly once it cleared out. These motors need a bigger, hotter spark with today's gasoline.
-
I too am looking for the same lighter. I have a complete one that works but it's not the correct Oldsmobile one. I am think about trying to turn the correct black knob on my lathe and fastening it to the metal lighter body. I have made many parts already for my car like a free wheeling lever and golf bag door lock with dust cover. Here is a picture of the lever I made a wood pattern for, had cast, then machined . Still have to cut the pinch slot and keyway.


-
 1
1
-
-
I too have a fondness for the old square bodies as I grew up driving them though my first truck was a 72' Blazer. Wish I still had that one! I like the Blazers so I found a 83' military, no motor or transmission, with only 27K on the speedometer. It was originally from Alaska and had virtually no rust and no hard top because it had a special body mounted to the bed that was for listening equipment. Got to figure it was based in Alaska, right next to Russia and at the end of the Cold War. I purchased it from a guy who bought it for its engine and trans from a town auction. I bought a 91' HO 6.2, had Monster Transmissiom in FL make me up a 700R and then did a frame off keeping the military look but with modern paint, chrome, full options ( from a deluxe optioned GMC Jimmy) including cruise/AC, 97' Tahoe power leather seats I added heat to, rugs, rear side panels, new wheels/tires, and the list goes on. When my wife realized it could be a convertible, she had me buy the soft top! It's one of my favorite vehicles to drive. A perfectly restored hard top sits hoisted up in the trusses of my garage never to come down again. LOL will post a few pics but have them saved in my laptop, not my I pad.
-
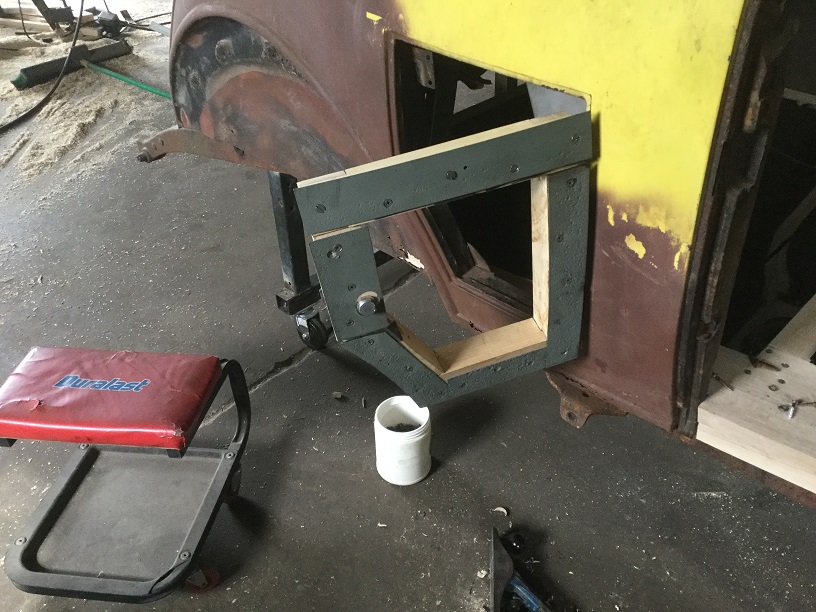
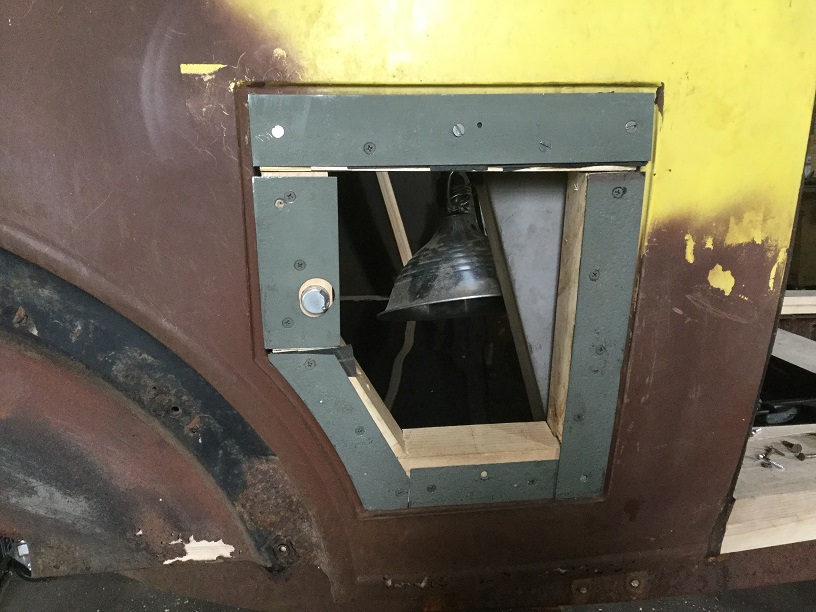
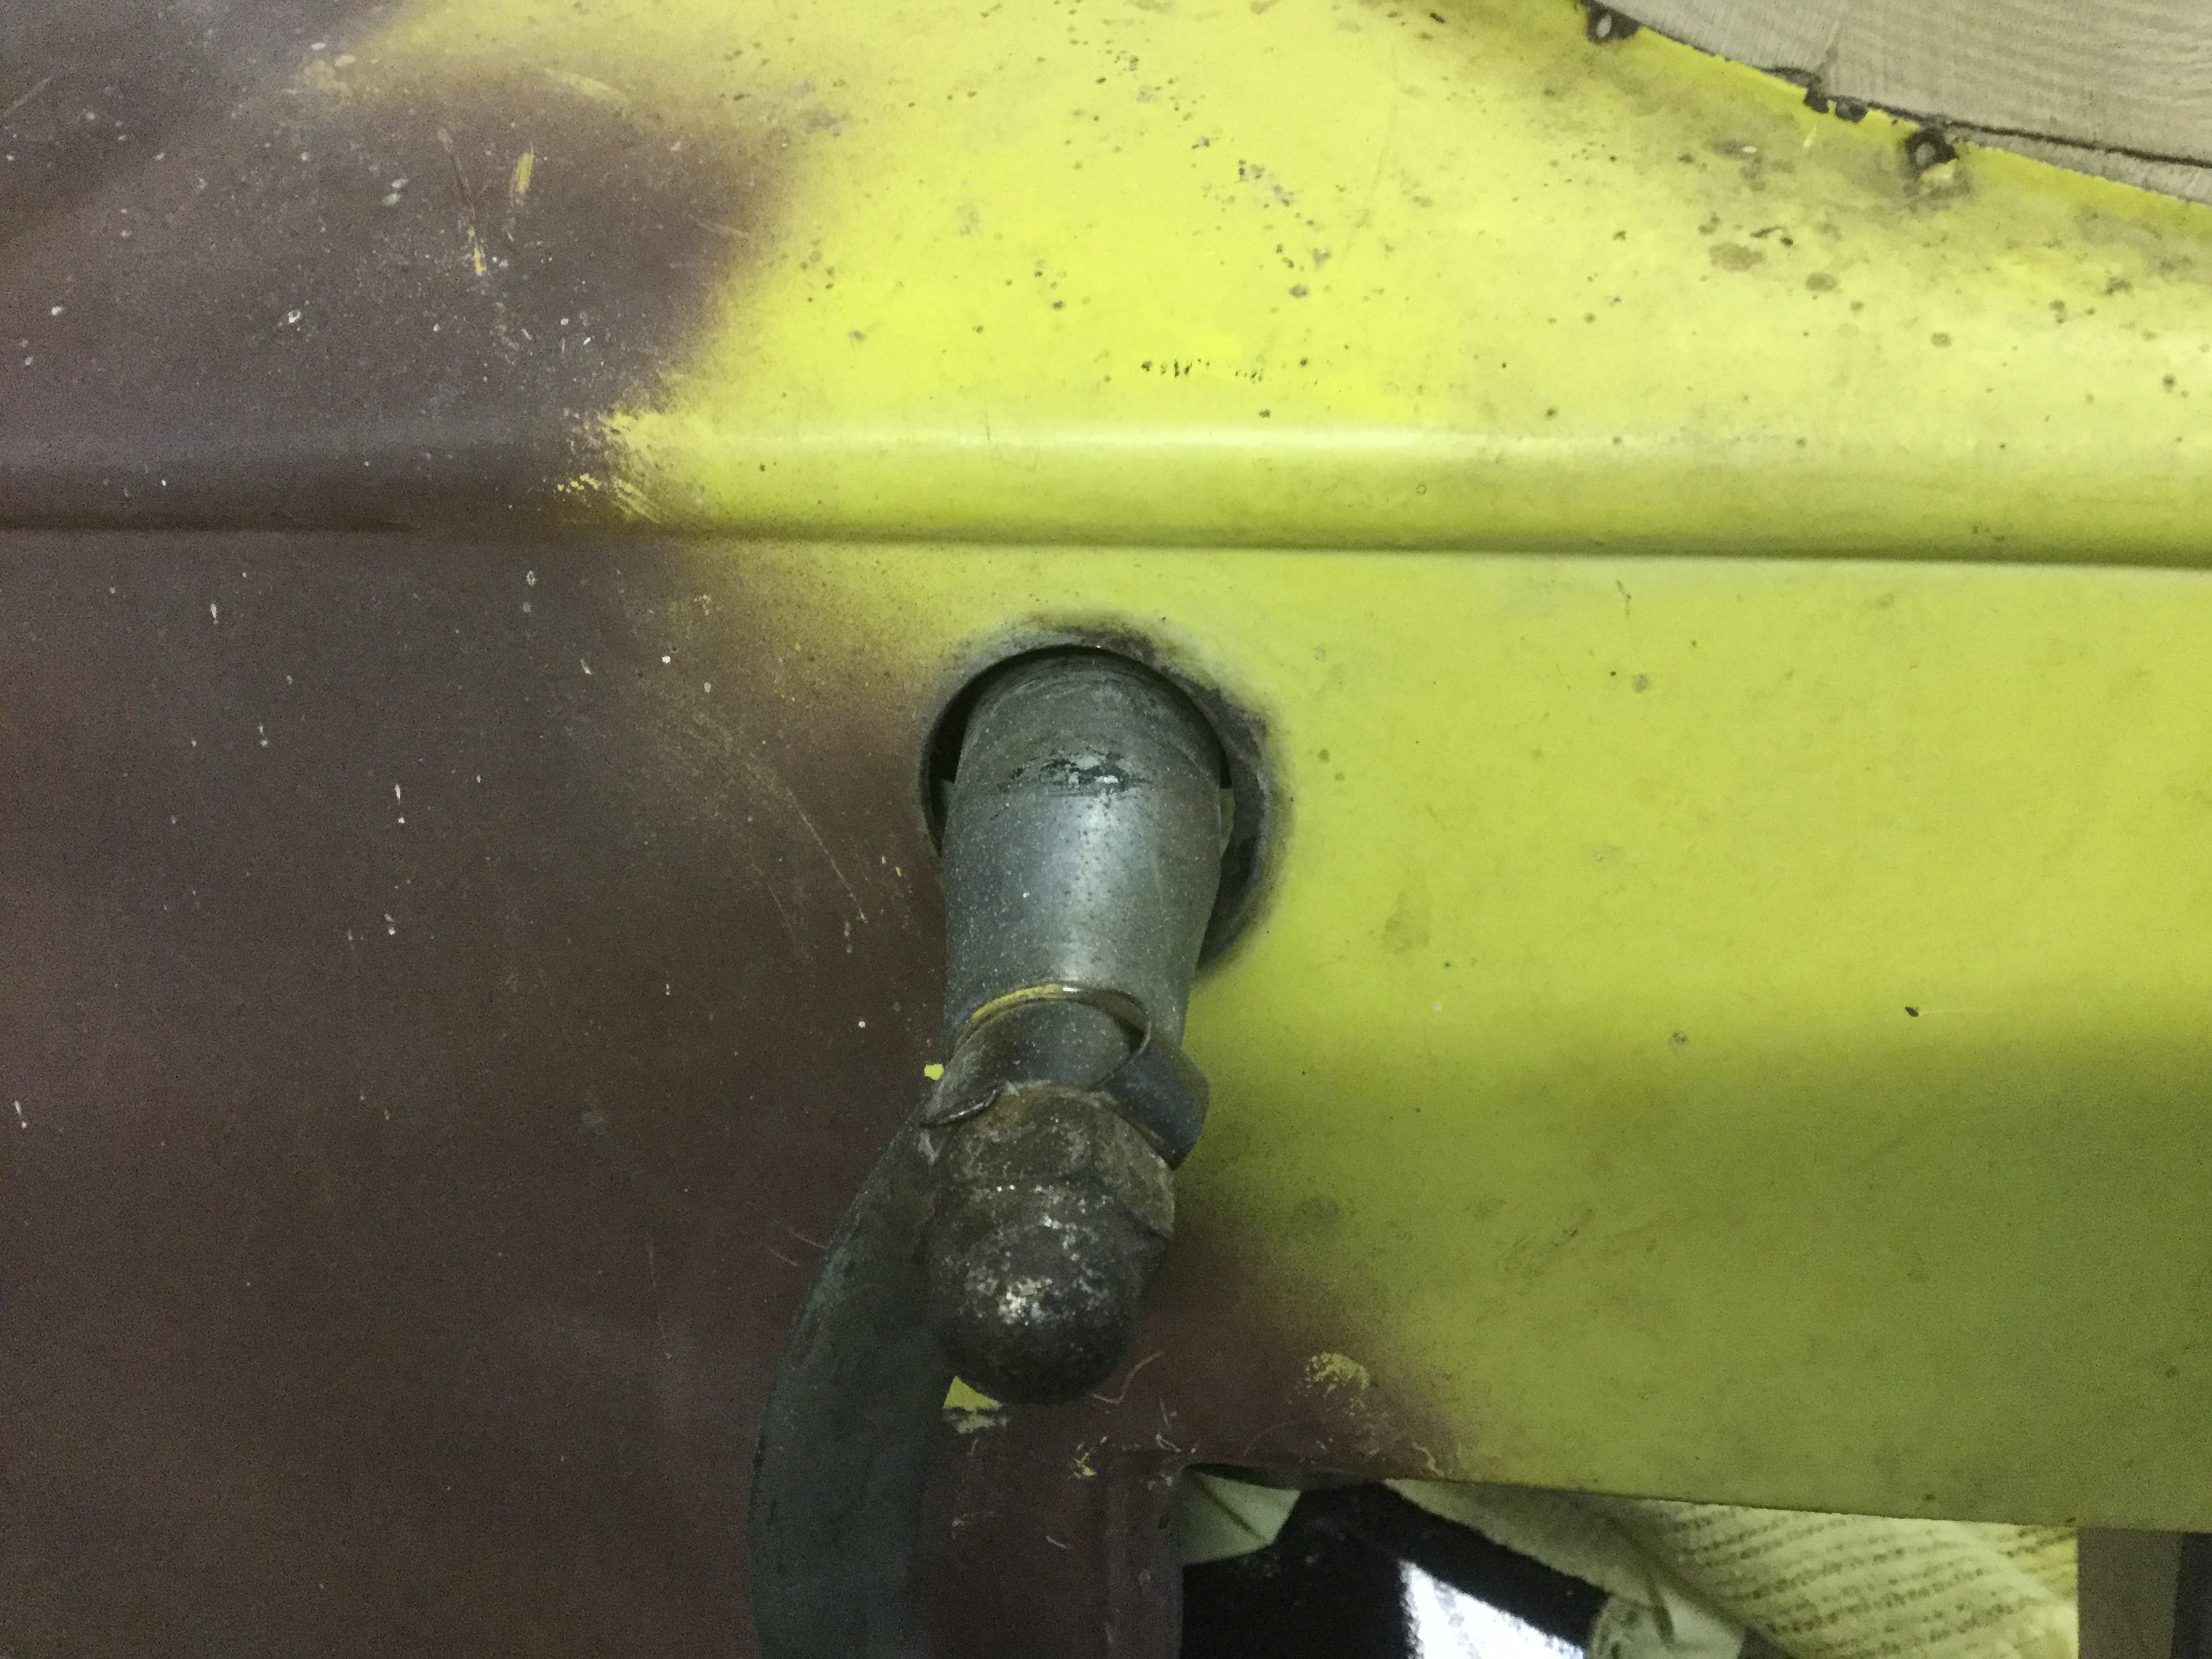
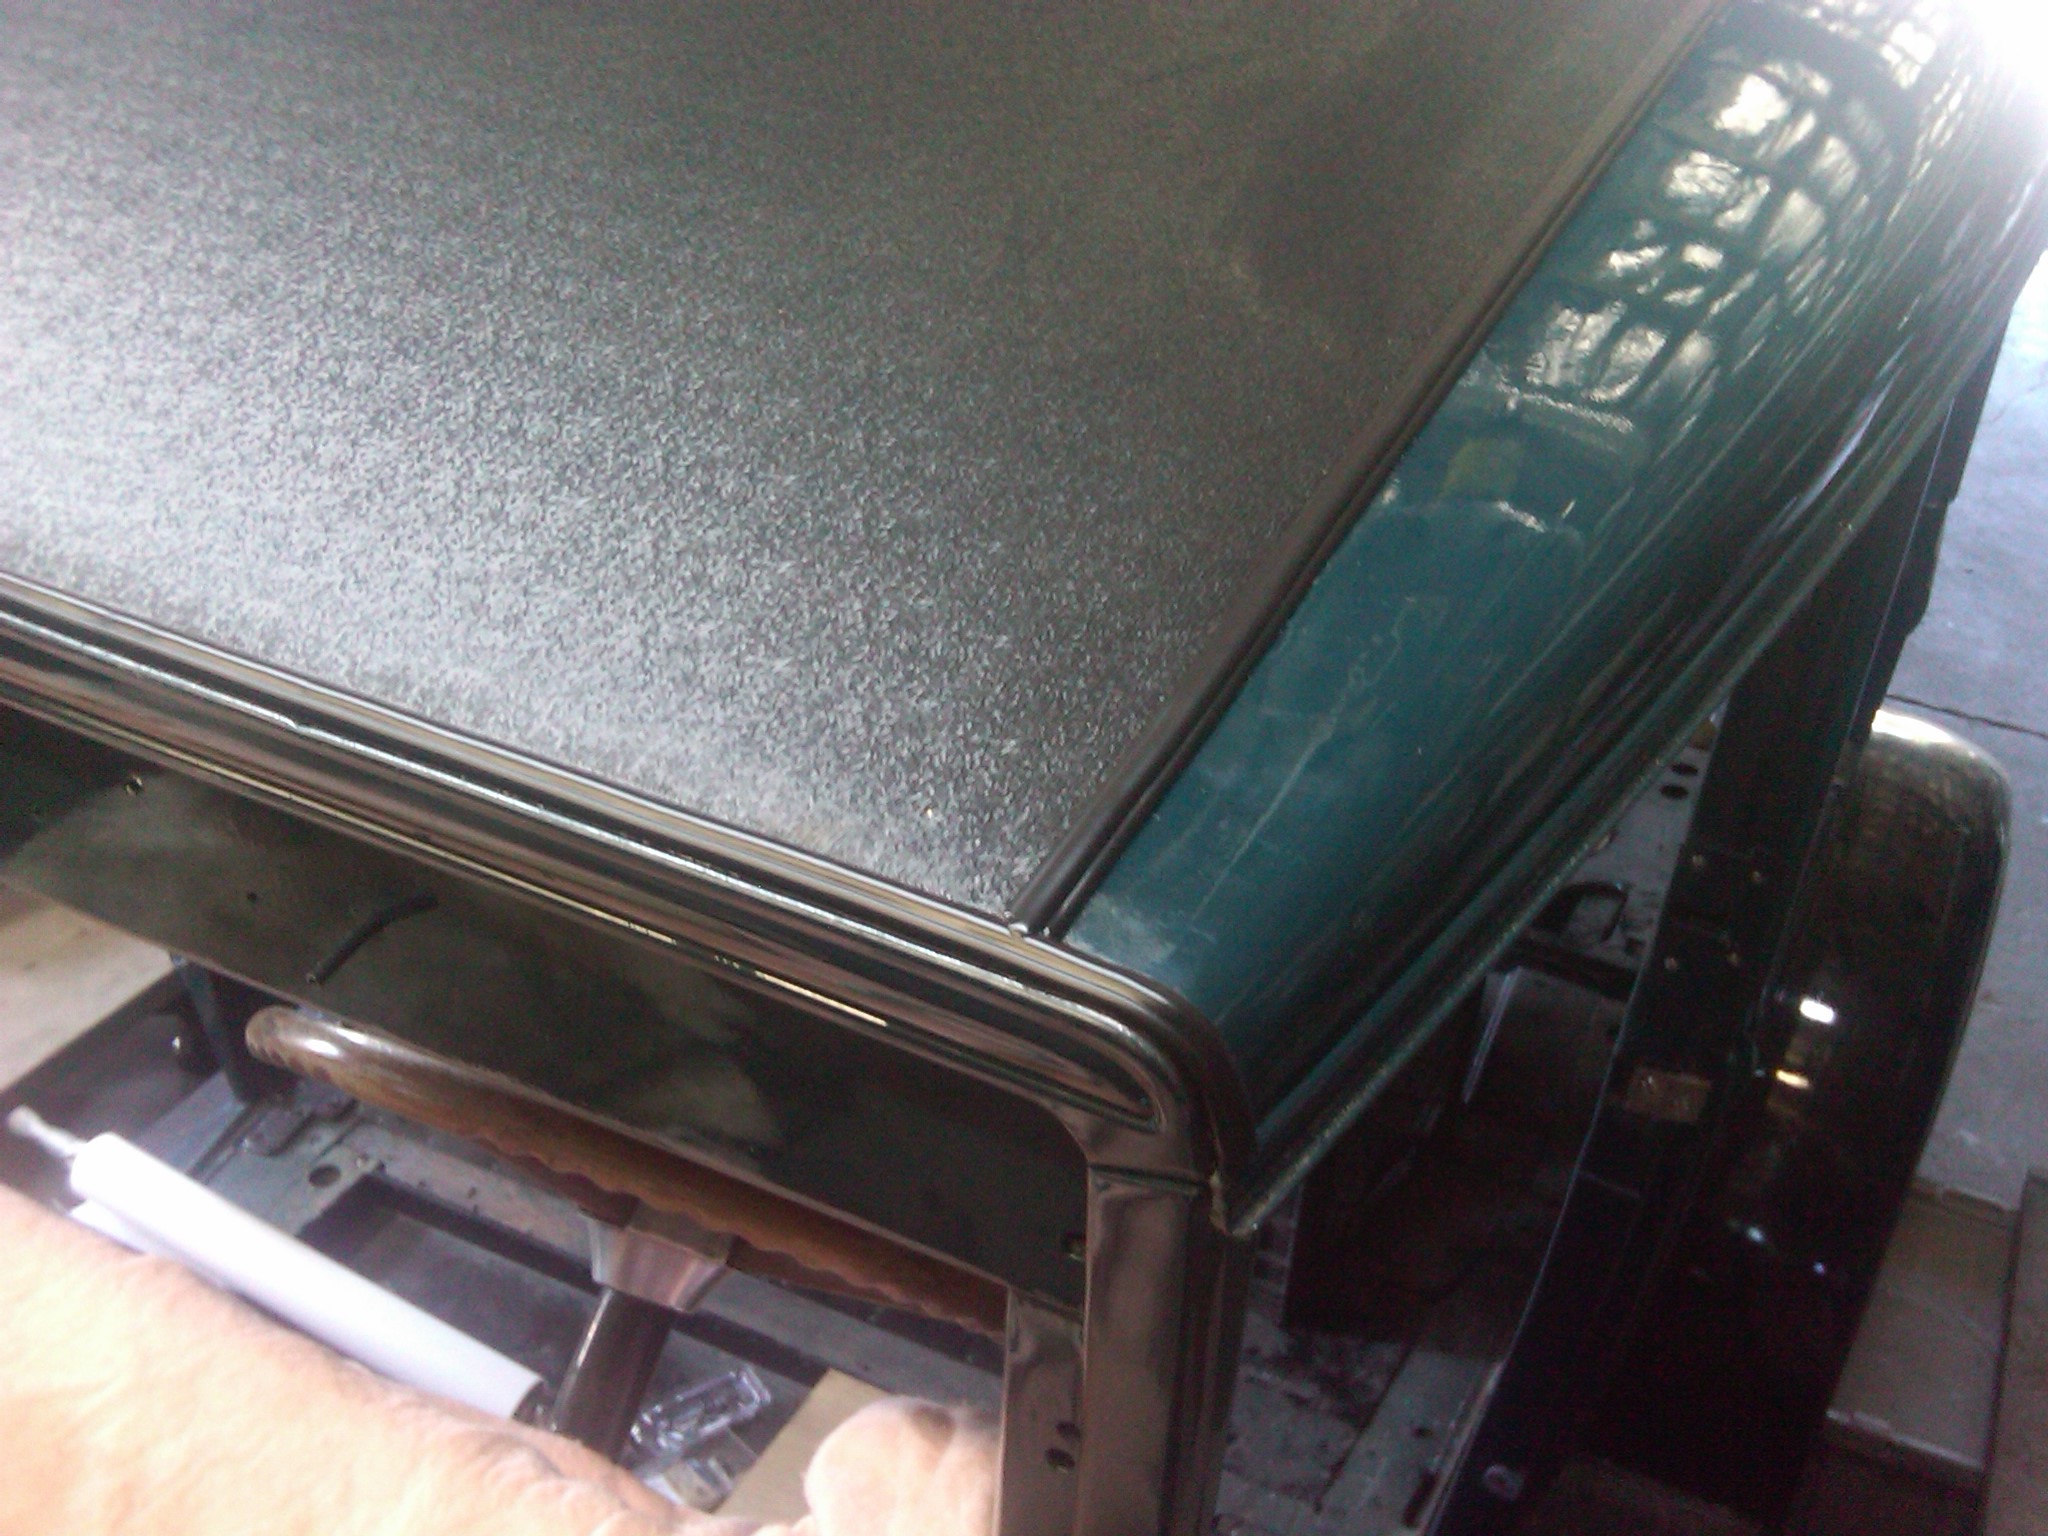
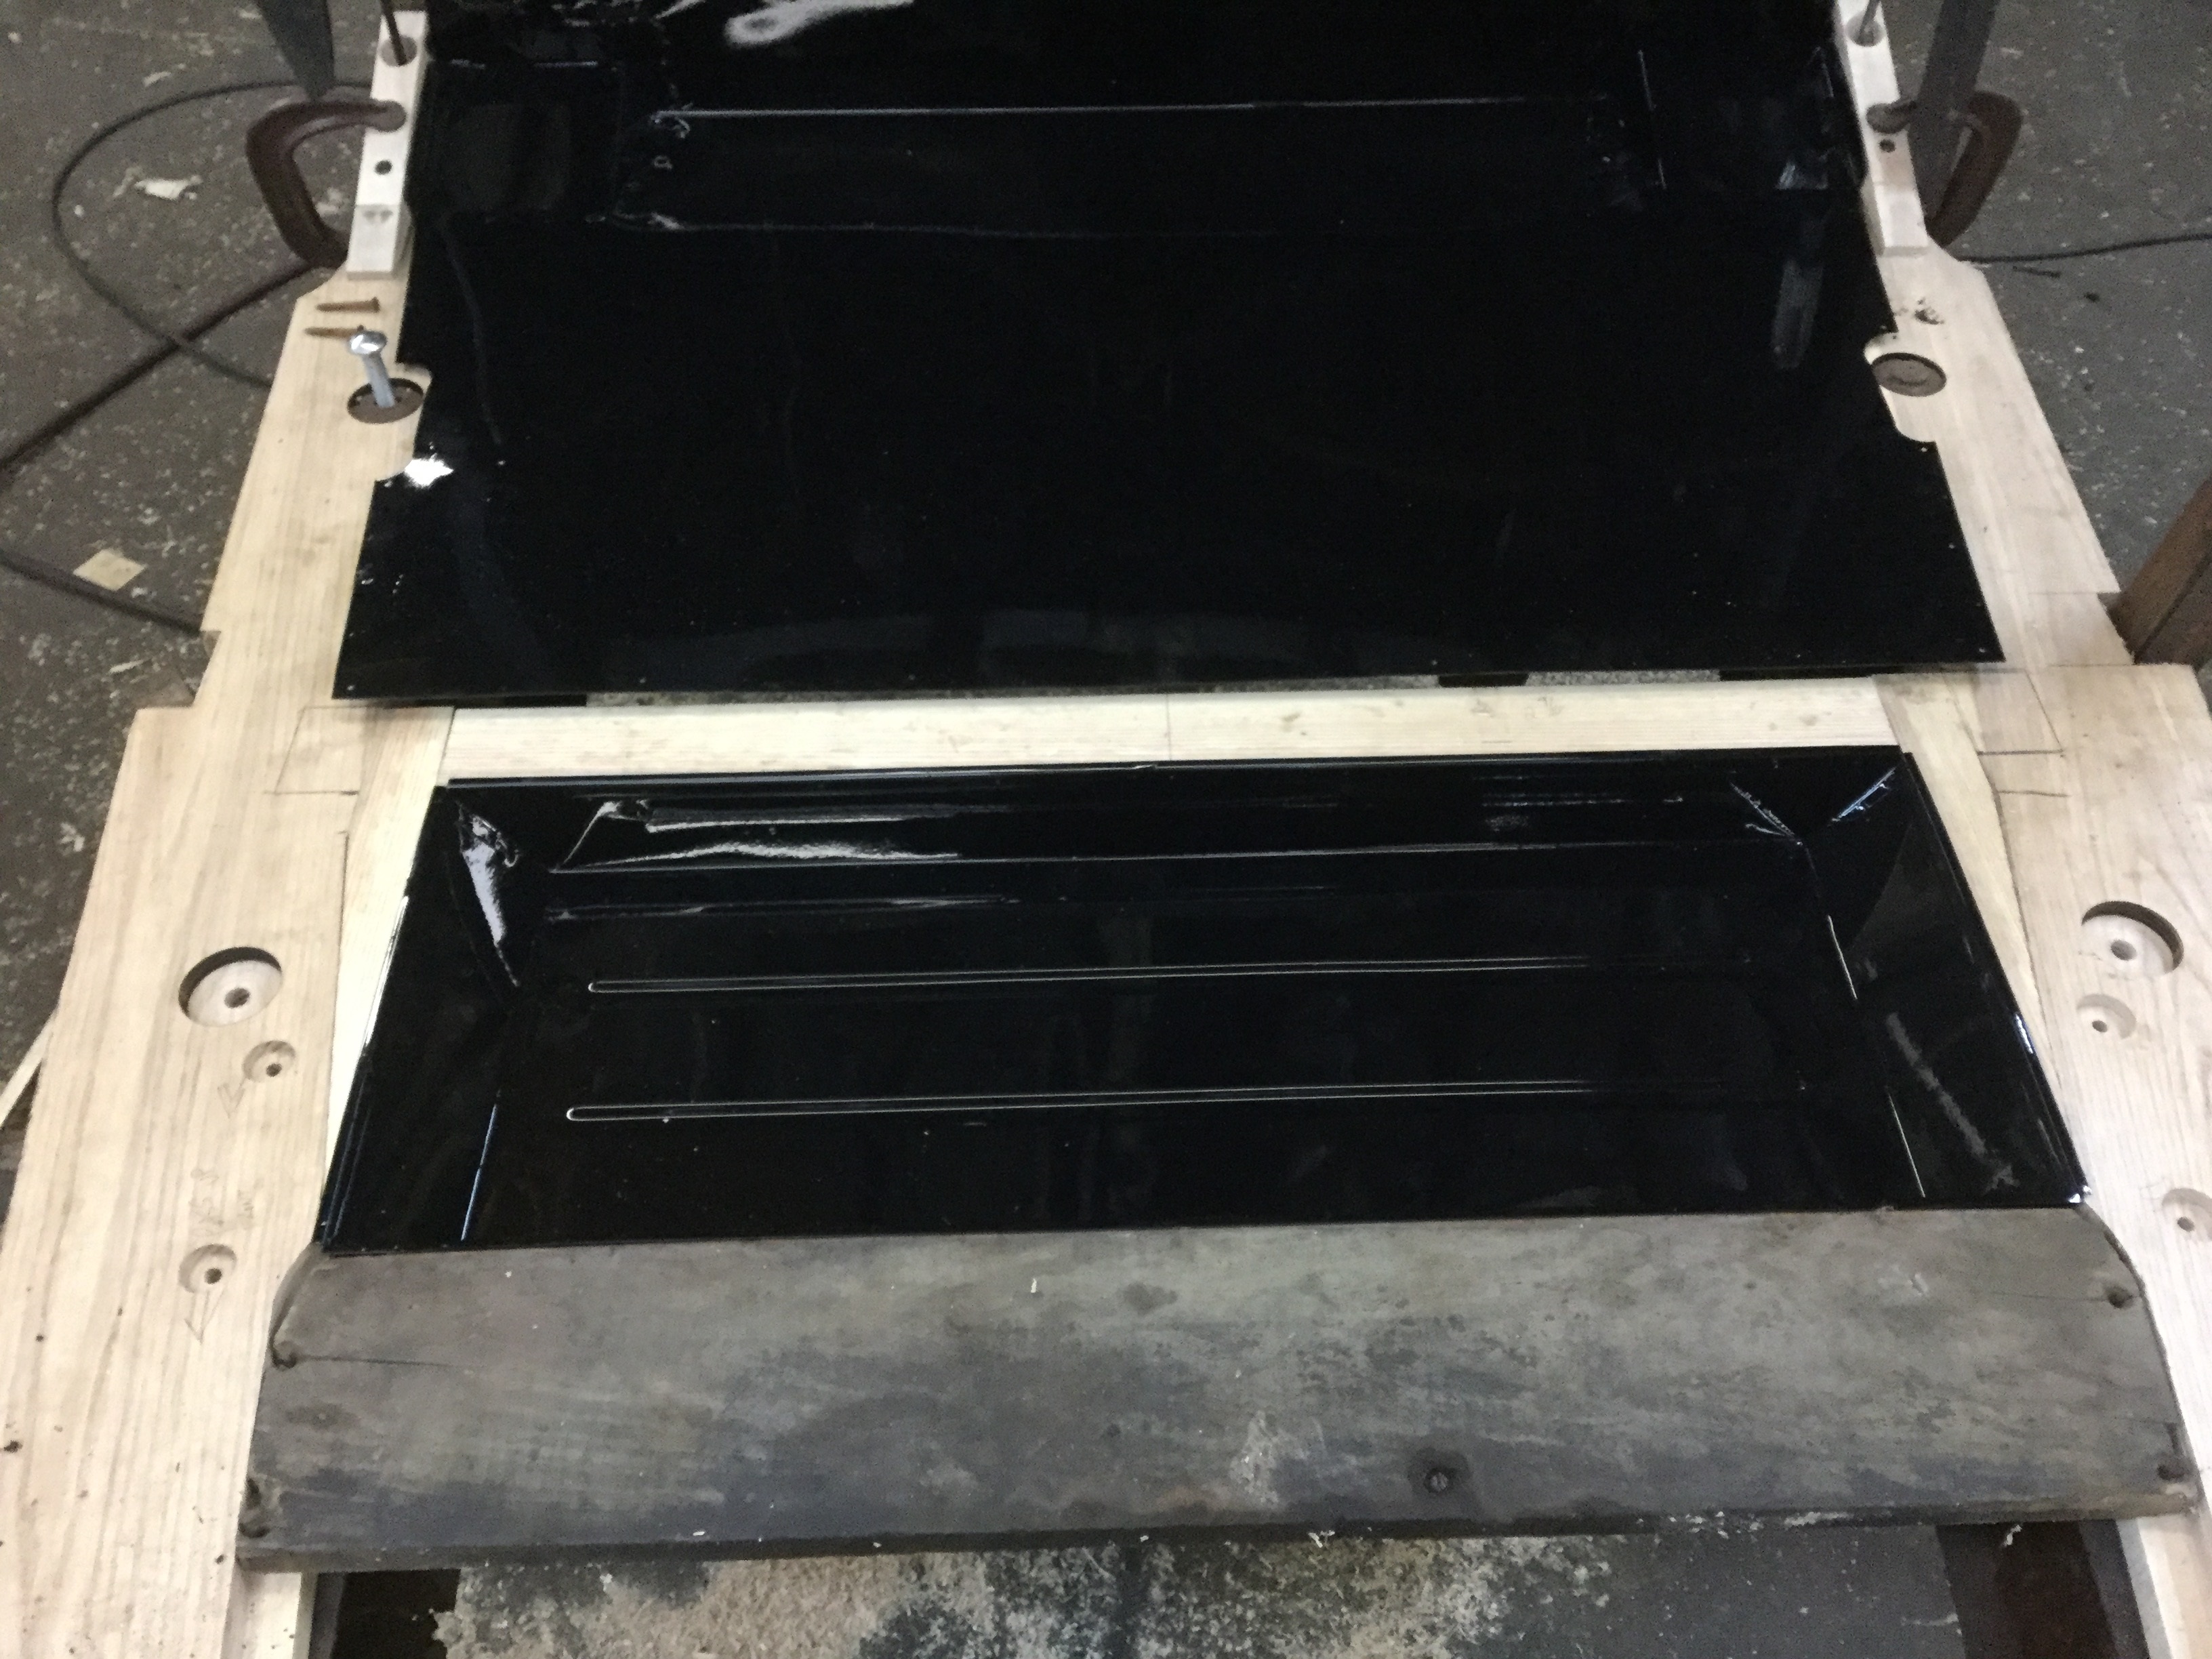
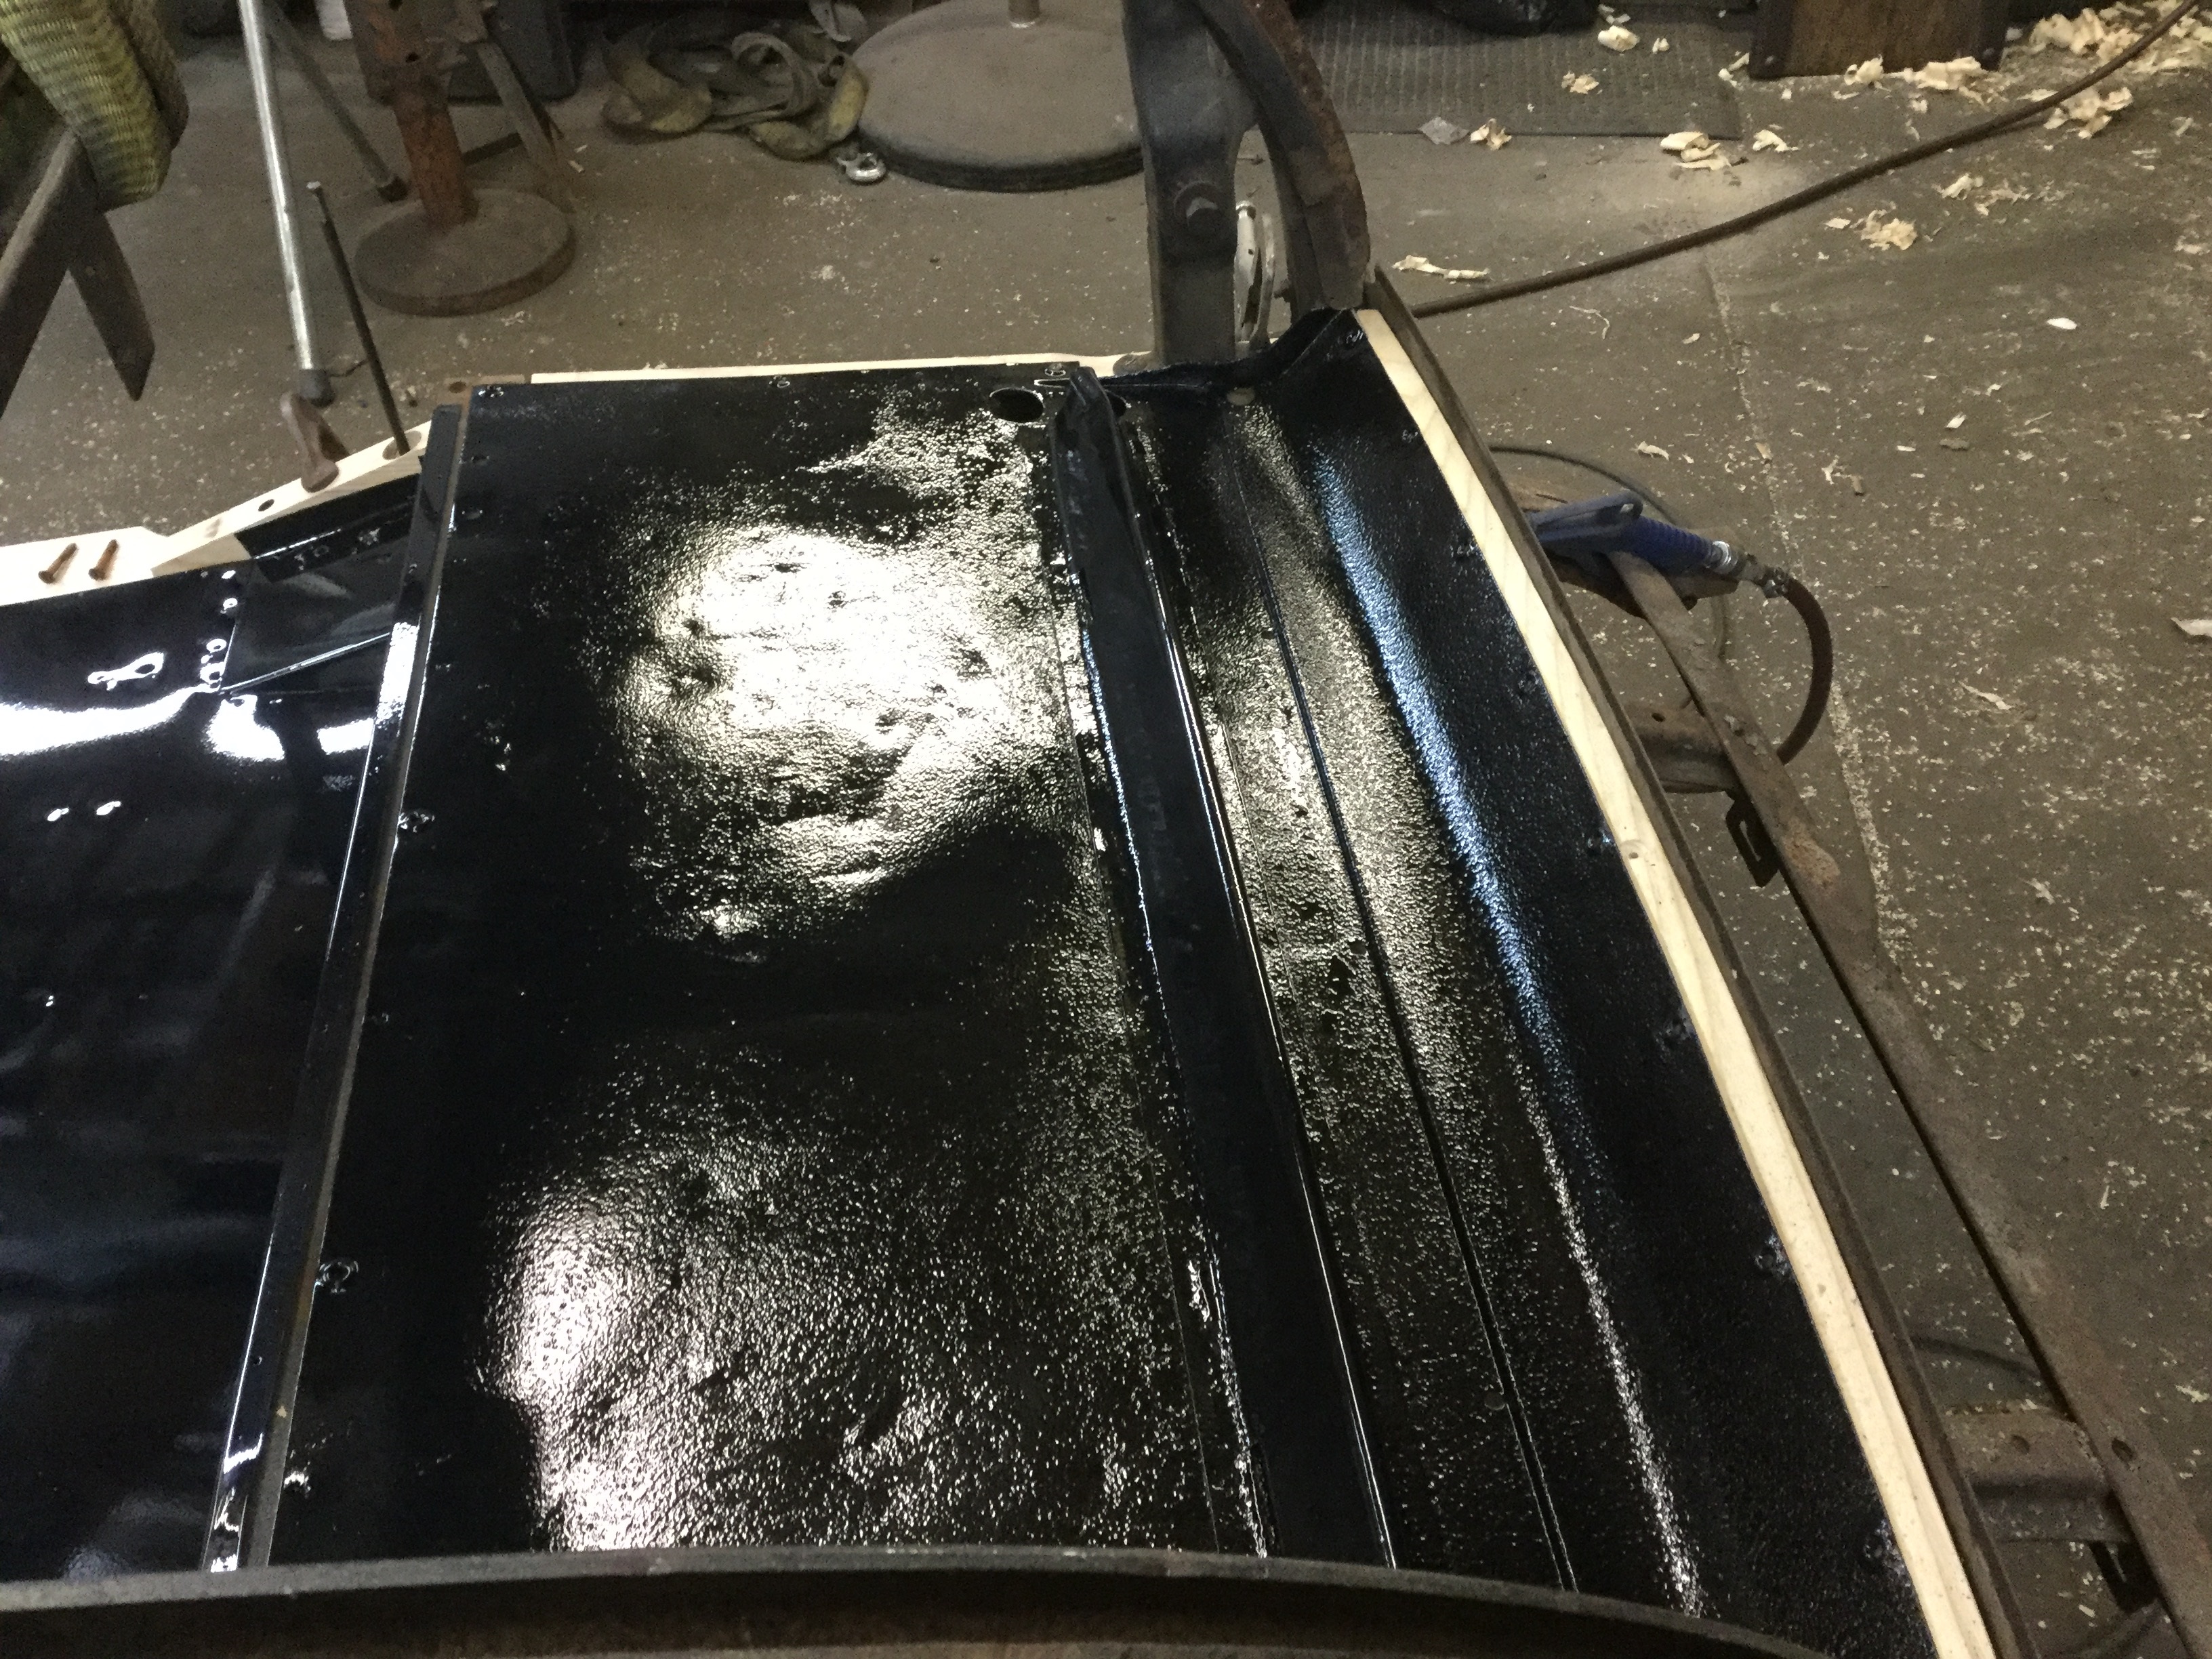
Built up the frame work for the golf bag door the other day. Anyone who's ever done one of these I'm sure will agree there's an excessive amount of work to get the contours just right to make the sheet metal all line up. The outer skin is held on the door by bending the edge of the skin over splines attached to the wood framework. Year back when the wood rotten, someone decided to just put two screws through the door skin so the screw holes got mig welded up and show as bare metal spots in the etch primer. The lock/latch for the door is different than most as it's not a handle but just the key to open the latch. These locks are often missing or damaged because of "white metal" failure and mine was gone. With the help of a friend acquiring the lower part of the latch and another friend with a machine shop, I was able to make up a close replacement complete with spring loaded dust cover. Ended up getting the lines and curves of the door pretty even all around with the opening so the door skin lip was hammered down flat to secure the skin to the word frame. One picture shows a view down the car's side to show the door's surface to the body's surface. A good heavy coat of black paint has it ready for it's interior panel.


-
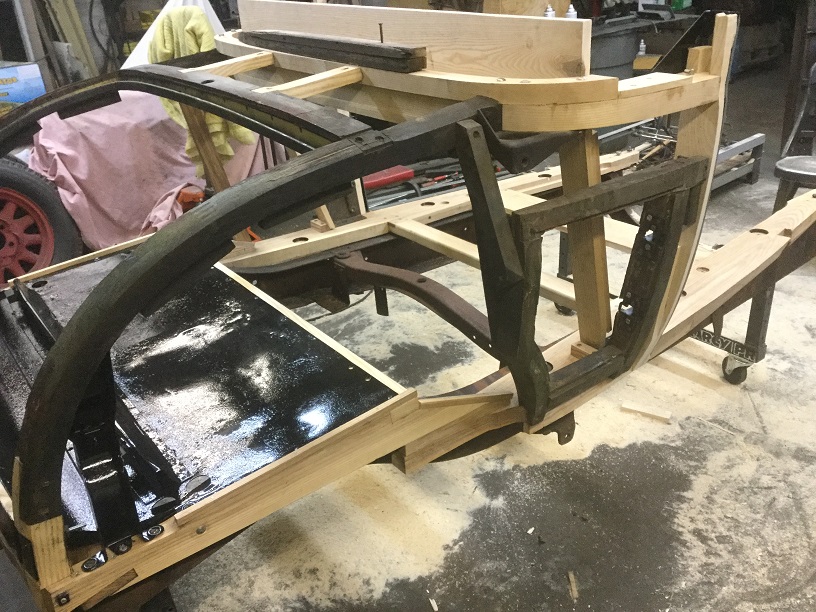
Started gluing/screwing the lower parts of the wood framework together and applied Cuprinol preservative. The ash is so good looking with the Cuprinol on it, it's a shame to cover it up. Will glue more together once the sheet metal body work comes back from blasting and I can fit to the new pillars to make sure all it correct. Blasted, primed, and painted up the rumble lid supports then re-installed them. Got the lower rumble pan support iron blasted, painted, and installed across the rear of the frame. Put the rear/rumble floor pan in place and will screw it down.


-
1
-
-
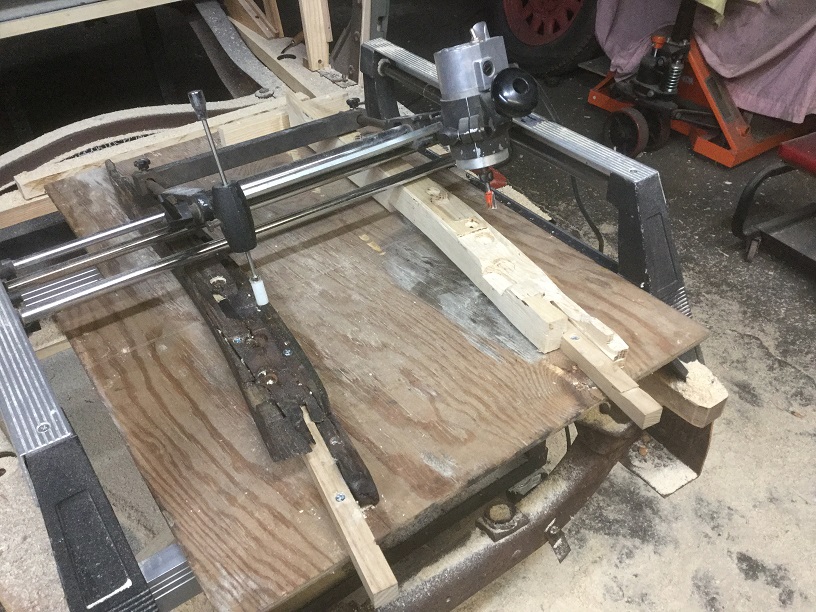
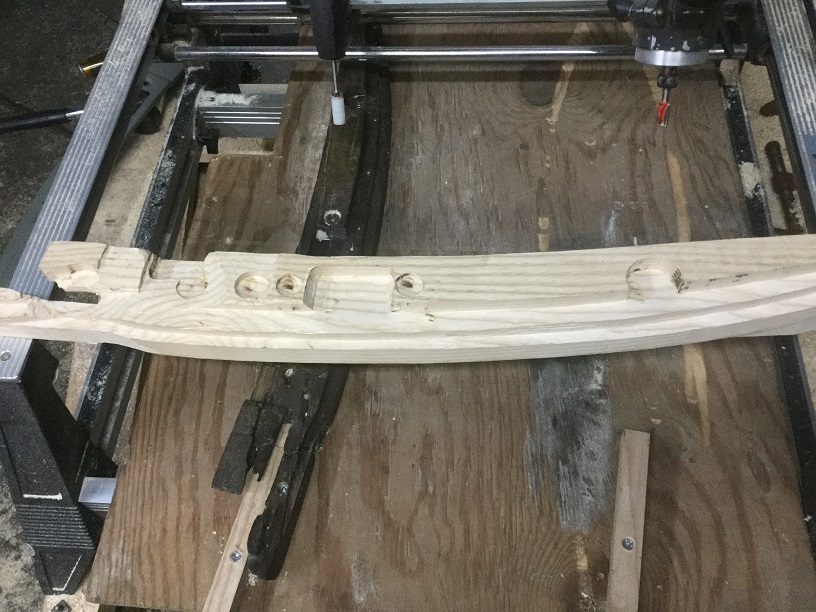
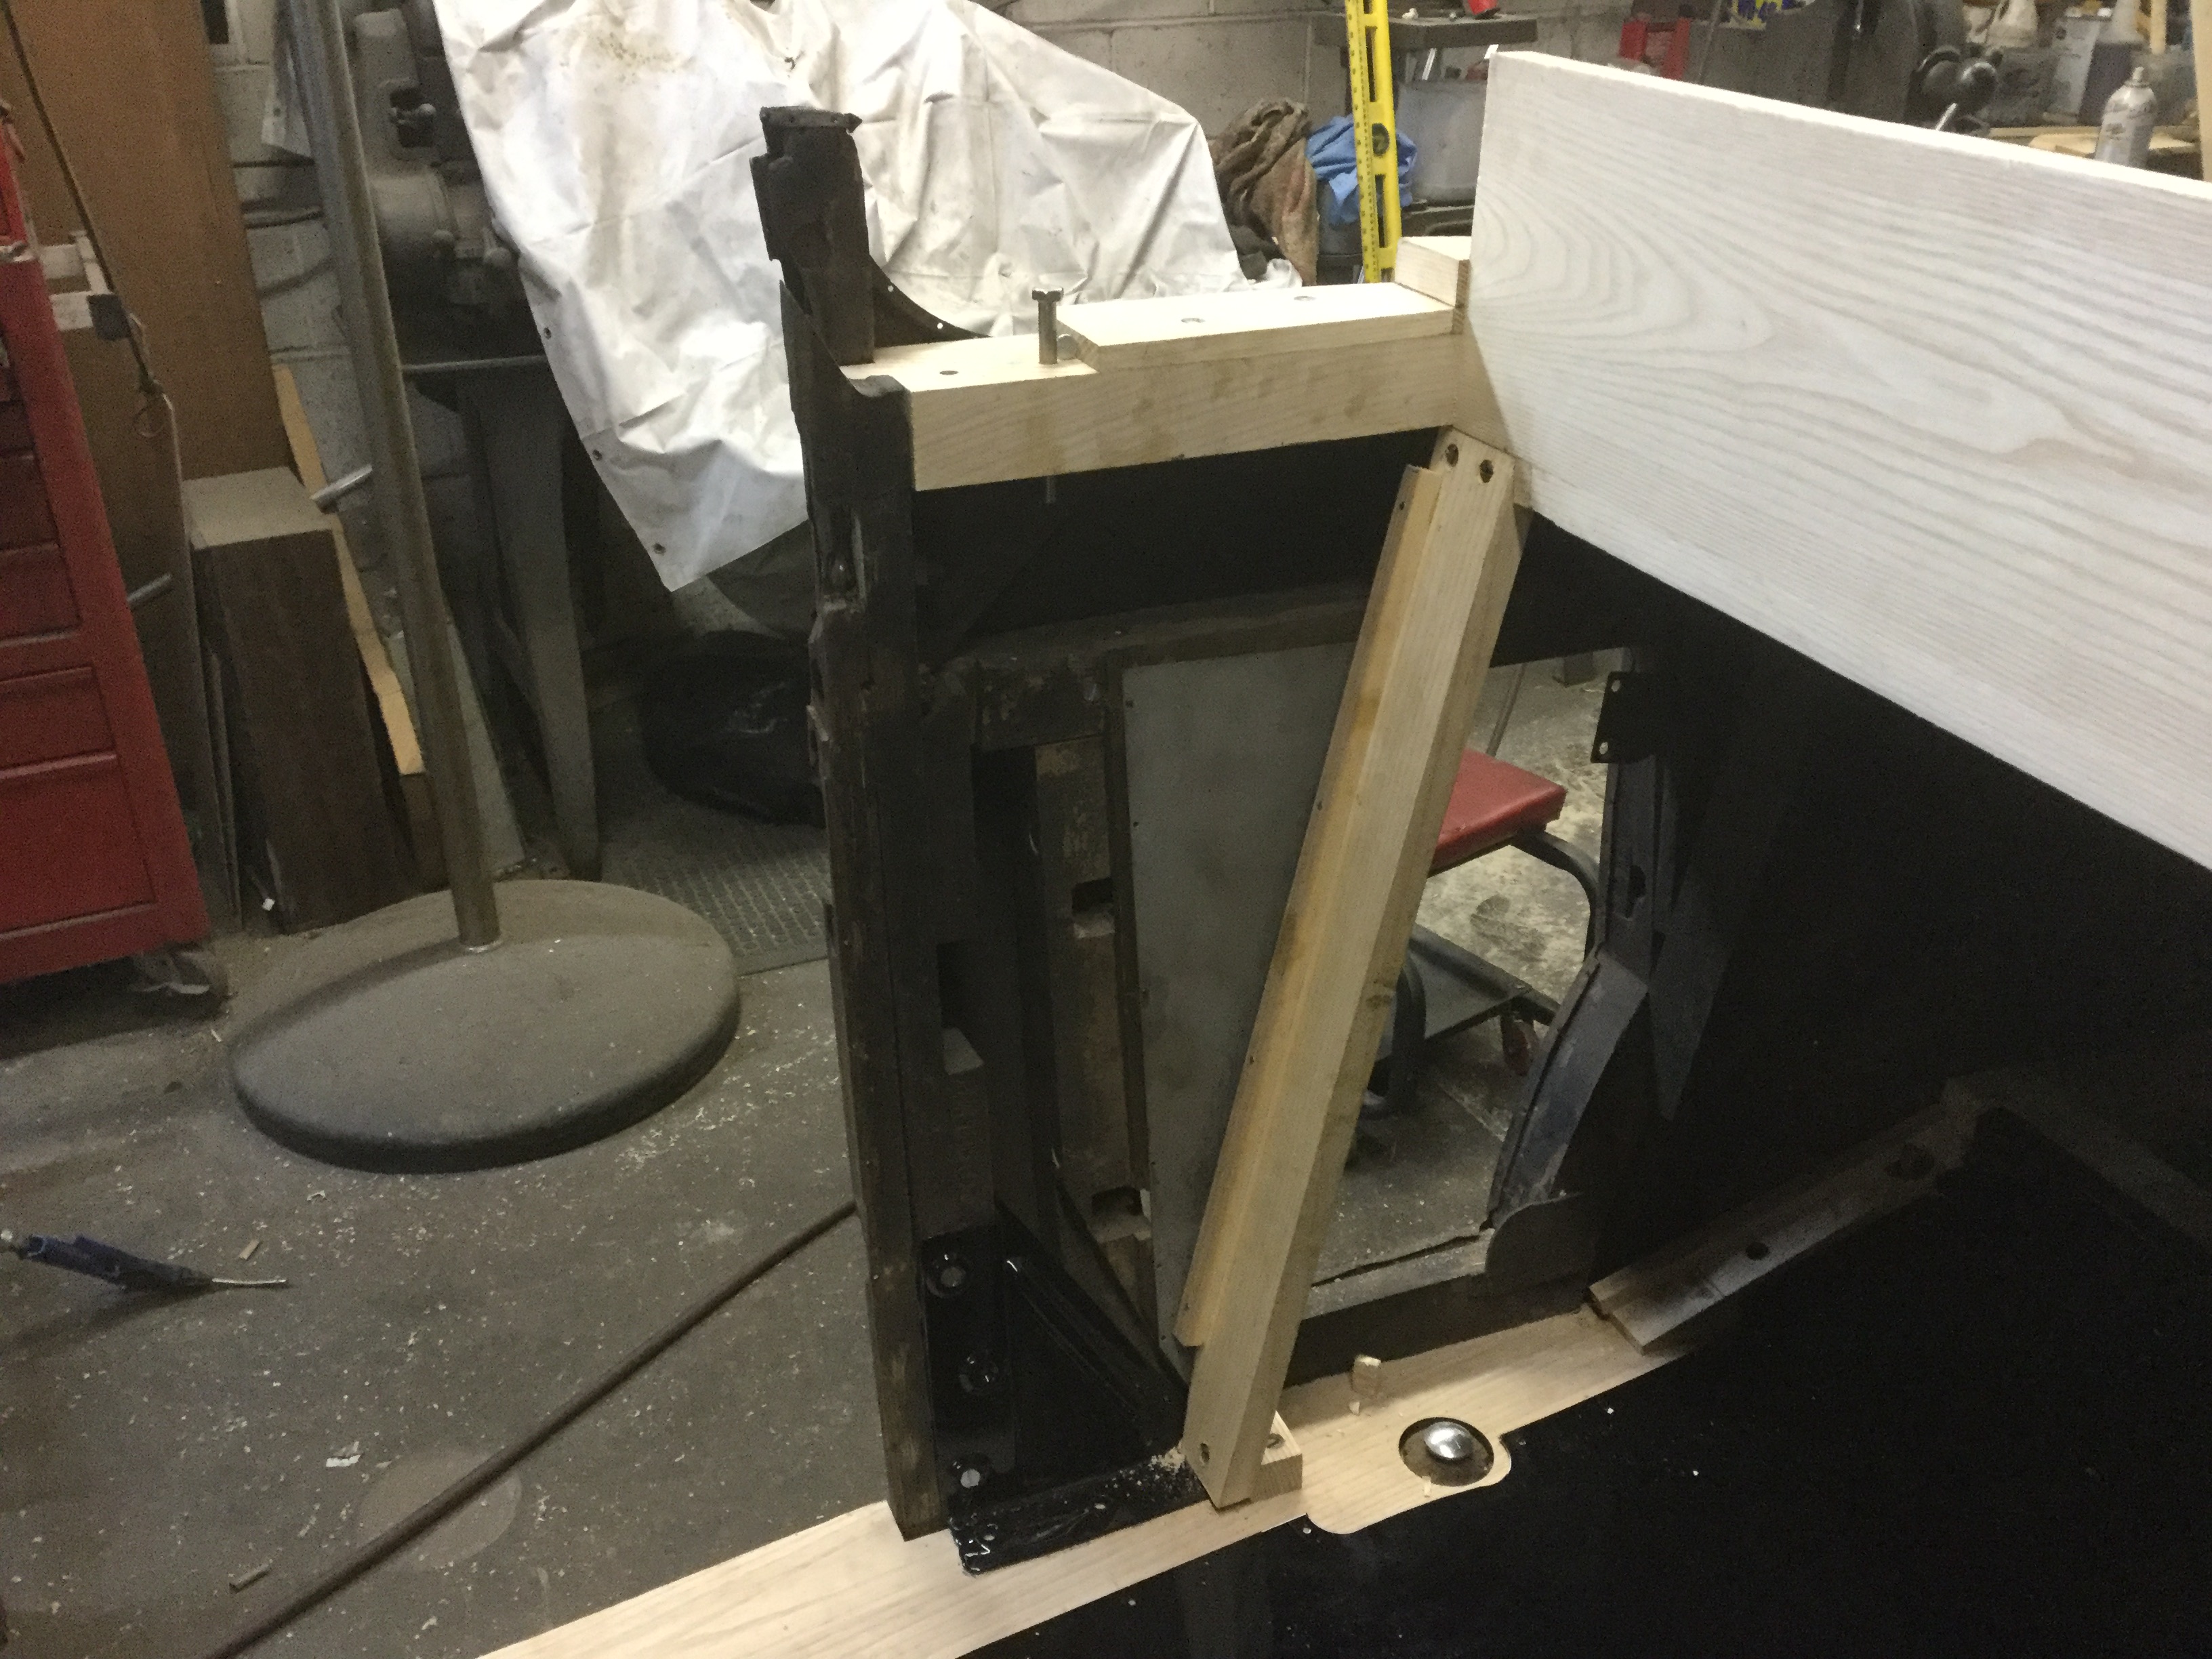
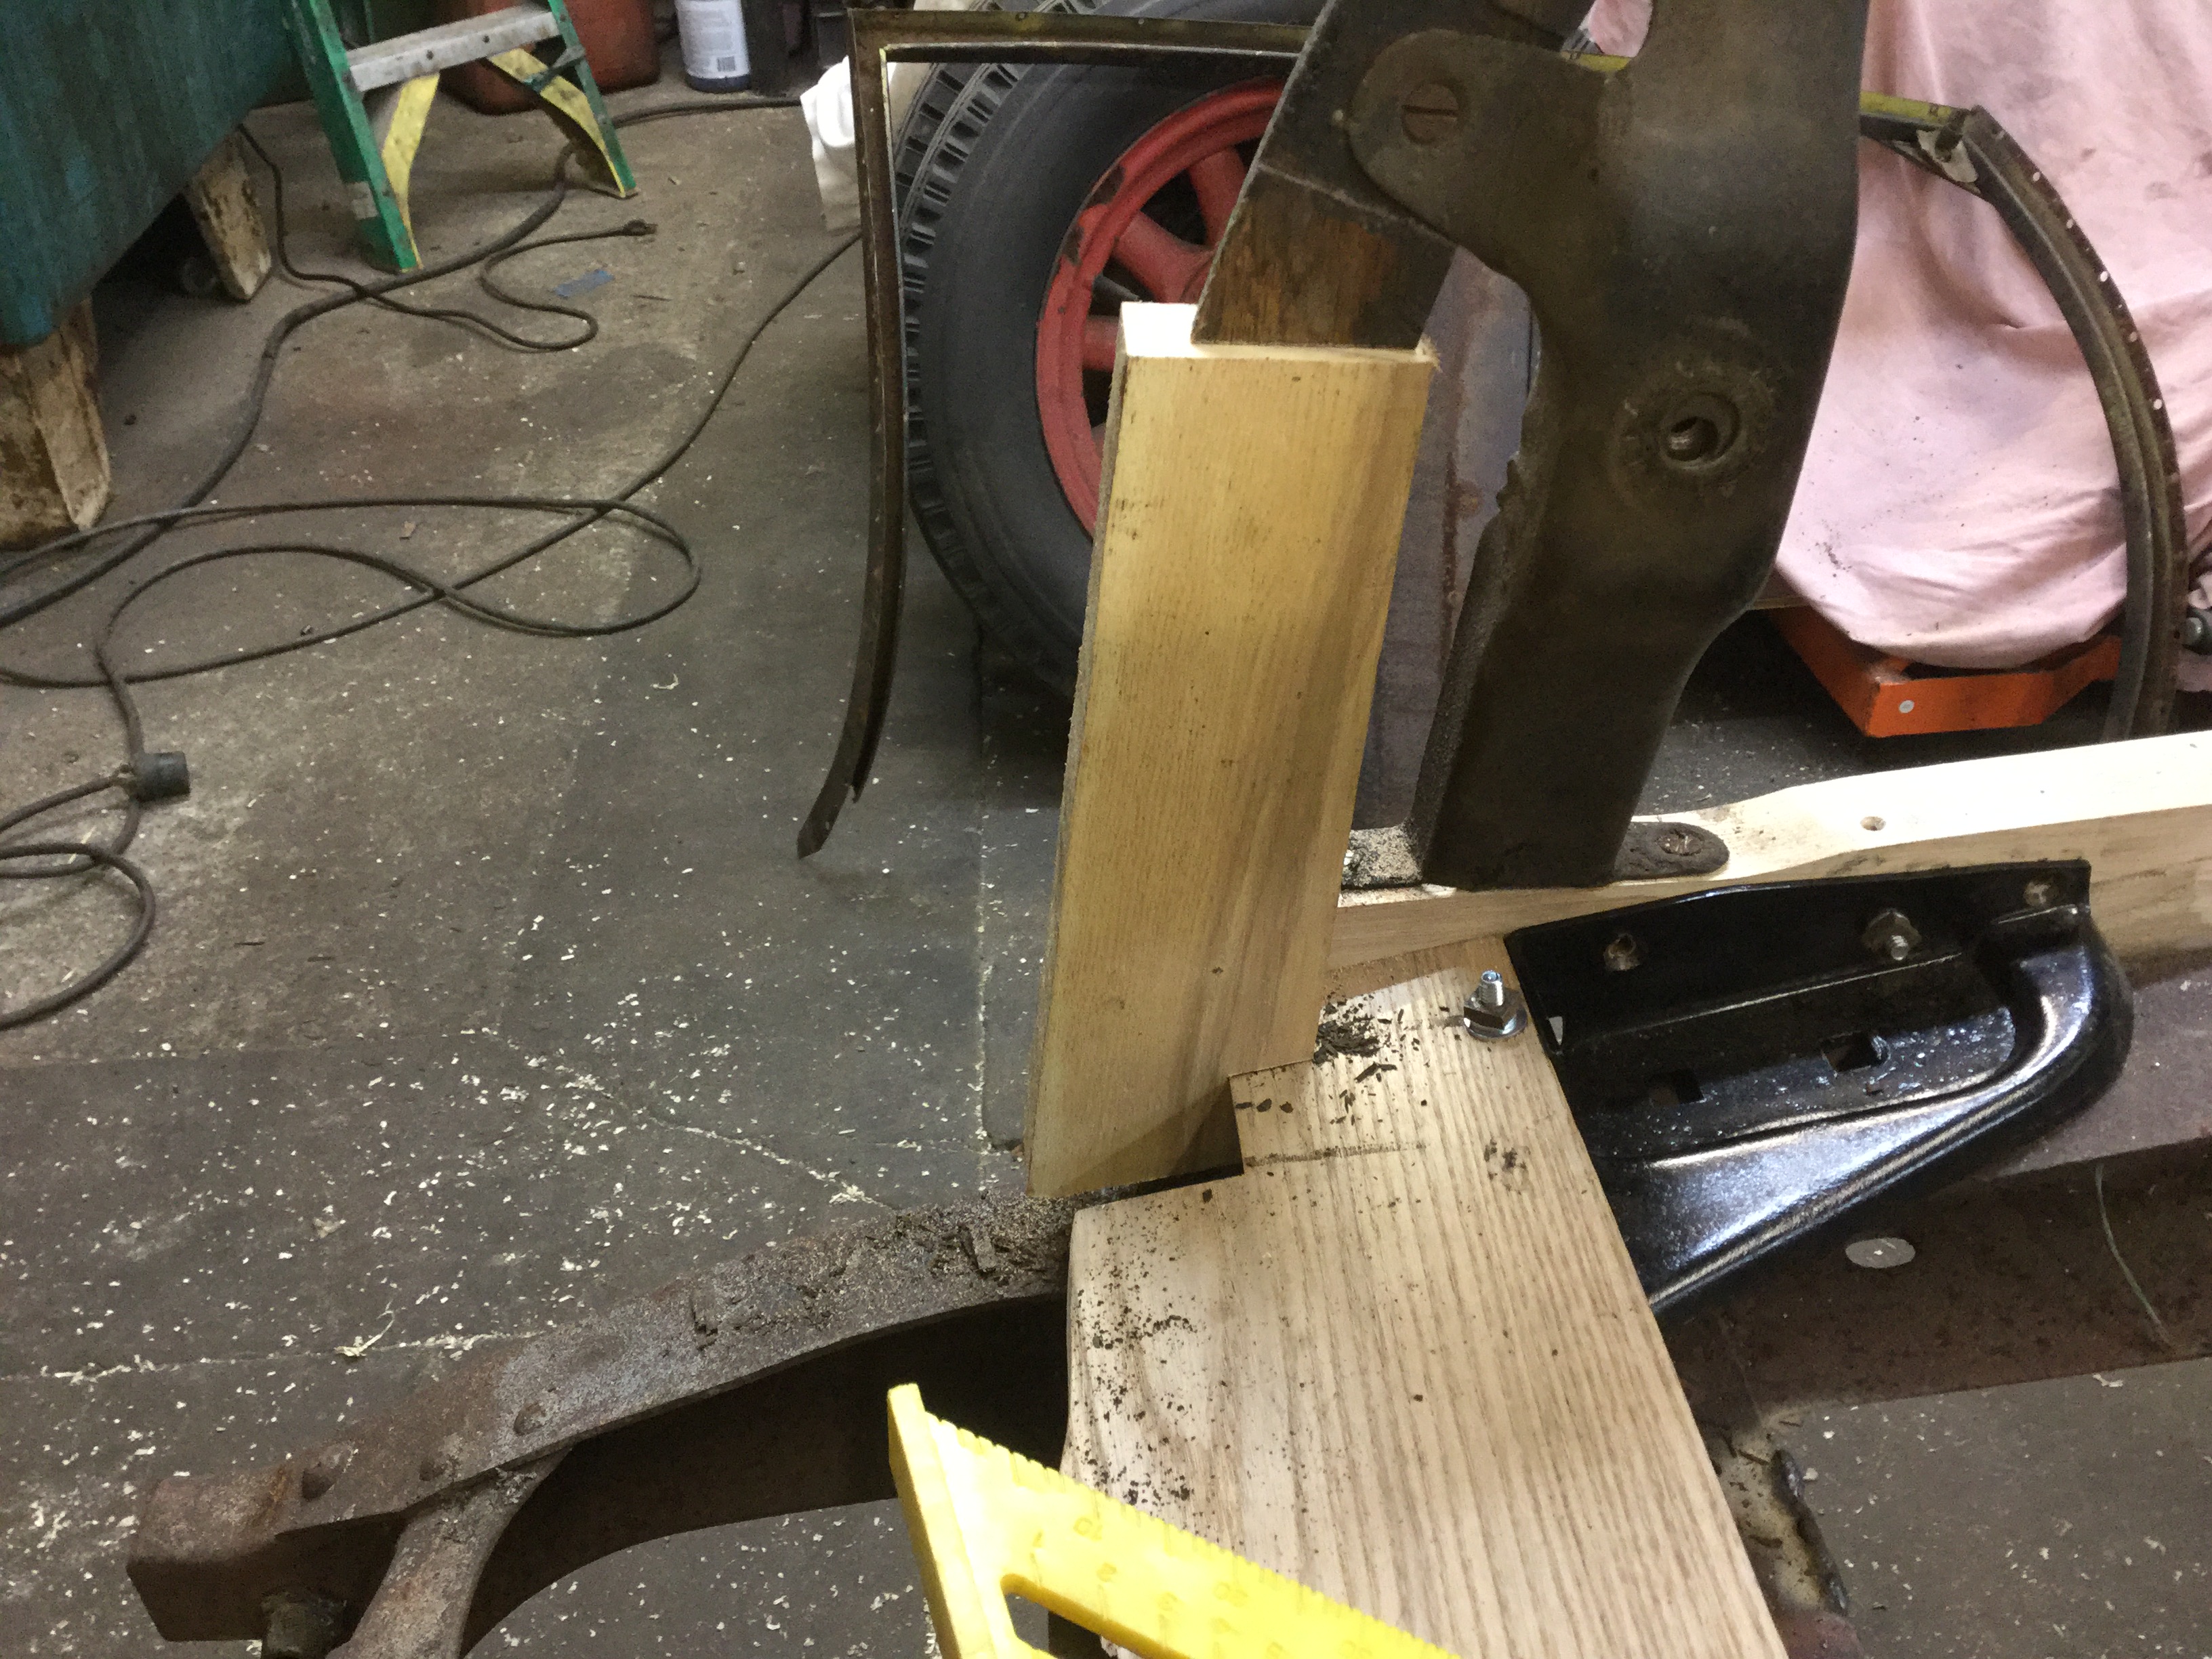
Worked with my router duplicator today and made up my two latch pillars for the Oldsmobile. Takes a little practice and setup but overall, it made up very serviceable pieces. Both fit correctly and the door jambs fit over like they should. Some sanding after and some hand chisel work in places clean up any areas where the router bit doesn't quite get. Putting on the jamb covers shows any places the wood is too high. A little more fitting and they're done. Won't screw them in until the sheet metal comes back from dustless blasting and I can refit the sheet metal on the frame.


-
1
-
-
Received my newly cast free wheeling levers from Greg Coleman yesterday and had my neighbor clean up the casting marks and surface. Bored the shaft hole, the clevis pin hole, and the pinch bolt hole. Drilled and tapped the pinch bolt. Now to cut the pinch slot and key way. Took a little break from the woodwork.


-
Getting more done every day. Made up the parcel shelf today and it's supports. Still have to cut the vertical board of the shelf to match the back of the seat frame. Have to rebuild my seat frame first. Put the seat adjuster in place and bolted the frame to it but it's just to twisted up to use as is for a guide to cut the shelf until it's repaired. Here are pictures of the adjusted landau bar mounts and the"massaged" rumble lid. Included a picture of the jig to bend the lid. The lines of the lid are now really good on all four sides. Also today's work. Lots of tedious things now. Hopefully the light is just down the tunnel.


-
1
-
-
The way I remove stuck steering wheels is after I put the puller on, I hit the puller or the center bolt with a air hammer. That vibration gets any one I've ever had trouble with to pop right off. Just another idea.
-
1
-
-
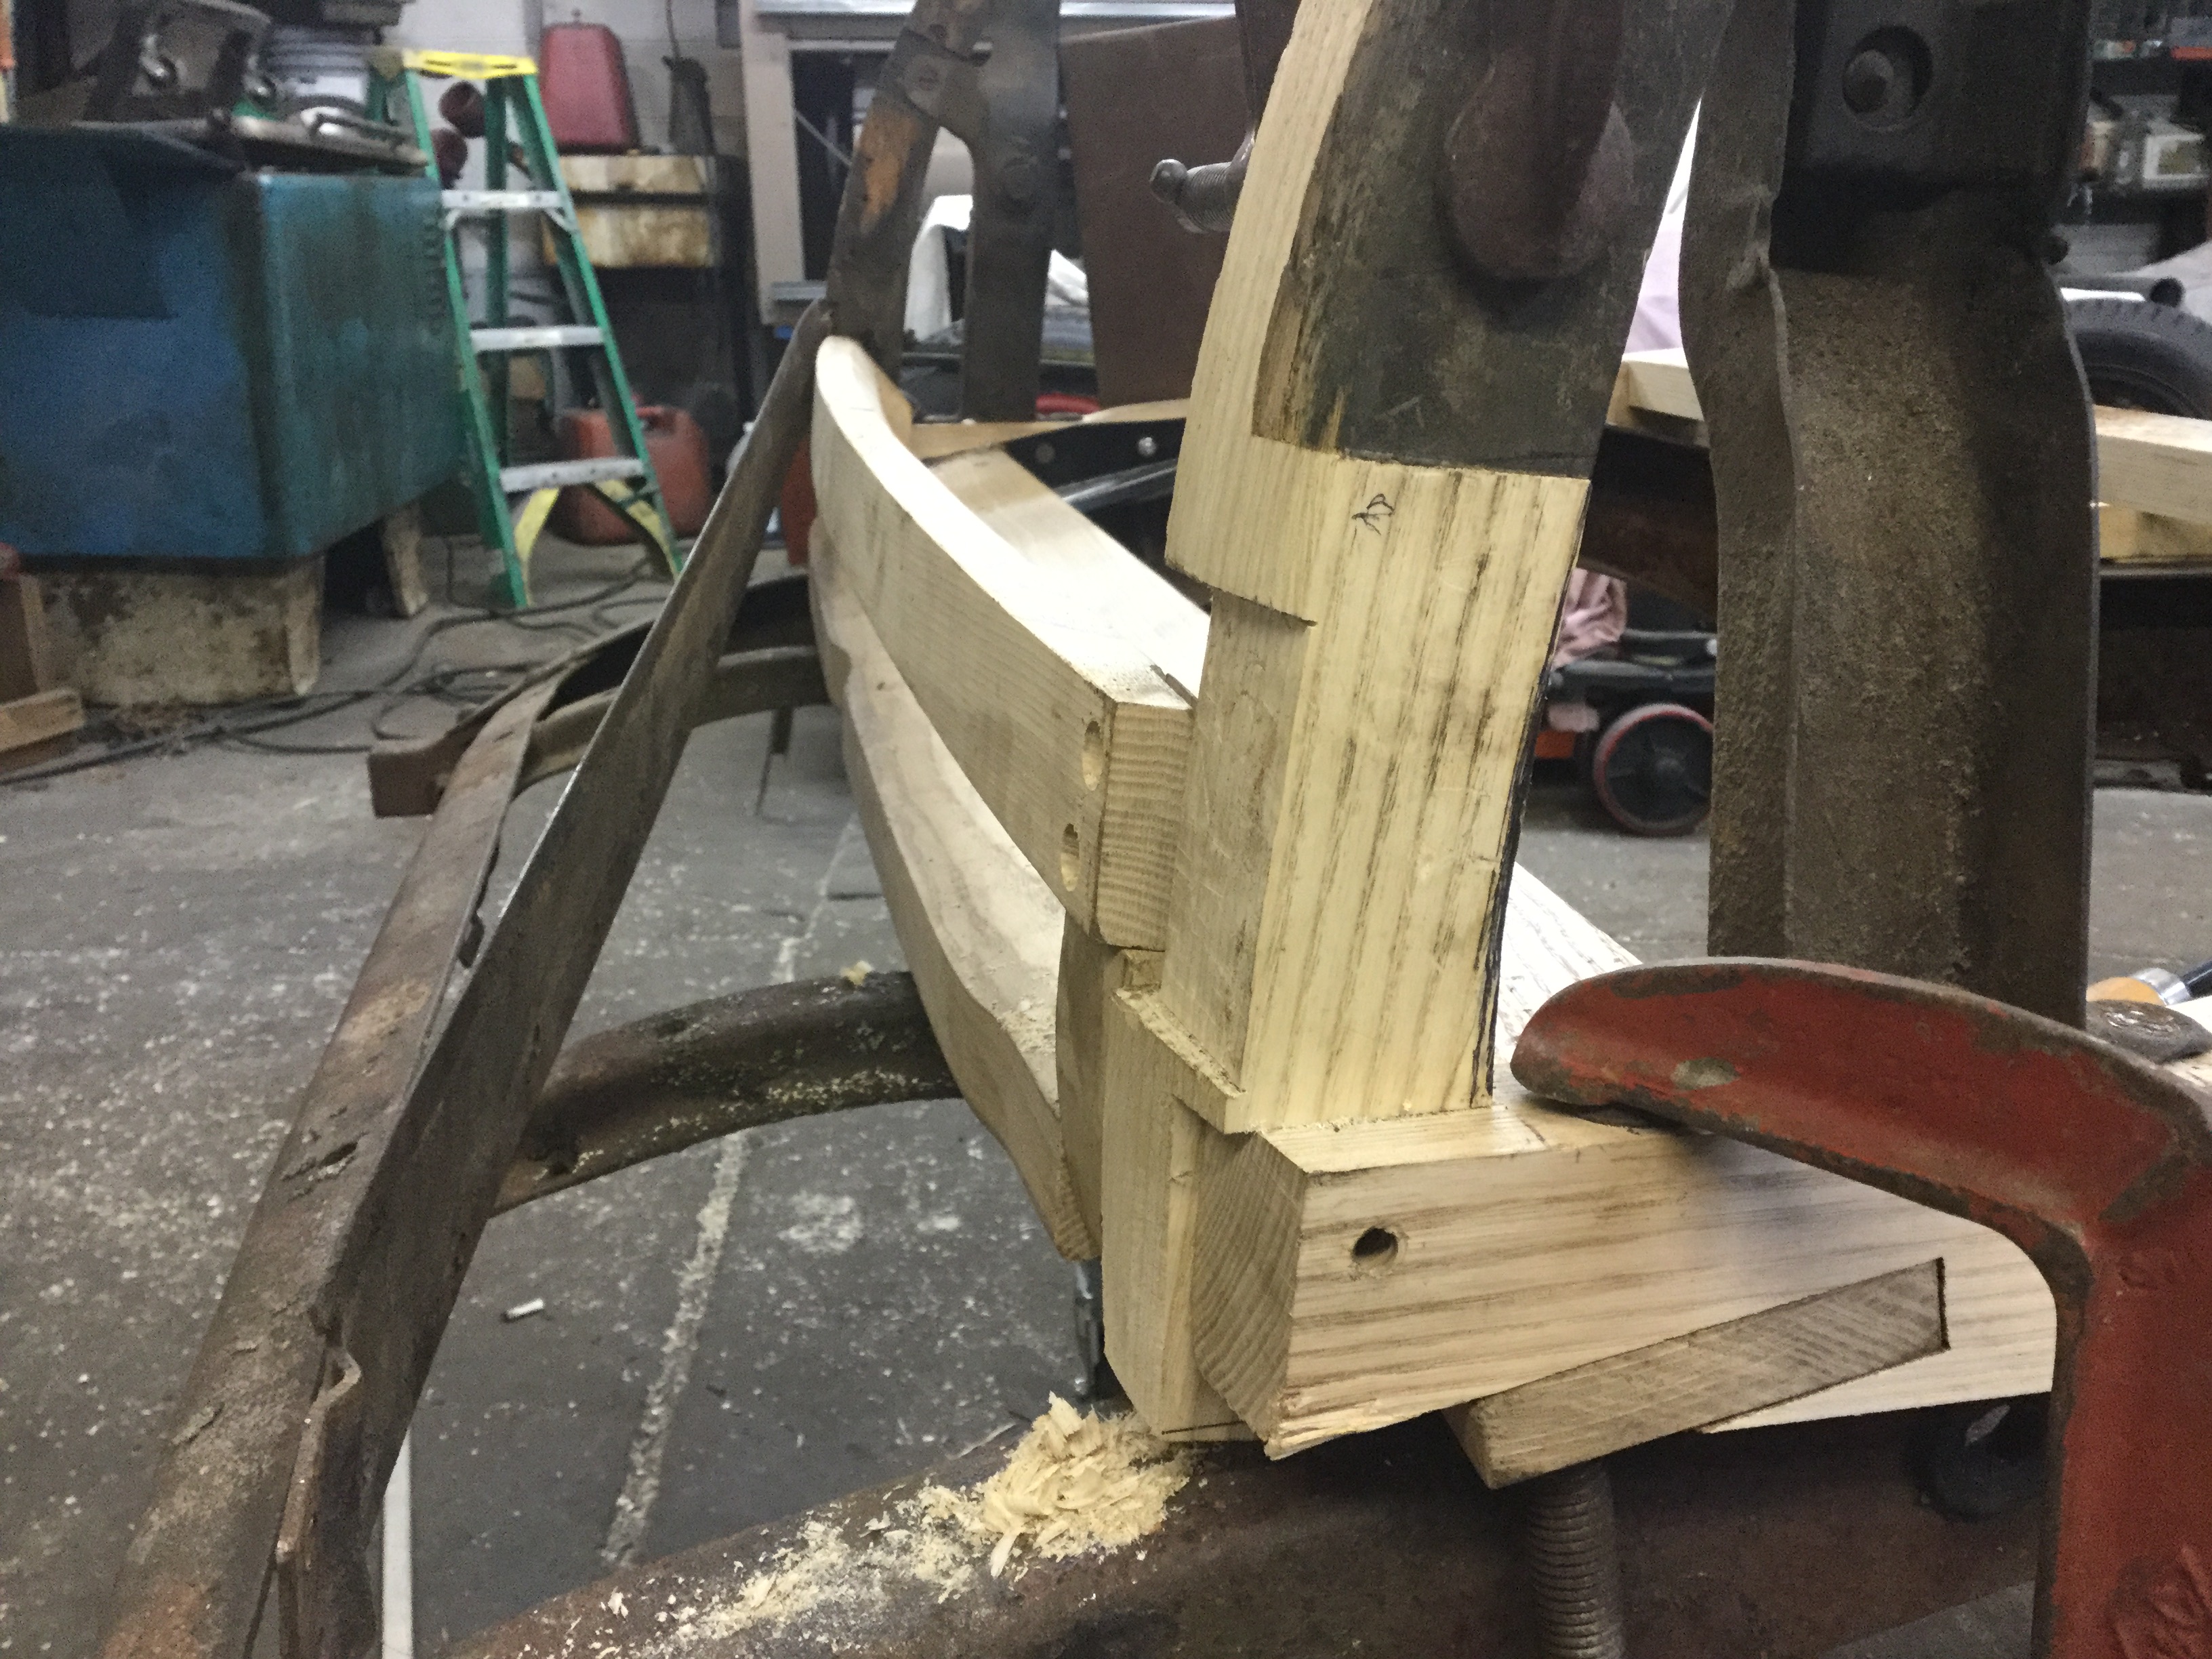
Got the rumble lid arched properly today. I cut a 2x4 on the band saw in arc like the lid but made the center of the arc about 3/8" deeper than the actual lid . I put the 2x4 on the floor and the lid edge on the 2x4 with the piece I cut out on the inside of the lid edge. With a steel pipe cut to length on a bottle jack on the top 2x4 piece, I put the top of the pipe under on of my garage roof trusses.qpumping the jack slightly allowed me to get the lids arc correct. Ended up being pretty easy. Didn't get any pictures of the whole thing but it's done and good. I started checking all other areas and made adjustments where needed. Where the landau Arms pass through the body I found I had to adjust the bracket bolt holes through the belt line to get the landau arms in the center of the holes. Made sure the two latch pillars are square to the sill still, will now work on the parcel shelf and finish the top of the belt line rail. Need to get it all correct so I can take it all apart, apply glue a, then put all the pieces back together again! Will try and get some pictures up tomorrow. Only have a couple of the lid with the flat arch before I fixed it. Other pictures show how the rocker aligns with the body panel lines, golf bag door, and the belt line wood.


-
2
-
-
Still have more to do on the belt line but moved on to the bottoms of the deck rails. I made pieces stepped to mate with the lamination joinings so epoxy and screws will make secure joints. Used blocks clamped to the deck rails to make good straight cuts with the back saw. Once the lower pieces were shaped, I worked on the lower lid rail and knife edge location to position the lower sheet metal. Put the rumble lid in place an,d made some adjustments. It appears the drivers side of the lid has lost some of its arc to match the cars rear deck side line. Probably someone leaned too far back and too hard bending it slightly. I will need to curve it back to its proper shape some currently, the drivers side is a little longer than the passenger side because the arc has been straightened out some. All the other sides and lines align perfectly. The body metal was put back on again to check for fit and all it still lining up correctly.


-
1
-
-
CN Chevys were wooded with maple, not ash like US cars. Maple is harder to work with. I would use ash.
-
The 32' Olds uses bolts, not studs on the 6 & 8.
-
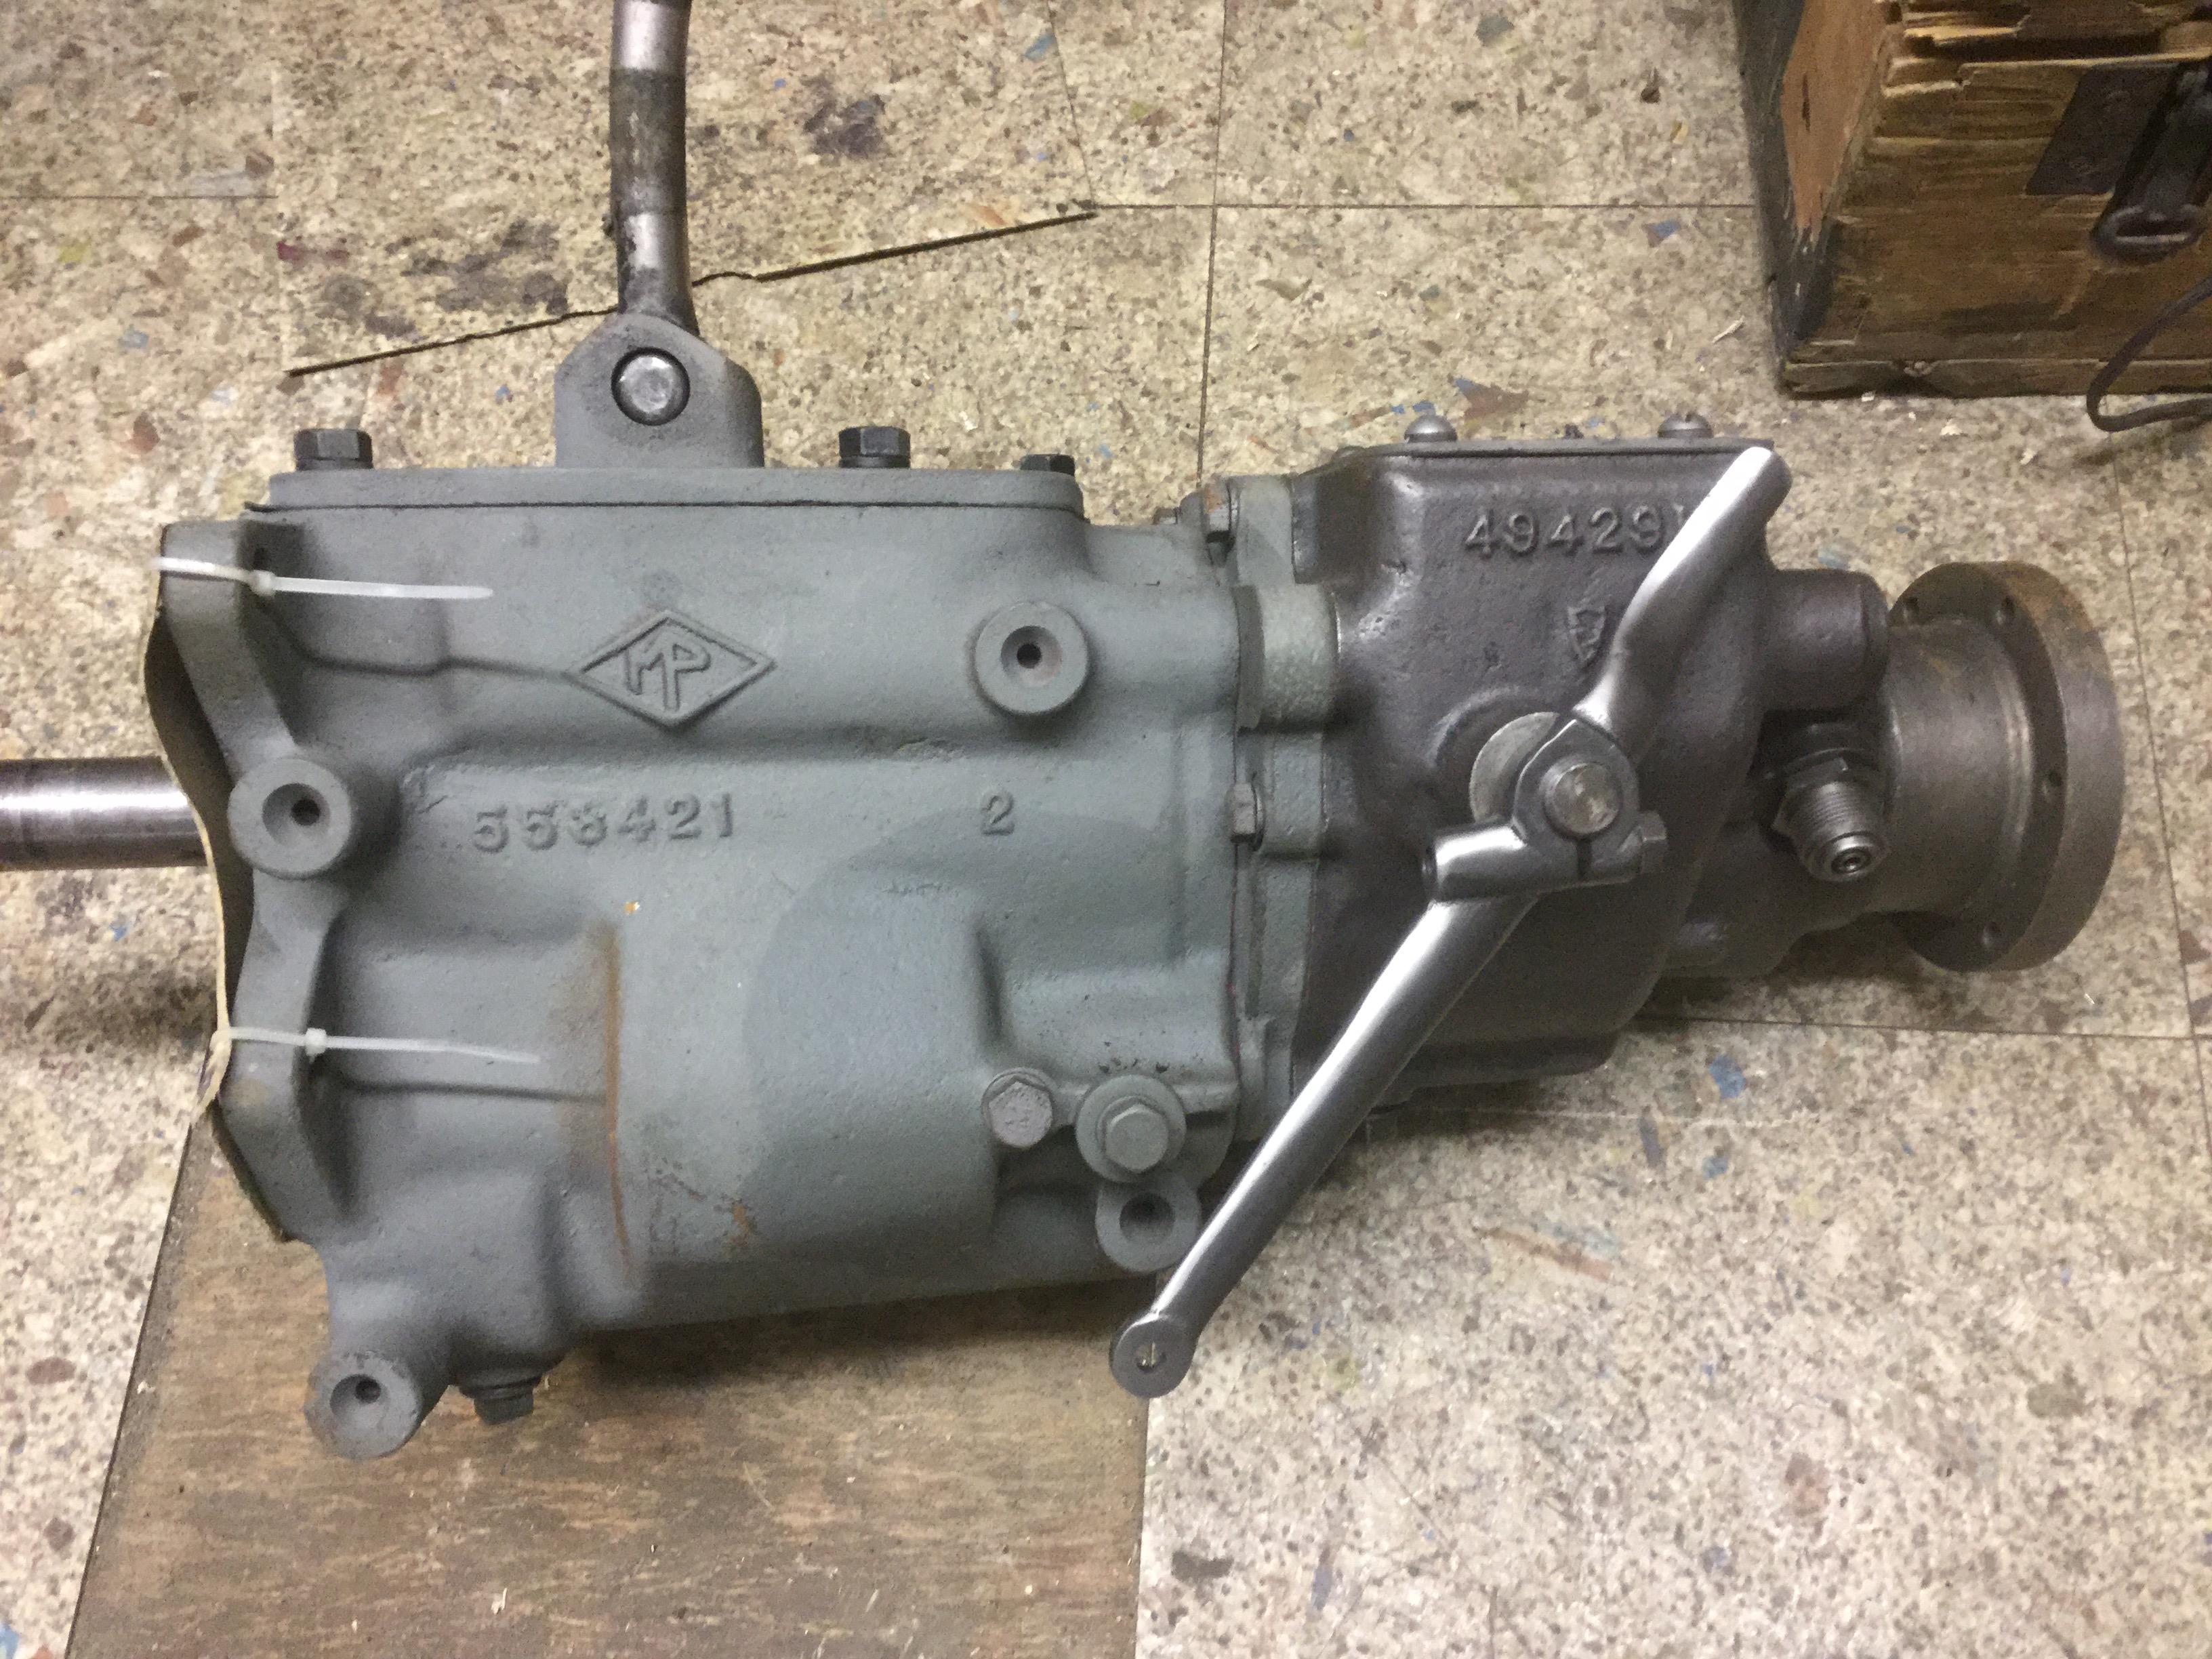
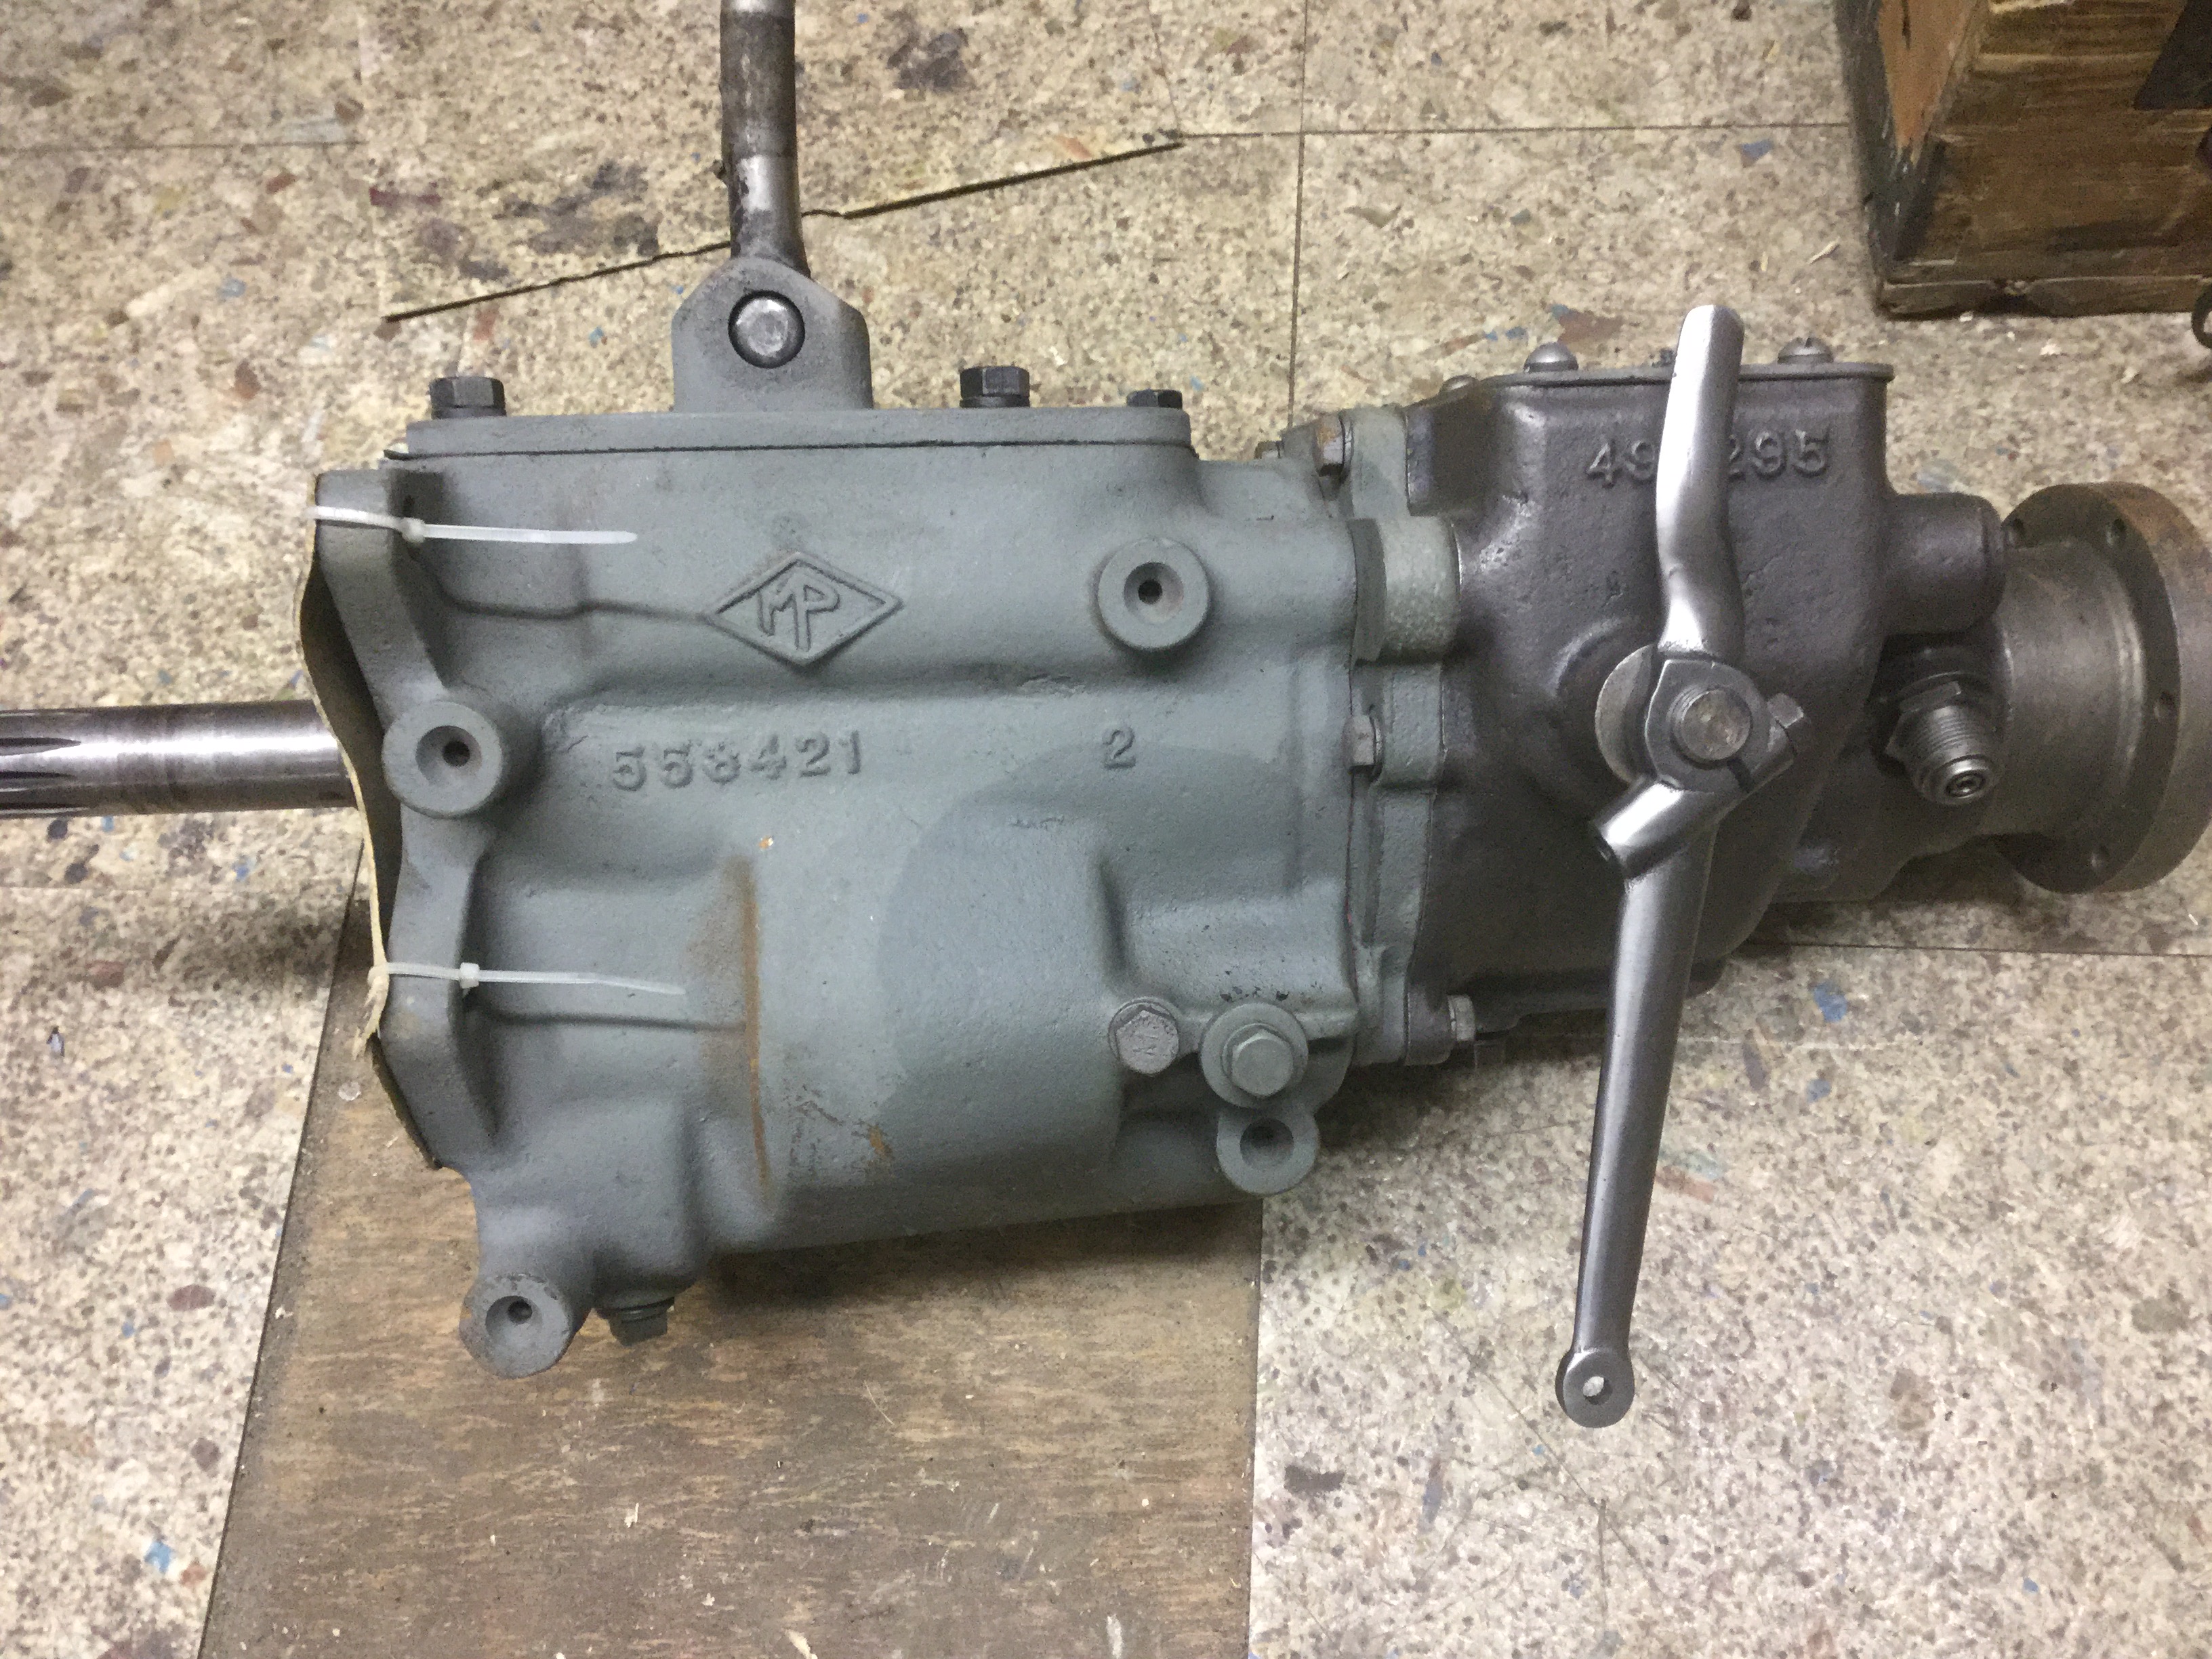
Enjoyed watching the video. When I first talked with Don about an offer on the Olds, I told him I would give "X" amount only if he would let me try to get it running and if it ran. He agreed. With the car being stored in 66', I was keeping my fingers crossed there were not major issues. Some Marvel down each cylinder, cleaned points, bypassed car wiring, gravity fuel tank, and cleaned plugs had me about ready. Didn't run any water on this day. Turning with a hand crank found #3 exhaust valve hanging up so a few taps with a hammer and screwdriver down through the plug hole had it freed up. Didn't even clean the Stromberg EC-2, just filled the pump bowl with fresh gas, squirted 10cc gas in each cylinder, put the plugs in, hooked up the wires, and gave it a spin with the starter. In about 20-30 seconds it lit off and just purred, nice and quiet. Idled like a dream too. These Olds motors (this is a 6cyl) do run really nice and later inspection showed worn cylinders, bad rod bearings, burnt exhaust valves, and the wrong, over length timing chain! With all that it still sounded and ran good at that startup. Better than some after rebuild.
-
Thank you for those kind words. I always try to do the absolute best work I can do, whether my car or a customers car. To do bad work is just a waste of time as it doesn't take much more time to do good work. I actually worked recently on a 31' Chevy that had its front hinge pillar laminated in a very similar way and just figured it was the factory finding ways to use up the wood they had on hand. Some of the laminations don't make sense to me but what do I know!
-
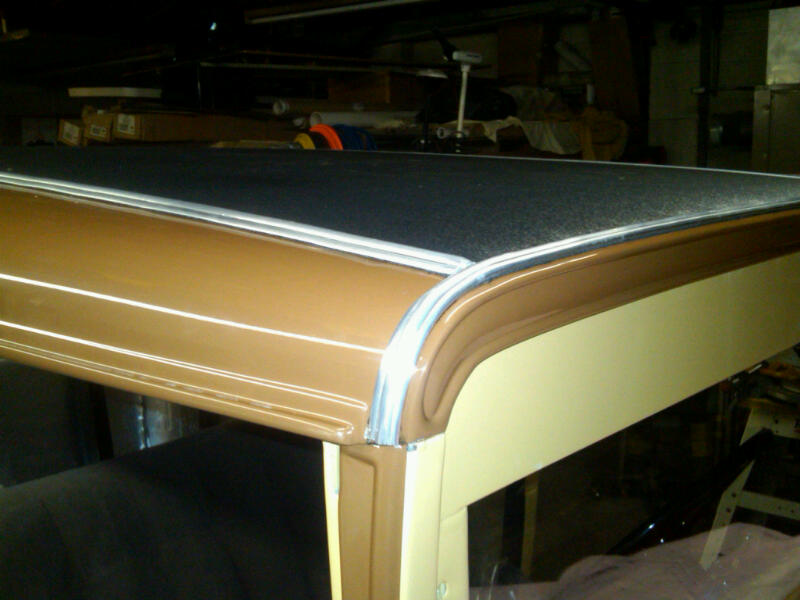
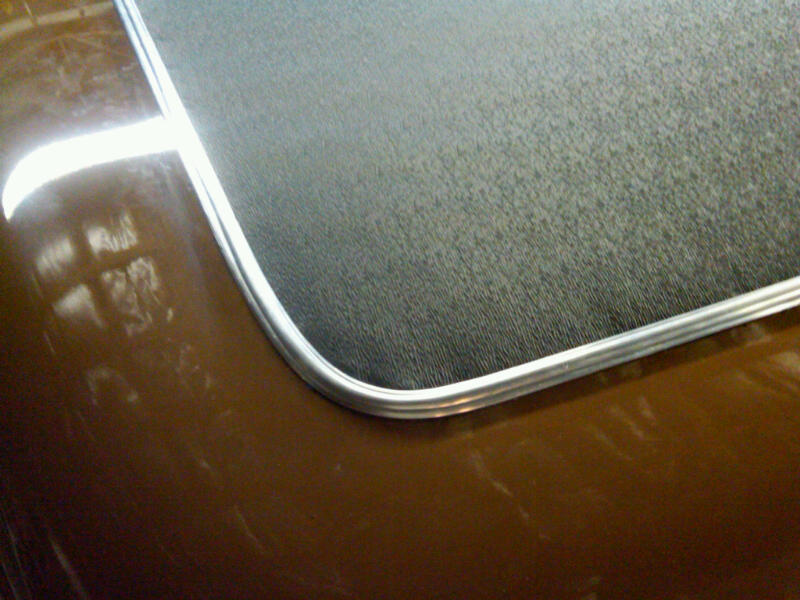
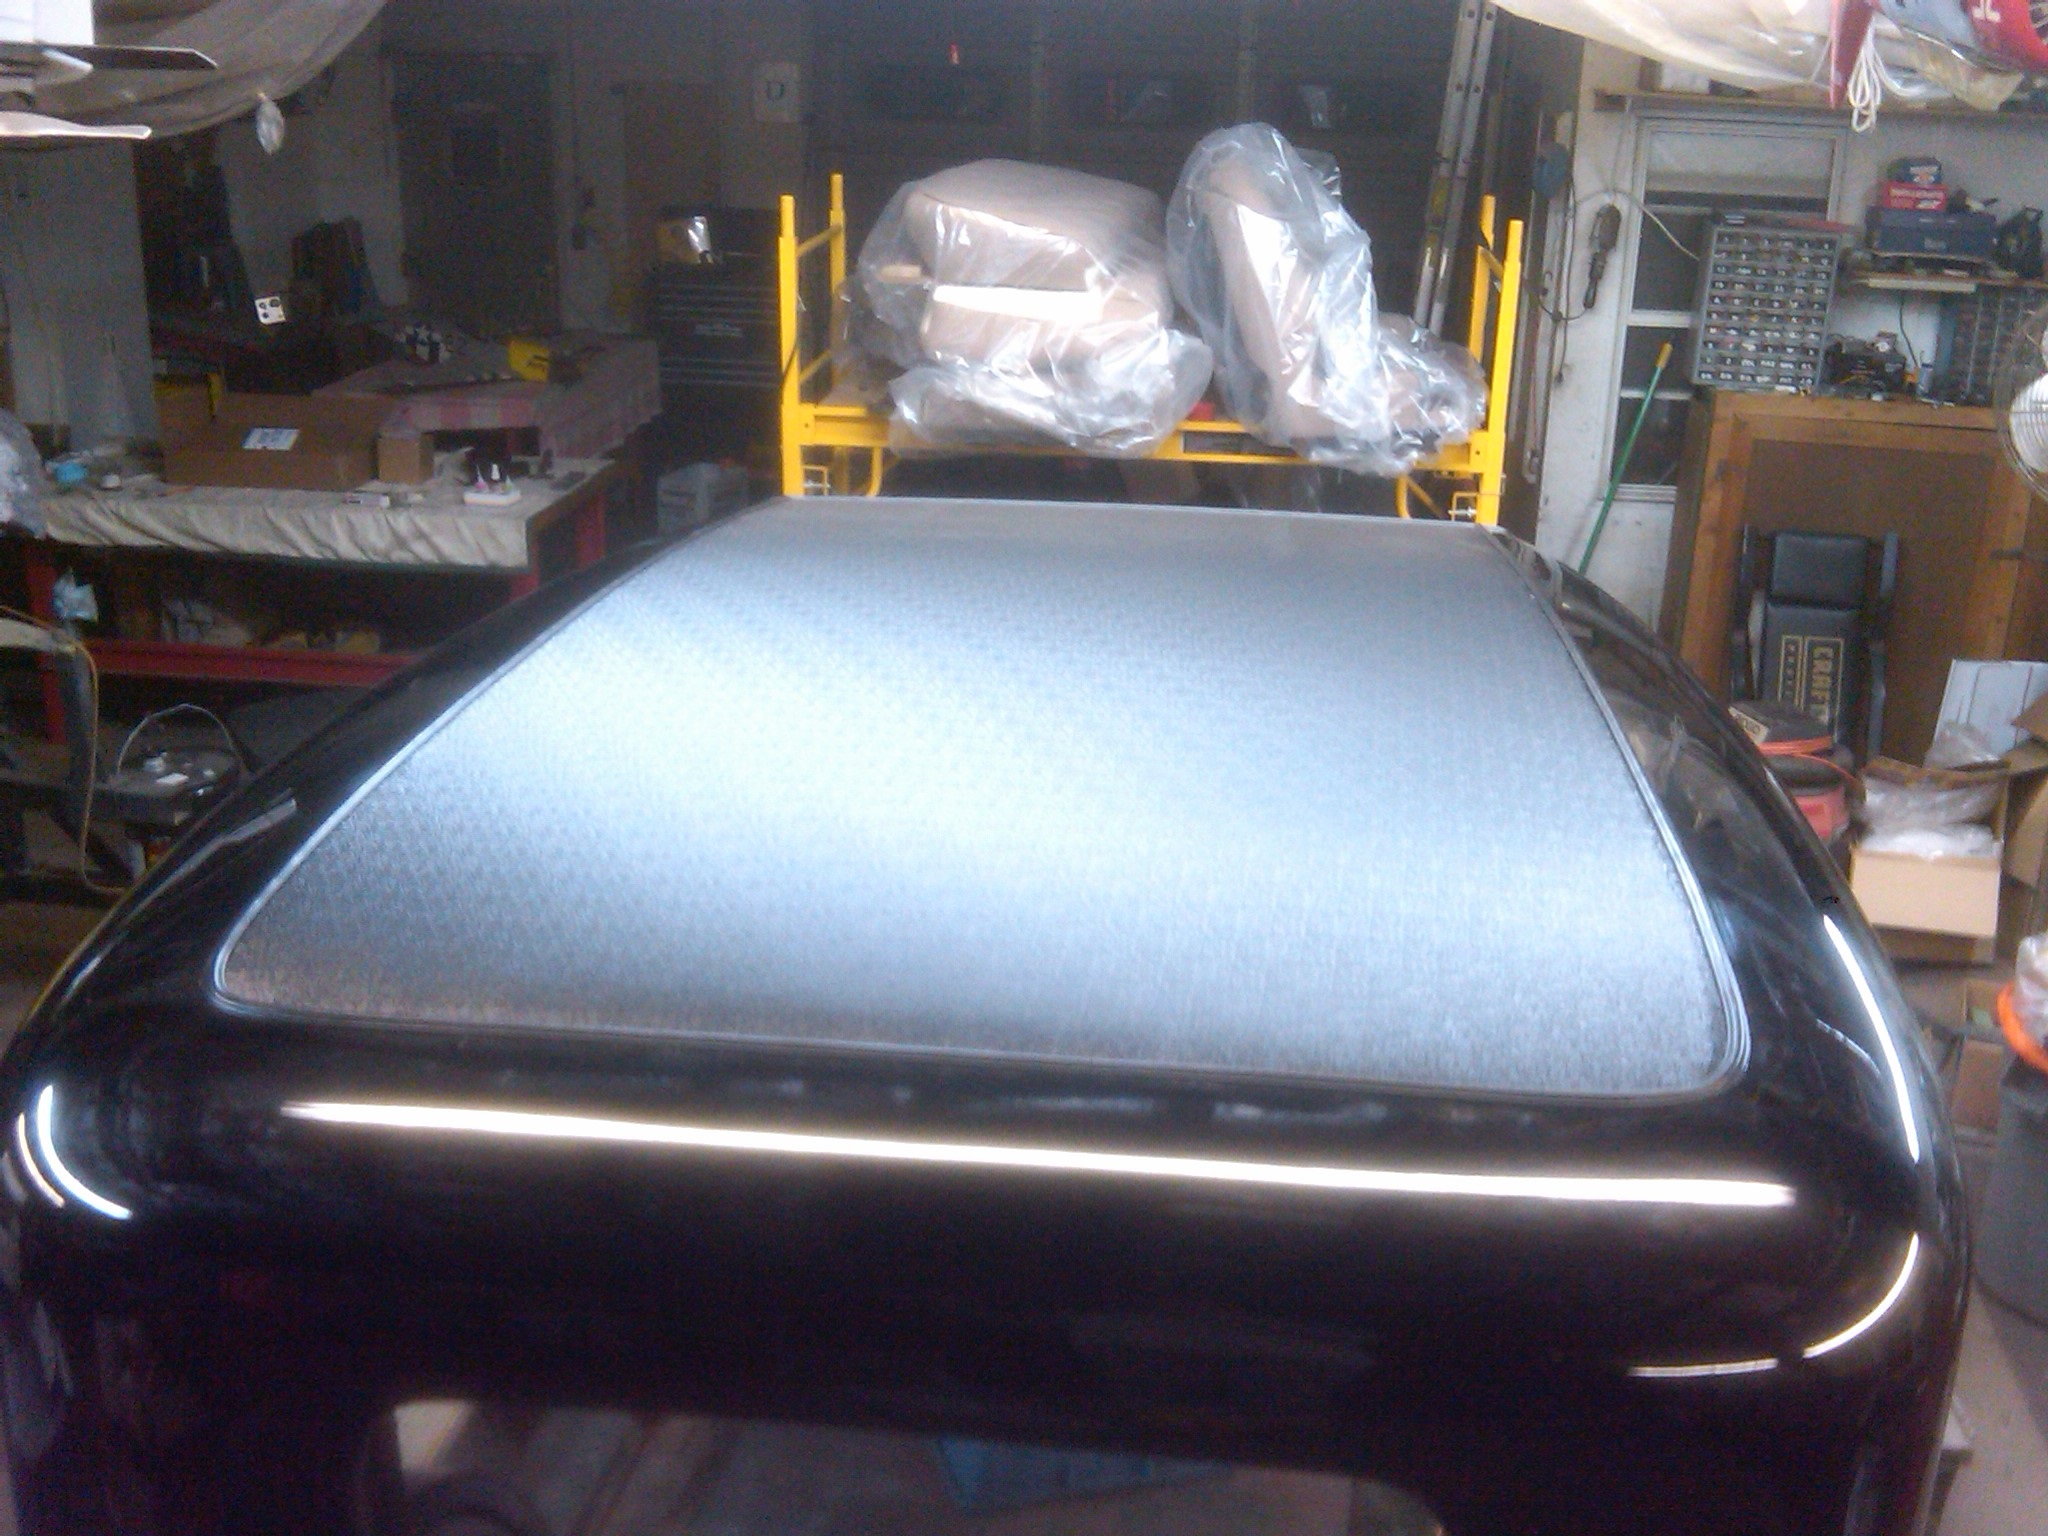
The correct roof edge molding is available from Bob's Memorabilia or the Filling Station. Bob manufactures it and sells it to the FS so I just purchase it from Bob's. I put on a lot of roofs with the aluminum moldings from him. Here's a sample of three different cars all done with Bob's moldings.


-
1
-
-
With Mother's Day this past weekend, I got little done on he car. Got back to it last couple days. I pulled both main sills off the frame and finished them up. I installed the 1/4" ash mounting hole pads, all the lower sill wood (the nail rails for the bottom of the sheet metal) and the nut plates for the seat bolts. Put the sills back on the chassis and screwed all the joints together. I will be putting on some copper Naphthalene as a wood preservative and for the same "green" color that the wood originally had. A similar type preservative/insect repellent was used originally by the factory.
Started on the belt line wood. I have decent latch pillars so I am using them to work from and to be a reference point. The beltline on this car has some wood poorly replaced at one time so it's been a lot of pattern makings and figuring. Most the wood here is like the sills and laminated 3/4" wood that is also seam glued with tongue & groove jointing. I've decided to go with solid 1 1/2" ash pieces. One of the big issues I see is that most the screws in these cars end up being right in the center of the two boards glue joint. When the glue dried up and the boards separated and/or warped, the screws all get loose. Won't happen again with the solid wood.
The two side belt line pieces that go from the tops of the latch pillars back to the metal brackets at the sides on the fronts of the deck rails are identical. The good this is if you have at least one good side, you can usually make the pair of pieces except the bolt holes in some cases. I made up the side belt line pieces, the lower center belt line support, the mid belt line, and the two 7/16" filler blocks on the tops of each side piece. I routed the holes for the top of deck supports (from the front of the top rumble seat opening rail to the real of the lower belt line) on the vertical mill and made up the supports. To make sure the belt line wood was the correct shape, I put the rear sheet metal body back on the framework with the help of my neighbor. Using a piece of cardboard held in place by the bolts that go through the metal side brackets, I made my pattern. I simply rubbed a wet Magic Marker on the very edge of the metal, then by using a hammer, much in the way one makes a gasket, I tapped down on the cardboard right on the edge of the metal body. This gave me a perfect line on the cardboard to cut on and make a proper fitting pattern. The pattern was cut out and the shape transferred to my wood. It was then cut out and marked for drilling. All pieces MUST be drilled on a drill press and NOT in place as all bolts need to go straight. If you do not do this, you will never get the bolts to go through the brackets unless drilling oversize holes. Once the hole is oversize, you loose all rigidness to the framework. Still have the very top rail to make for the belt line wood, then it all gets cut at an angle on both corners, bringing the height down to the top of the side pieces.
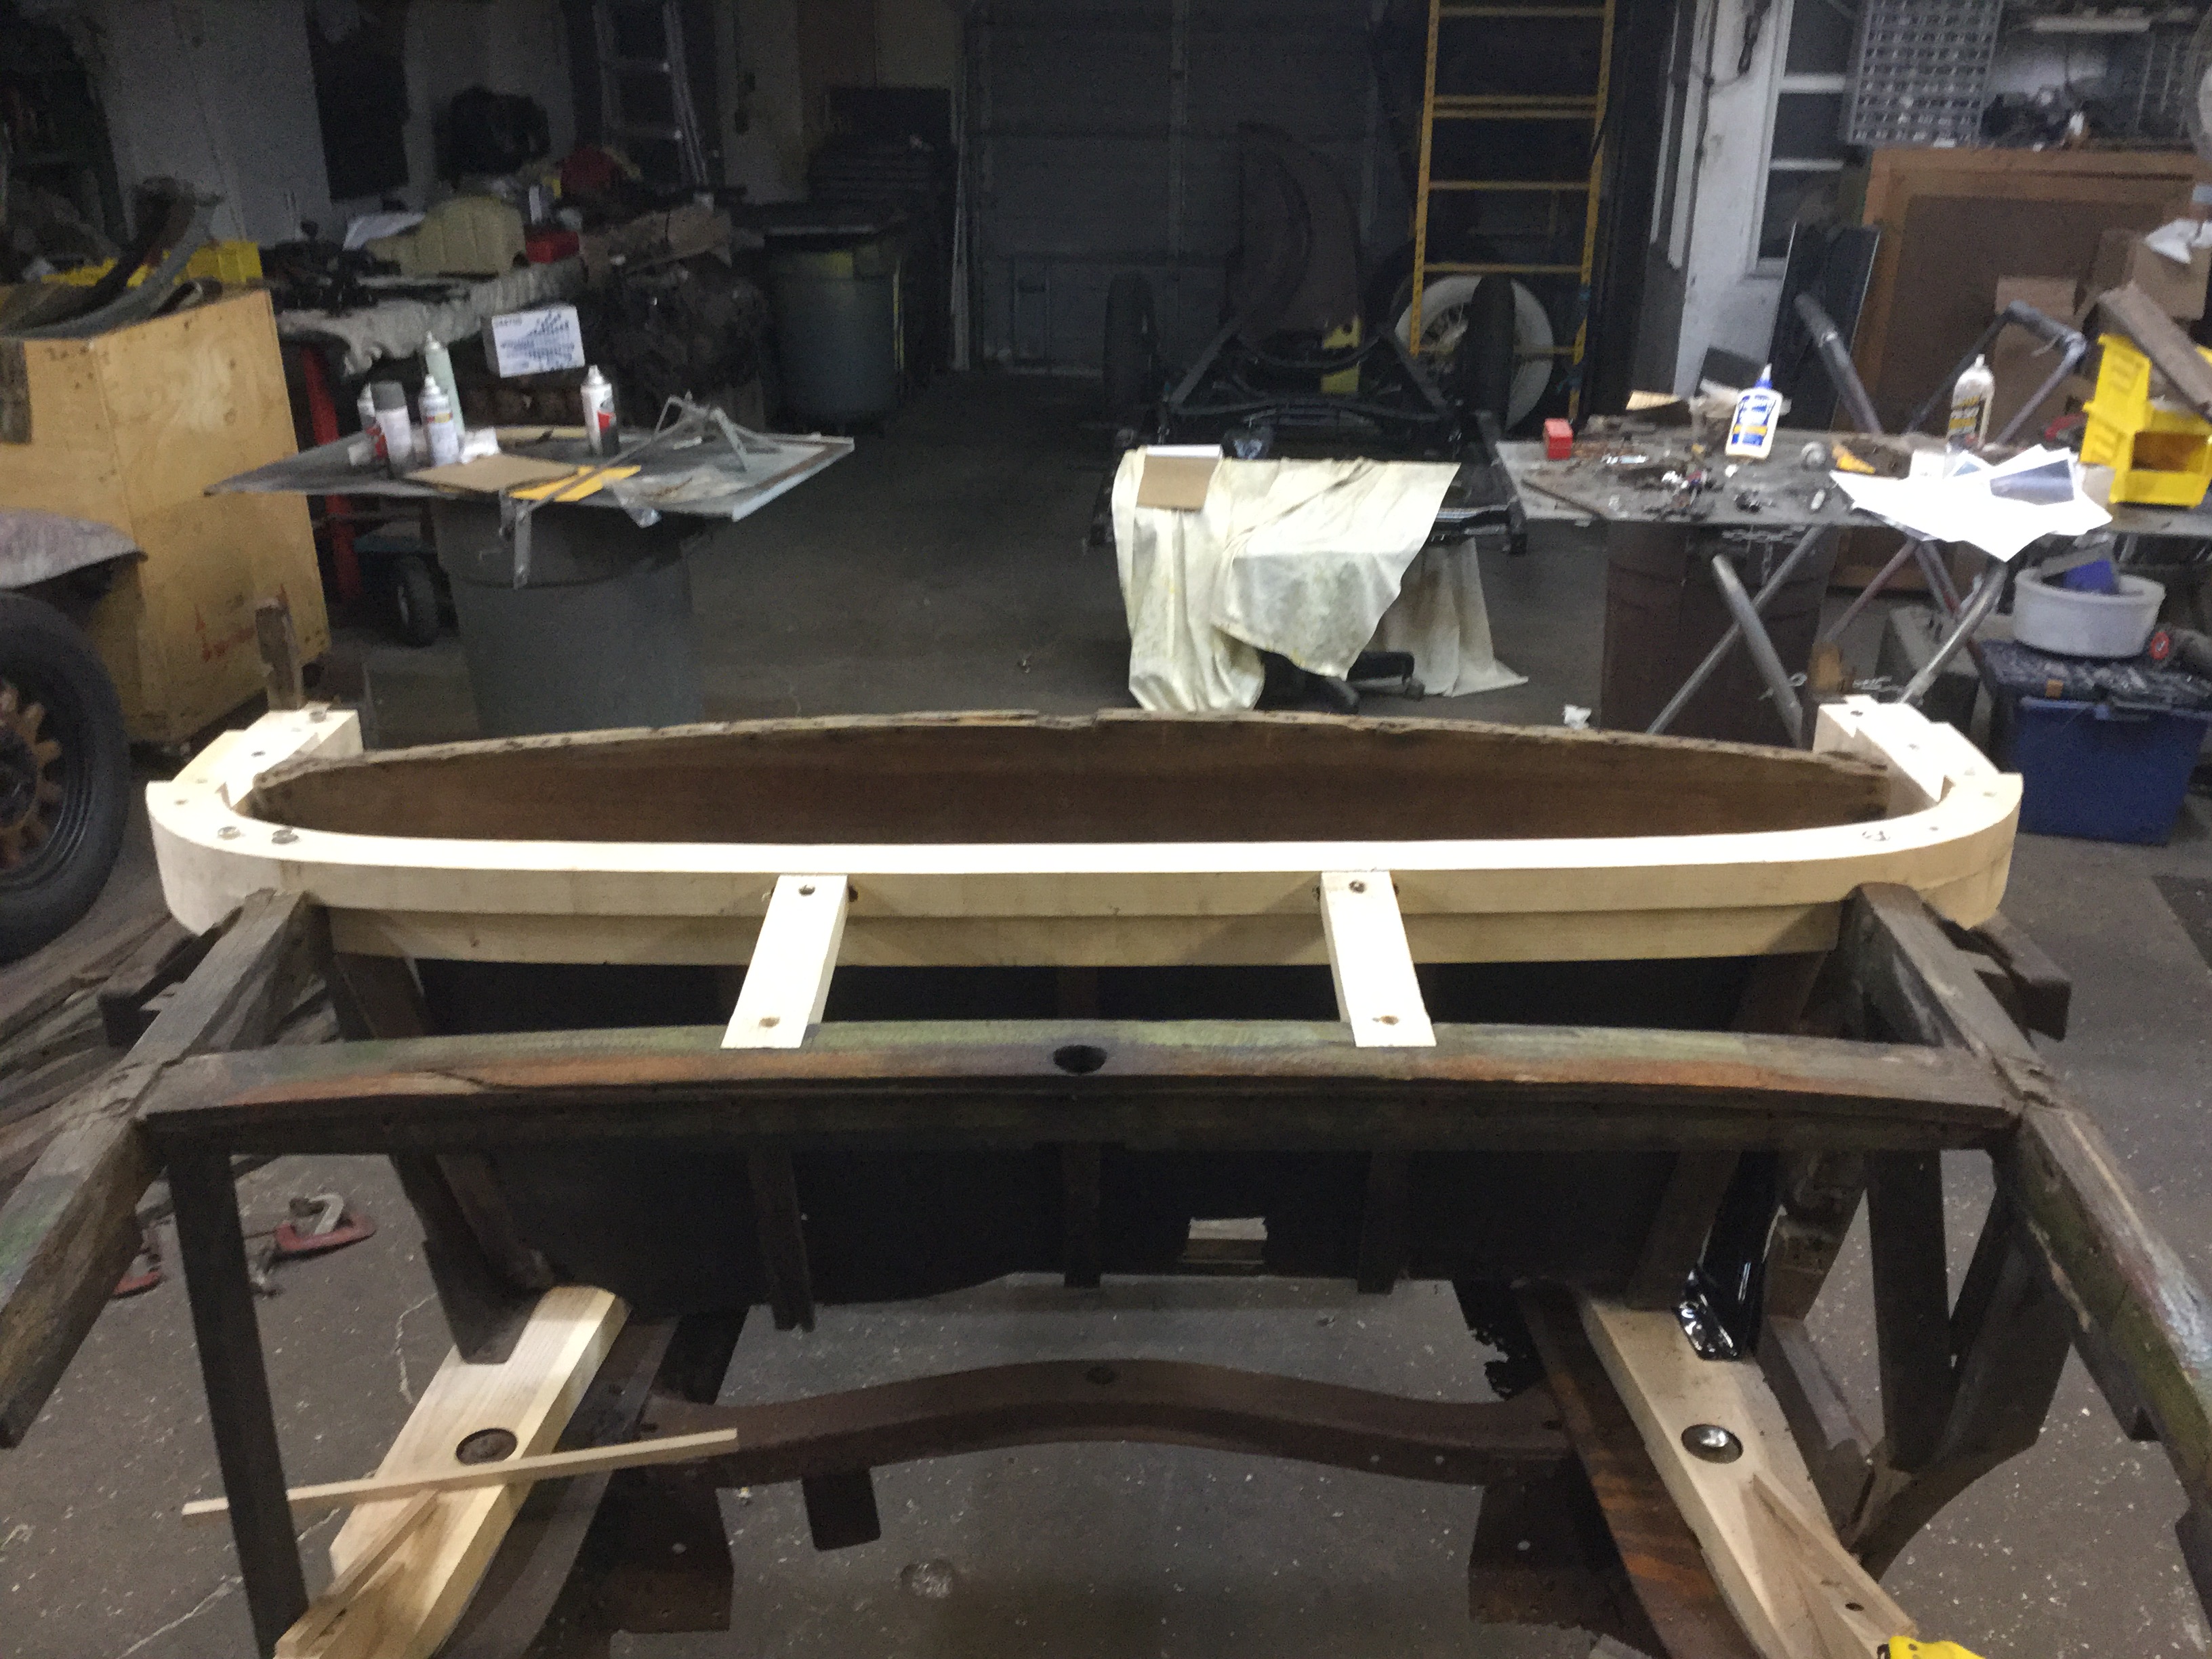
With the sheet metal on and in it's proper place, I was able to check all my work to date. The sheet metal fit like all the new wood was original and not one area is suspect. No issues with the golf bag door, all metal fit snug on the lower nail rails and the inner wheel wells fit perfectly at the back edge of the main sills and kickups. All measurements are matching up another Olds framework that a friend has. Need to get the rear sheet metal and the cowl all dustless blasted so I can get it primed up, repaired, and all painted black on the inside. Once that is done, it will be ready to go back on the wood framing.
I just purchased a tool on eBay I hope will help me a lot with this car and others that I work on. I bought a router duplicator. I should have it by Monday of next week and I hope to make my new latch pillars with it. If all goes well, I should be able to make them up fairly quickly and most importantly, perfectly shaped. More to come.


-
On 5/13/2017 at 7:29 AM, F&J said:
Wow, nice plan of attack and such awesome work. I assume it's a Fisher body?, but so similar to my Fleetwood in the rear body and sills and kickups and sheetmetal floor panel inserts!
I too, will try to save whatever wood is sound, but loose.
You are fast!
.
It is a Fisher bodied car. Many told me it's the same as a 32' Chevy Cabriolet but while it's close, some of the wood is different. The olds has a longer rear deck, the bottoms of the deck rails where the meet the rear main sill, and the tenons of the rear sill, are all different, plus the whole golf bag door framing. The doors are basically the same though as far as the wood. Time to start on the upper wood and latch pillars. Won't do the ends of the deck rails until last as all the metal bracketry has the wood in the correct placement now. Will not risk repairing the ends with the possibility of the rear band and latch pillars not in the correct alignment.
-
1
-
-
Finished up making both main sills today. Milled the hole for the tenon in each sill for the tool tray rail and used the vertical miller to true up the pillar slots. The bottoms got grooved for the seat adjuster threaded plates and the inner fronts of each sill got routed for the floor boards and tool tray front board. Just the sill lower doublers to build now. (those are for the lower edge of the sheet metal to nail into. With everything held in heir proper place either with pins, bolts, or clamps I measured it all out to make sure it was square and it all looked good. I put the floor metal in place and all pieces lined up perfectly. The rear pan is the original. The mid pan and he tool tray are new made. The rear pan fit exact and like a glove to the knife edge support wood. This re-wooding of the body is moving ahead nicely. More to come.


-
2
-
-
After accessing all the wood in the car, I will be using some pieces. I've decided to just repair the lower ends of the deck rails rather than replace the whole rail. The rails are made of out two pieces laminated so I will be splicing in new wood in the same manner. I only have to replace about 6-8" of the bottom on each rail. The rest of the rails all the way up to the belt line is super solid so why mess with what is correct. I will also be keeping in place the rumble latch rail and the three supports from the latch rail to the belt line. I decided to attack this project from the rear first to help shore up what was needed to be replaced working with the original main sills. Luckily the body of the this car is wood complete, it's just very fragile. Using each piece as a pattern, I first fabricated the kickups. Making them as a pair was much easier as they are identical except for a relief cut on the back side of each one. This relief cut was done with a hand back saw. The boring was done on my vertical miller which made straight holes much more easy. Marking each and every hole from the original allowed the rumble hinges to mount exactly where they were and this process of replacing pieces while keeping original wood in place, is keeping everything just like it was.
I have a decent supply of ash, a thickness planer, table saw, band saw, hand plane, hand router, and a vertical miller. I recently purchased a tenoning jig for my table saw in anticipation of this project, and it's already come in quite handy. After I finished the kickups, I made up the rear cross sill and temporarily installed the knife edge support rail with the two end blocks I purchased last year, again in anticipation of this project. The two rear body mounting plates got blasted, primed, and painted, then they got installed pulling the kickups and rear sill together nice and tight. I then started on the sills. Just the planing of the ash takes me, working alone, an fair amount of time. I purchased a couple of Forstner bits to put the necessary recesses in the rails for body mounting bolts and seat bolts. I only got the passenger side sill done and will start on the driver's side tomorrow. I'm quite happy with how this project is progressing so far. Hopefully 5-8days more of spare time should have the body all framed up and finished but we all know how "planning" goes in this hobby.


-
2
-
-
Talk about wood. I grew up in a family butchering business. Some of our older coolers had wood doors. Every time I close a door on my 31' Chevy 4dr, I hear that "special" wood framed door sound! It's a certain, solid sound that ends with a simple "click" of the door latch. You ONLY get that with a wood framed door.
-
1
-
-
1 hour ago, F&J said:
As you know, I am looking forward to this rewooding project for inspiration. Seeing the bare skeleton, I am already thinking of how any small miscalculations could end up with the rear body skin not fitting precisely at all the important areas...(the many nailing flanges for the skin)
The B pillar seems not so scary, as you already know the width from left to right post at their very bottoms at main sill, but if they have splayed out at their tops over 85 years, then the rear door gap will be wide at the top, and OK at the bottom.
Then, as you assemble wood parts of the entire rear section, I don't know how it is possible to know if the skin will fit back on? What I mean is, the angles of each and every wooden angled joint needs to be pre-drilled for screws first?...so what if the skin won't fit right at each of many nailing edges of the body skin flanges....meaning: The rear lid "opening's" four edges, golf door opening, the random curve around the back of seat (the tulip panel), they all seem so critical to me.
QuoteWere you in my dreams last night? LOL I was thinking all those things myself. Width of the door openings is another. With the main sills dry, the dados for the pillars are wider than the pillars. Do you cut them tighter? I will as good joints mean a tight square frame and a good solid body. Lots of variables. I can say that even some of the factory joints were gapped way to big and there were large spaces. This is on the upper deck wood where the wood is still super solid. It's my first total, wood framing job so I'm glad it's my car and not a customer's. If I screw up and get frustrated, I can just roll it over to the side and catch my breath for a few days. The cost and time I'm out is my own.
.
-
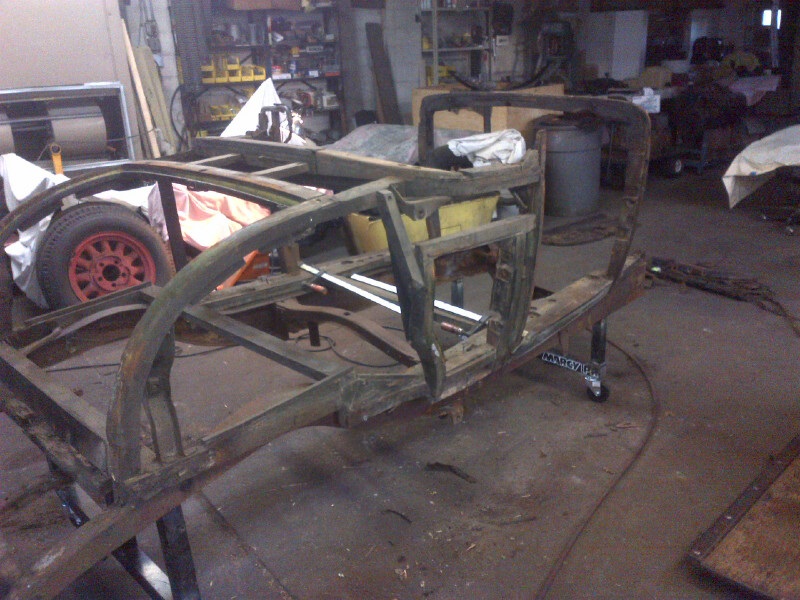
Took my spare parts frame and made a body dolly out of it by welding on legs made from a weight lifting machine that someone discarded on the edge of the road. These weight machines and benches have nice sq. welding up tubing that makes good framing for things like this. The 32' Olds frame had been damaged and had rotted just in front of the cowl so it ended up being perfect for my dolly application. Put some HF casters on it so it move around easily. Got the body on yesterday and tonight I pulled a lot of nails. I got the car completely stripped of the sheet metal and have started assessing what will need to be repaired or replaced. I had purchased two deck rails from Bill Cartwright of KC Wood and while they are almost identical, they are just a little different and will require some small modification. It still beats trying to make them. I will be making the two latch pillars, the main sills, kickups, the belt line, the cross rails, the parcel shelf, and what ever other pieces might look questionable. Luckily, only one piece of the golf bag door framing needs to be made and it's the easiest piece there is to make. Lots of tracing, cutting, sawing, routing, planing, and fitting to do. This should be fun but I'm sure frustrating at times.


-
1
-
-
Started myself today pulling sheet metal off of my 32' Olds DCR. I will be doing mostly all new wood and making a majority of it. The rear pieces you called "dagger" shaped are called "kickups" just so you know and if you ever need to refer to them while talking to someone. My Olds is similar with the layered main sills but I will be using solid single boards for the sills and will just router out the areas they created by using two boards. The only place I will layer on a board is on the edges of the sill where the rocker panels get nailed on the bottom. Most of these cars have main sills around 1 1/2" to 1 7/8ths thick, made from two layered boards. The third board is usually layered on as that outside rocker doubler. A single sill routed will offer a stiffer body and is the way most reproduction wood companies make their sills. While not all my wood is bad, I will need to replace about 70-80% of it. I will be pulling all the body tin off as it is the best way to do it. Lots of nails to pull! Just made up a body dolly today from a old damaged Olds chassis so I could start on the wood work. Once I got it on the dolly, I just had to start doing something. Looking forward to following your restoration.

-
1
-


1929 Fisher Body wood patterns
in General Discussion
Posted · Edited by chistech (see edit history)
The cabriolet doors are somewhat different from the closed cars because of the window sash guides and they usually have metal strap supports the run angular from the upper regulator board down to the lower door framing cross board. There are also usually anti rattle rollers located at the top corners. I will be rebuilding my 32 Olds DCRdoors soon and you yo can se if your doors are similar when I post pics. I have a thread in the restoration section. I have found that the wood is pretty much the same from side to side and just the bolt holes vary slightly in location. If you are an experienced woodworker you should have little problem duplicating the pieces. Bill Cartwright often has wood for Chevy cabriolets. While it might not be correct. It will be close. Most of the Fisher cabriolets were the same from the belt line down. An example is 32 Olds and Pontiac use the same wood and the 32 Chevy door will fit the Olds, again from the belt line down.