


Landman
-
Posts
1,234 -
Joined
-
Last visited
Content Type
Forums
Gallery
Events
Posts posted by Landman
-
-
Wow! Flop, how much time are we looking at here? Including the staring and pondering.
-
Hi Pat - Thanks for the link to the woodgraining site. Your garnish molding looks beautiful and the blind adds a really nice finishing touch. Sweet:)
Jim, I understand those blinds were to prevent a nasty reflection off the windshield in low sun conditions. I've seen them in several cars but I'm not sure if it was factory or an accessory. I remember getting that glare in my Model A. I agree, It is kind of a neat finishing touch.
-
Here's the garnish molding in place with the little blind over it.


-
Roger, what are you going to do when you get into the small stuff?:cool:
-
Did those slantrbacks have a trunk? That would have been rather impractical for a cab.
-
I wouldn't mind that Plymouth parked alongside my Chevy.
-
Pat,
Looks to me like it turned out great. Is the pattern that you went with just the straight grain that they offer? I spent some time watching the videos on their site and pretty much fully understand the process of getting the grain to transfer now and the use of different size rollers. I also looked thru their photos and saw a Chrysler Airflow dash that was done in the car as it would have been welded in like my Dodge. There weren't but a couple pictures of the Airflow but I got the feeling that it was done by a pro. As far as doing it myself I thinking I could do all the window trim without any problems, it's the dash that will take some effort. I'm happy that you took the time to post/document your efforts and experience while doing this. Scott...
I think so Scott. They made me a plate with both patterns - Straight Grain and Butt Walnut.
-
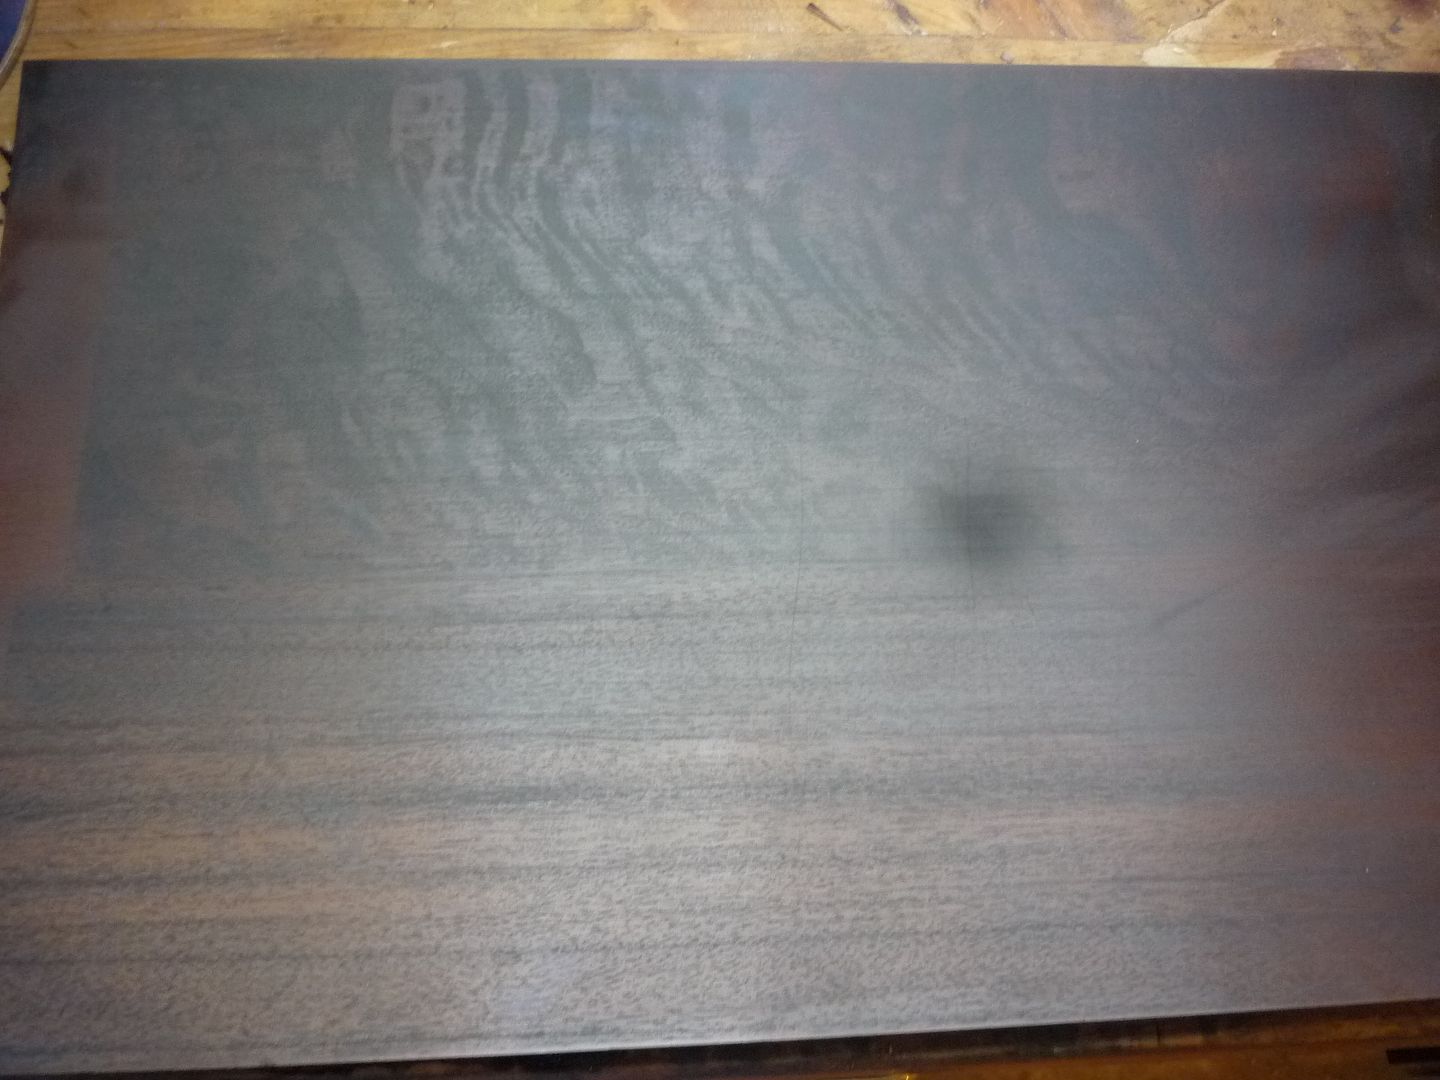
Today I applied the toner. It is a dark transparent wash which brings out the grain and gives it a nice warm tone. Before is on the left, after on the right.


-
Looking solider and solider by the day. Is that a word?
-
Pat;
Thanks for the additional info. I guess I'll have to "bite the bullet" and buy the materials!
Keith
Talk to Evan at Grainit, he is very helpful.
-
Actually they have some pretty good step by step instructions. The only step that is unclear is the application of the tie-down coat which stabilizes your ink until you put the toner on. It liiks like you apply it right away in the instructions but I got caught twice putting it on either too heavy or too early. It erases the pattern.
Scott, that would be a challenge alright. You'd have to make sure everything clears the roller before you start.
And yes Roger, there is a base coat, then the pattern using the roller, then the tie down coat, then the toner (which gives it a nice warm hue), another tie down coat, then the clear. Check posting 1020, above.
-
I found these in a 20 year old Hemmings Almanac. Hopefully, they are still in business.


-
Scott, its proabably that way. Despite the good explanation from Pat, I'm still confused!
Perhaps this will help Roger.
http://www.woodgraining.com/woodgraining.html
Go to the hands on at Hershey video.
-
Is the roller soft, so that it will conform to shape of the mouldings?
Keith
Yes it is Keith . It is some sort of gel.
-
I just found the thread. Great looking car, and nice, nice, work you've done on it.
I'm interested in the woodgraining, as I have a '41 McLaughlin Buick that I still have to finish the interior on, and the woodgraining all needs to be done. So, I take it that you found the Grain-It kit was worth it, and worked well? I found them a while back but wasn't sure, as the cost of the kit isn't cheap, but didn't know how well it would work, as I'd never seen anyone's car done with their system.
Keith
Hi Keith. Thanks for the kind words. I definitely think the Grainit kit is worth it. It isn't automatic though. You have to practice. However with practice and some care you can get some reasonable results. For the real pro stuff, you send it to them. Go on their website, there's all kinds of photos of results.There is a '40 Buick in the photo section.
Here's one of the practice shots and the finished product. As you can tell, I was fighting with the overlap.


-
Pat,
That looks like it turned out great. So am I understanding it correctly that the blending paper for the most part helps match the grains and provide a starting and ending point for the woodgraining pattern? If I recall corrently the roller has the wood pattern, does the blending paper also have a wood pattern? At least one currious mind would sure like to know. Scott...
Scott, the blending paper is just a strip of sandpaper that you put grit down on your fresh ink. Oddly enough it doesn't affect it.
Basically, you pick up the pattern from the inked-up plate with the roller being careful not to overlap. I marked my roller with a tape. Then you start rolling at the tape and stop just before it comes back to avoid overlaps in pattern. You then put your paper down near the end of your pass with small magnets to hold it there. Then you wipe off the ink even with the paper. You start your next pass ON the paper and again stop before it overlaps, working your way around the molding. The actual blending is done with a brush or a little pointed stick.

-
Tackled the woodgraining today. The first two photos show the setup.

These two show the blending paper on top of a first pass with the roller and one started ON the paper.

These two show the joint before and after blending. Sorry for the poor photos


-
Have you checked for clock collector forums? There are forums for everything.
-

Made some support boards to hold the molding in a vertical position while I do the transfer of the grain.
-
The best part is the wicker inserts, and backs of the front seats. .
I wouldn't mind seeing a close up of those wicker inserts. I'm not sure I know what you mean.
-
Cap'n, what is the car in the background of photo 4, a Rover?
-
Here you go John, in case you haven't seen it yet.

-
Especially rare is the console extension between the REAR seats! That is similar to the Chrysler Turbine car feature.
I thought only the first Chargers had that. That will be a great cruiser. Those mid-sixties dodges had a clen, classy yet sporty look about them. Happy rides!
-
Neat! It has its little bit of fame as well as being an interesting car. You'll enjoy it.


3 Chevy Coupe Years ? Need Vin Help
in Our Cars & Restoration Projects
Posted
That and Keiser's is good advice. The VCCA boys are specialists. There may be some guys in the Chevy section down below here that can help too. And like Keizer says, pictures can help us tell you between years.