


V8TV
-
Posts
197 -
Joined
-
Last visited
-
Days Won
1
Content Type
Forums
Gallery
Events
Posts posted by V8TV
-
-
Thanks for the kind words! Here is a link to cross-reference the color:
-
Here's the video on the car, hope you enjoy it!
https://youtu.be/3Y8zl6VxPxM
-
Just sharing another shot of this cool car.

-
 6
6
-
-
-
1
-
-
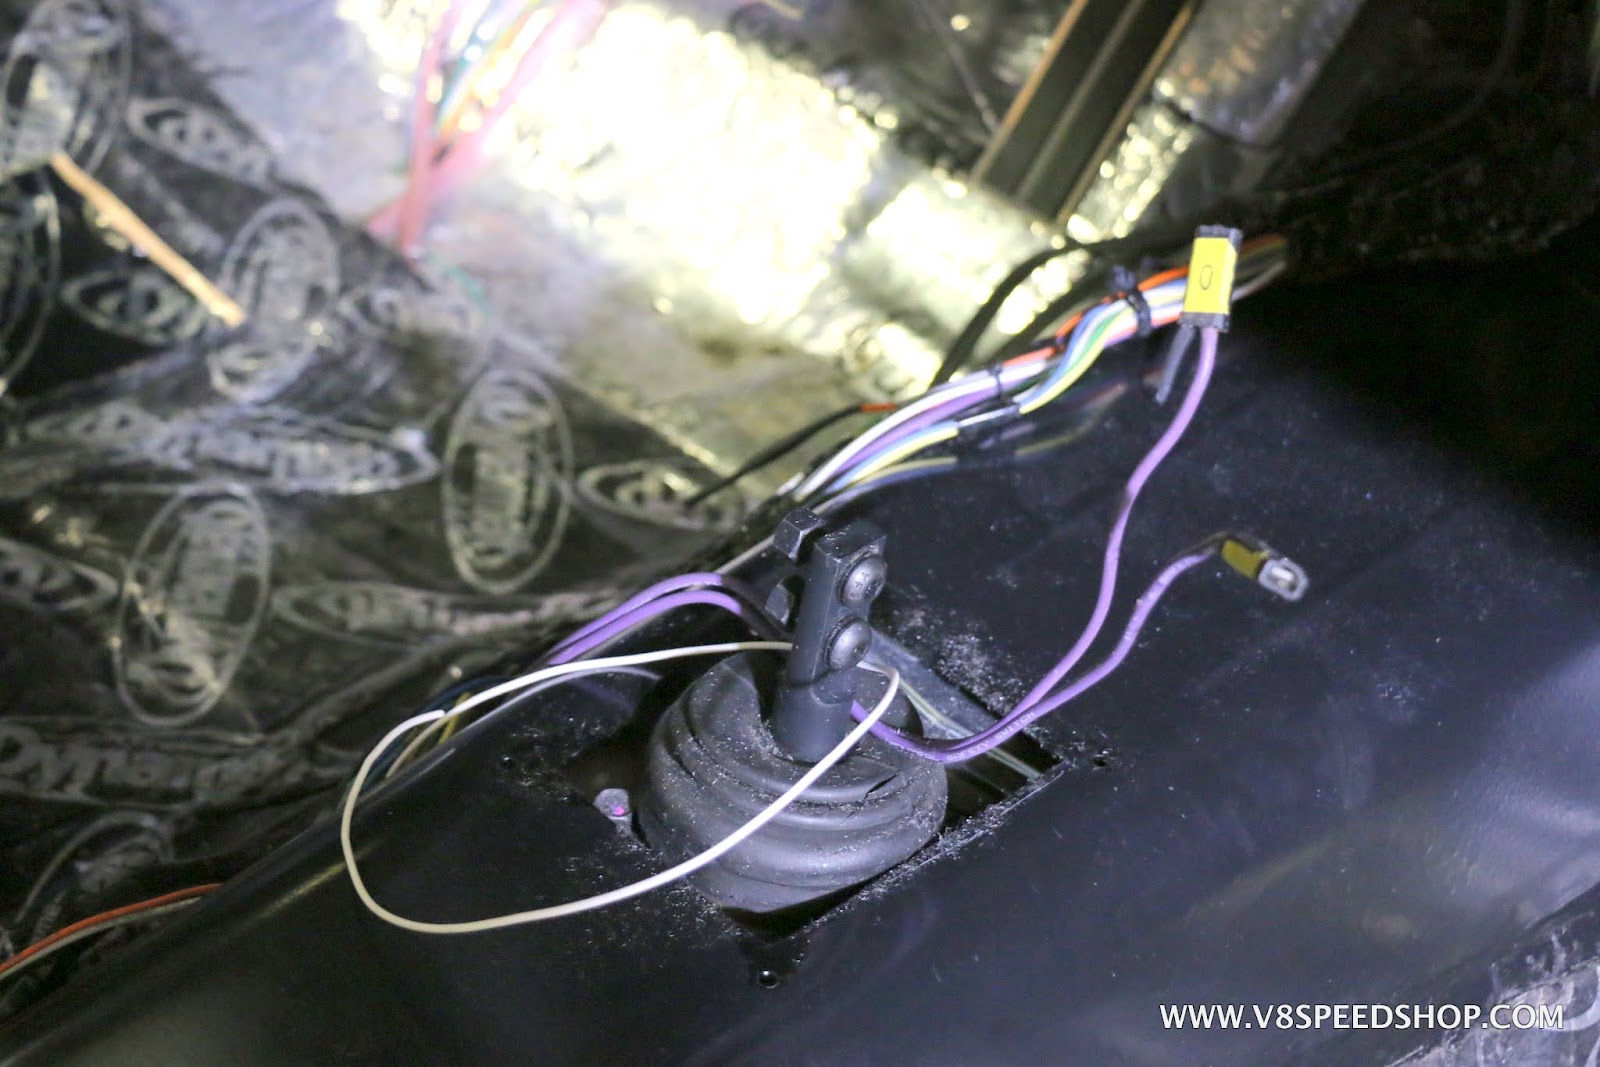
Once installed, the hydraulic clutch master cylinder reservoir is barely visible behind the brake booster.


Inside the car, it appears just as it would with a factory installed Muncie 4-speed, except for one more gear on the Hurst shift ball…

-
1
-
-
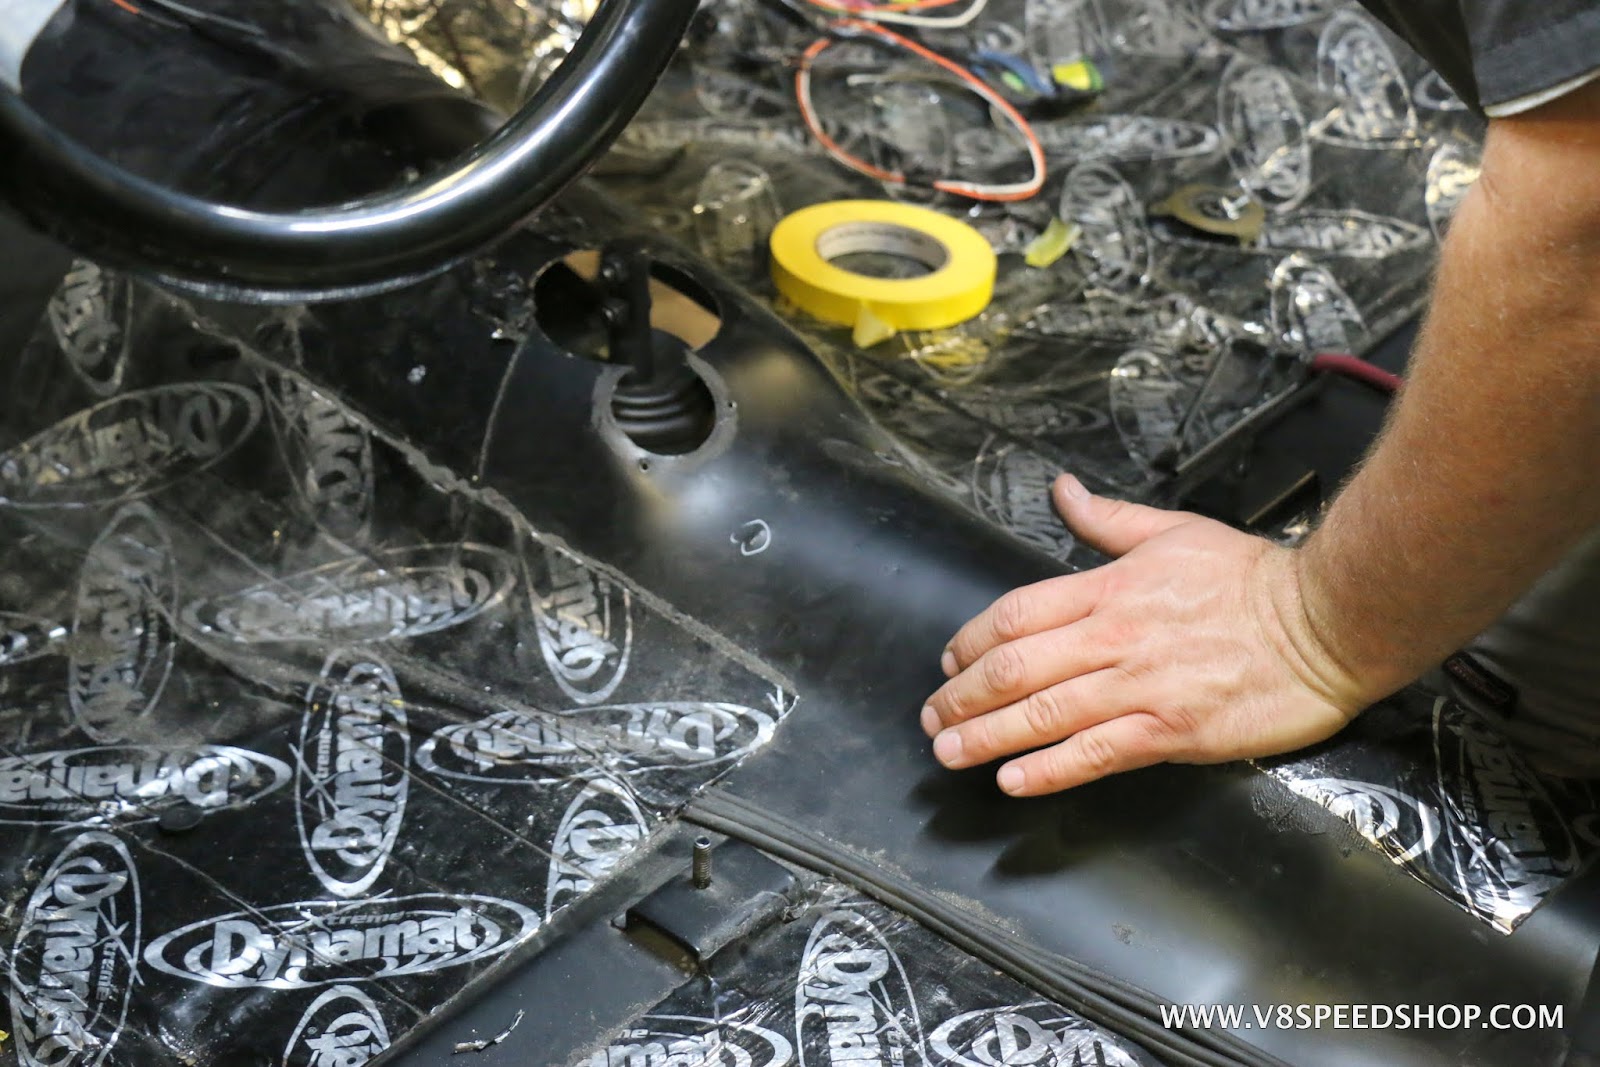
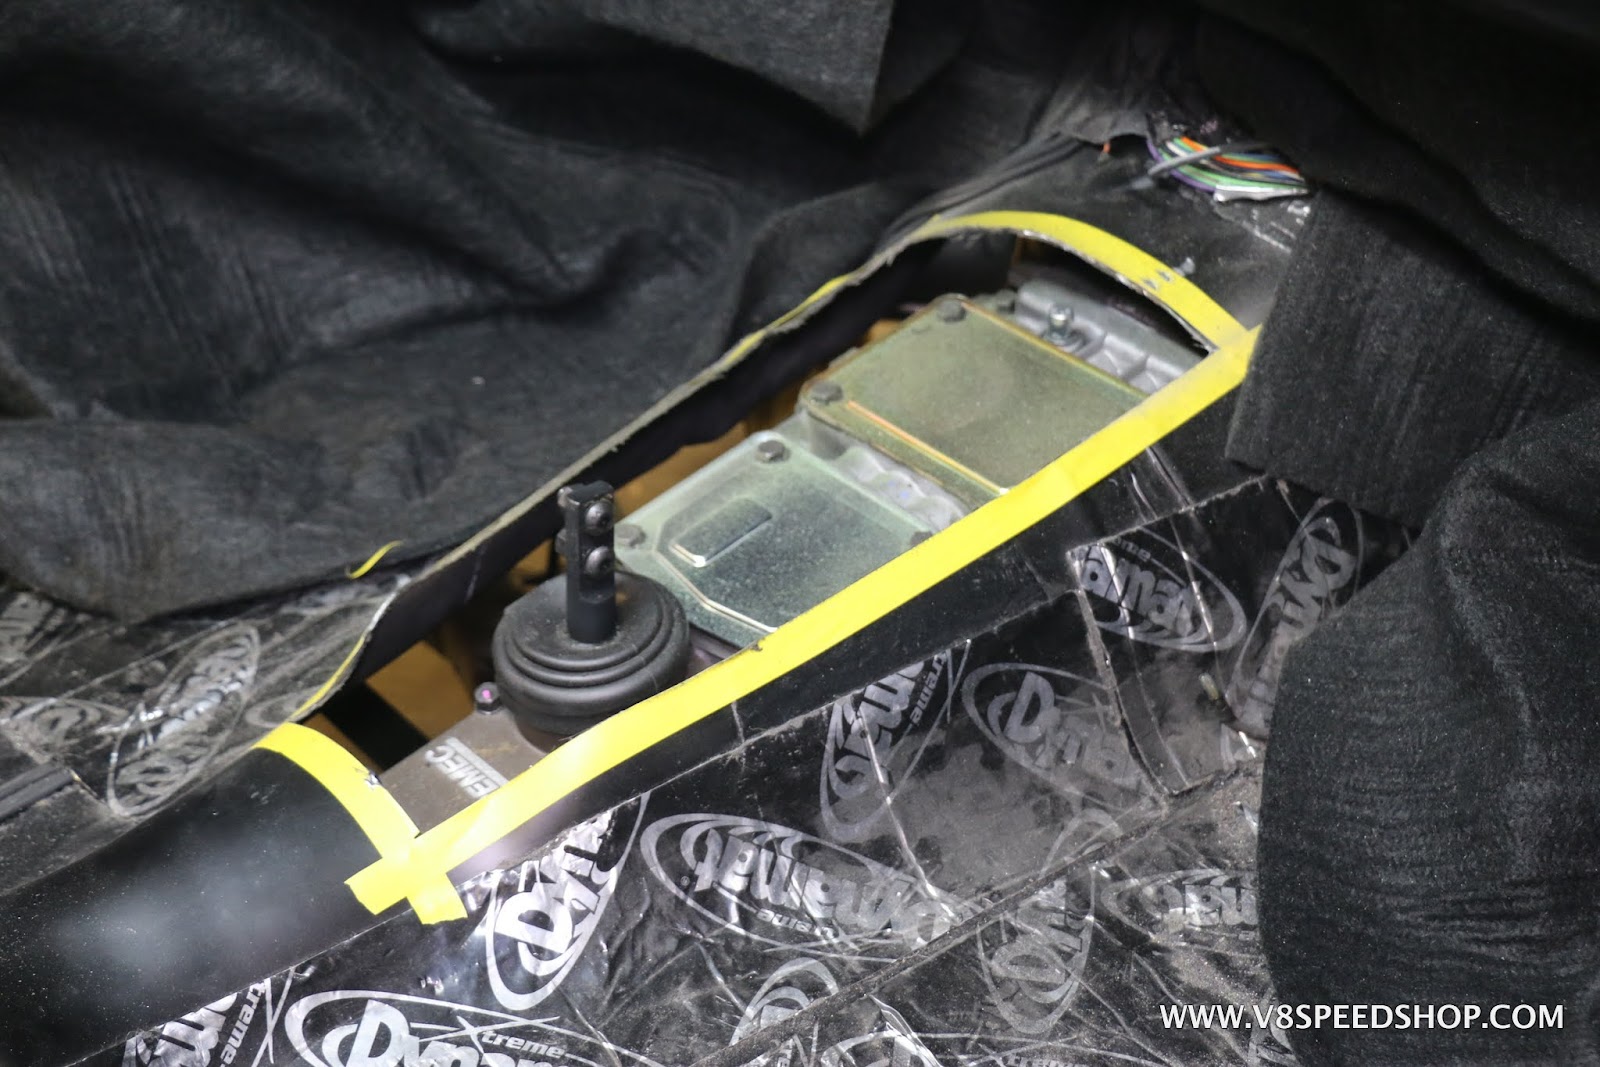
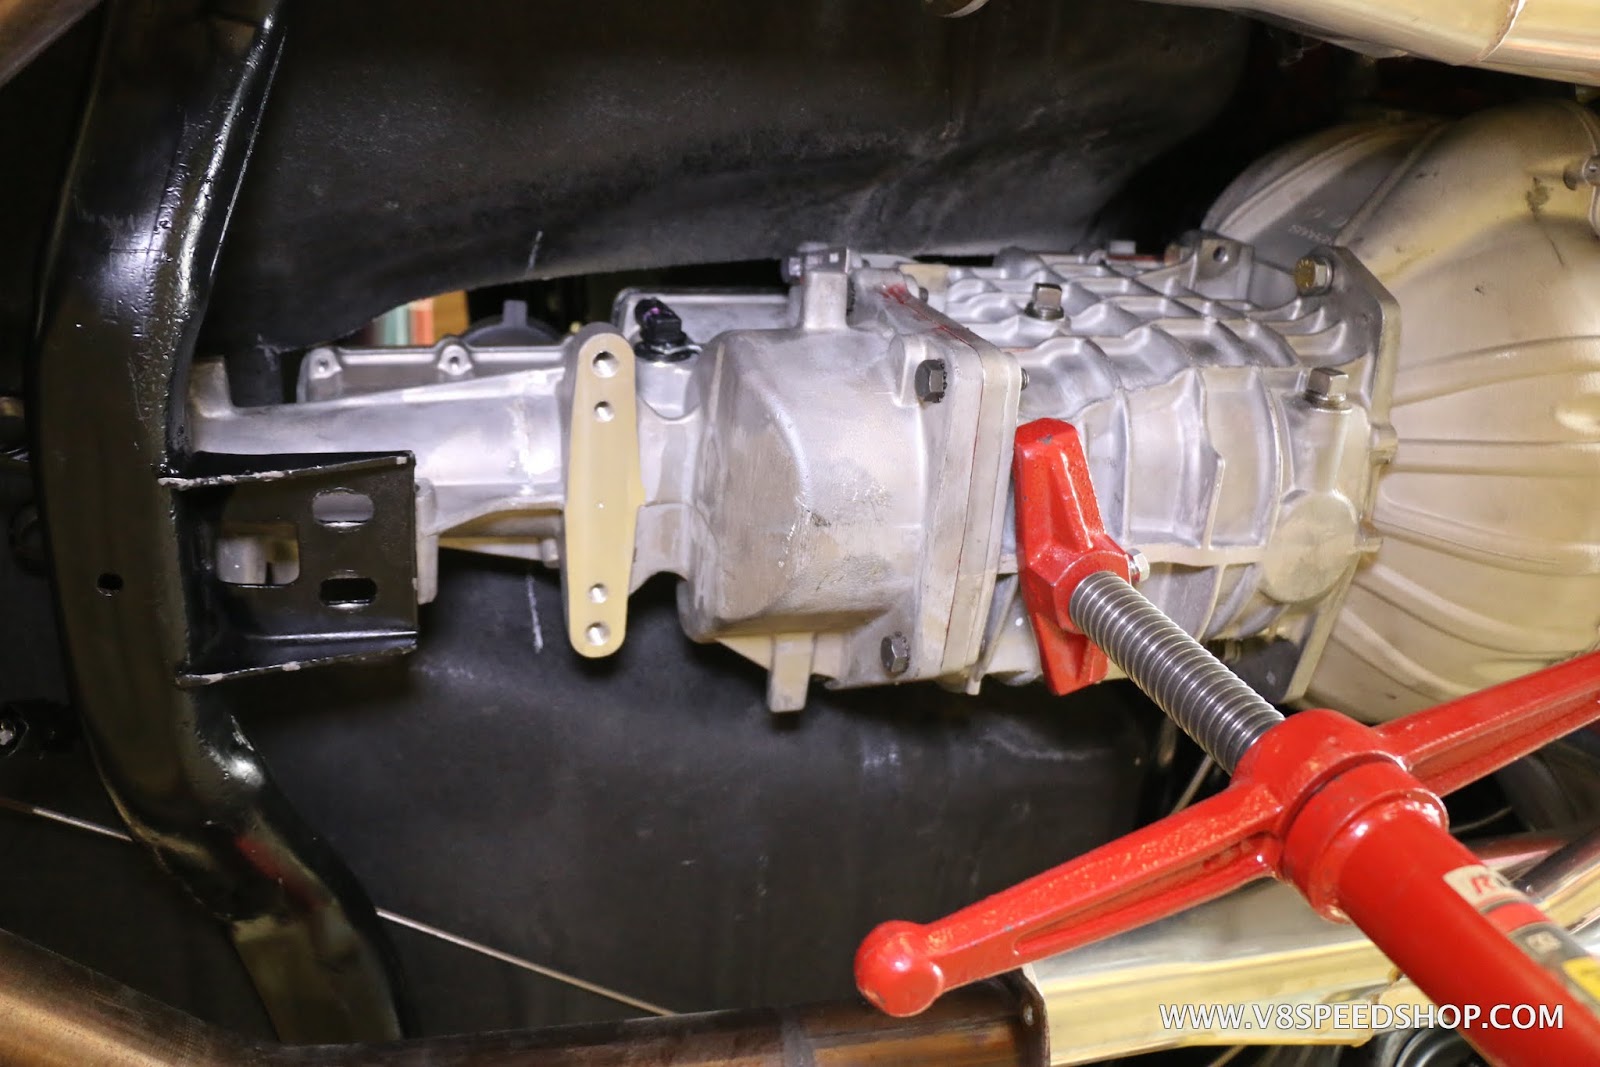
Slipping the TKO in place for the final install:

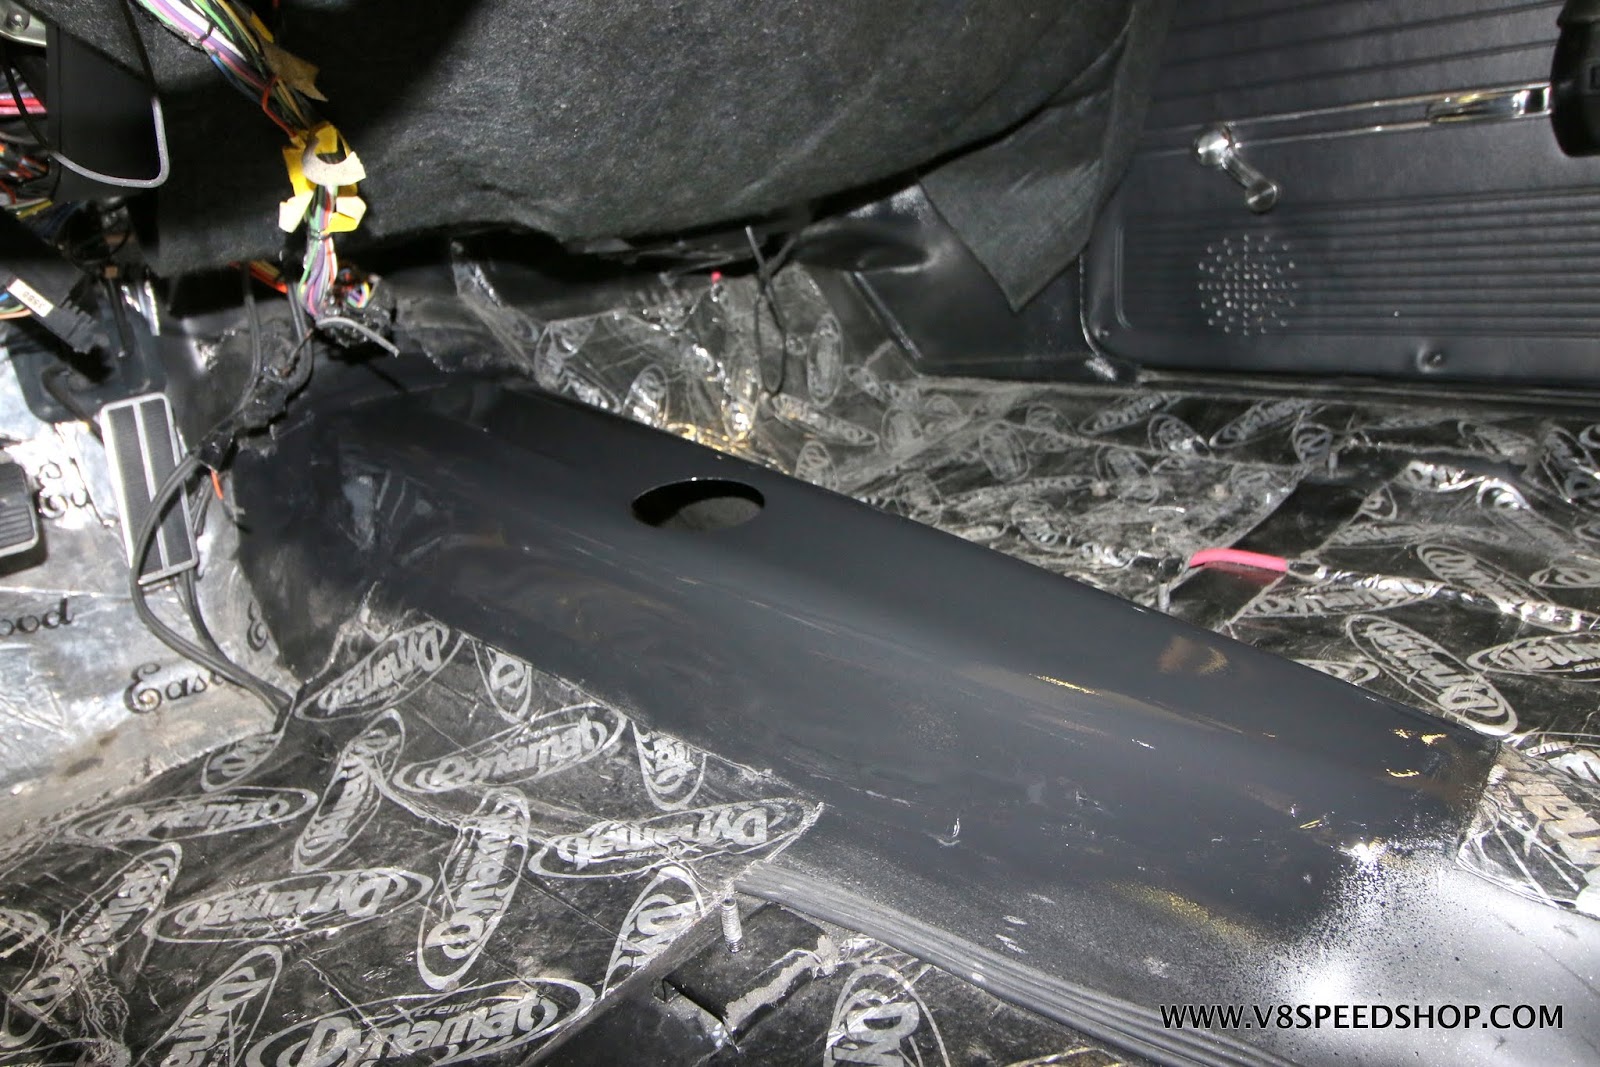
Shifter hole opened to required size and console wiring peeking through:
New Hurst shifter and boot installed

Console installed and converted to 4-speed use:

Re-sized drive shaft awaiting primer and paint:

-
The owner drove this ‘69 for a while, but eventually decided it was time to dump the automatic transmission in favor of a manual. His hesitation was that he didn’t want to have to fight with a heavy clutch, but we teamed up with Modern Driveline to propose a hydraulic actuated clutch for an easier and smoother pedal effort. We then proposed a 5-speed manual Tremec TKO 600 with an overdrive gear for better highway manners than the TH400 automatic with its 3000 RPM stall speed and 3.73:1 rear gear.
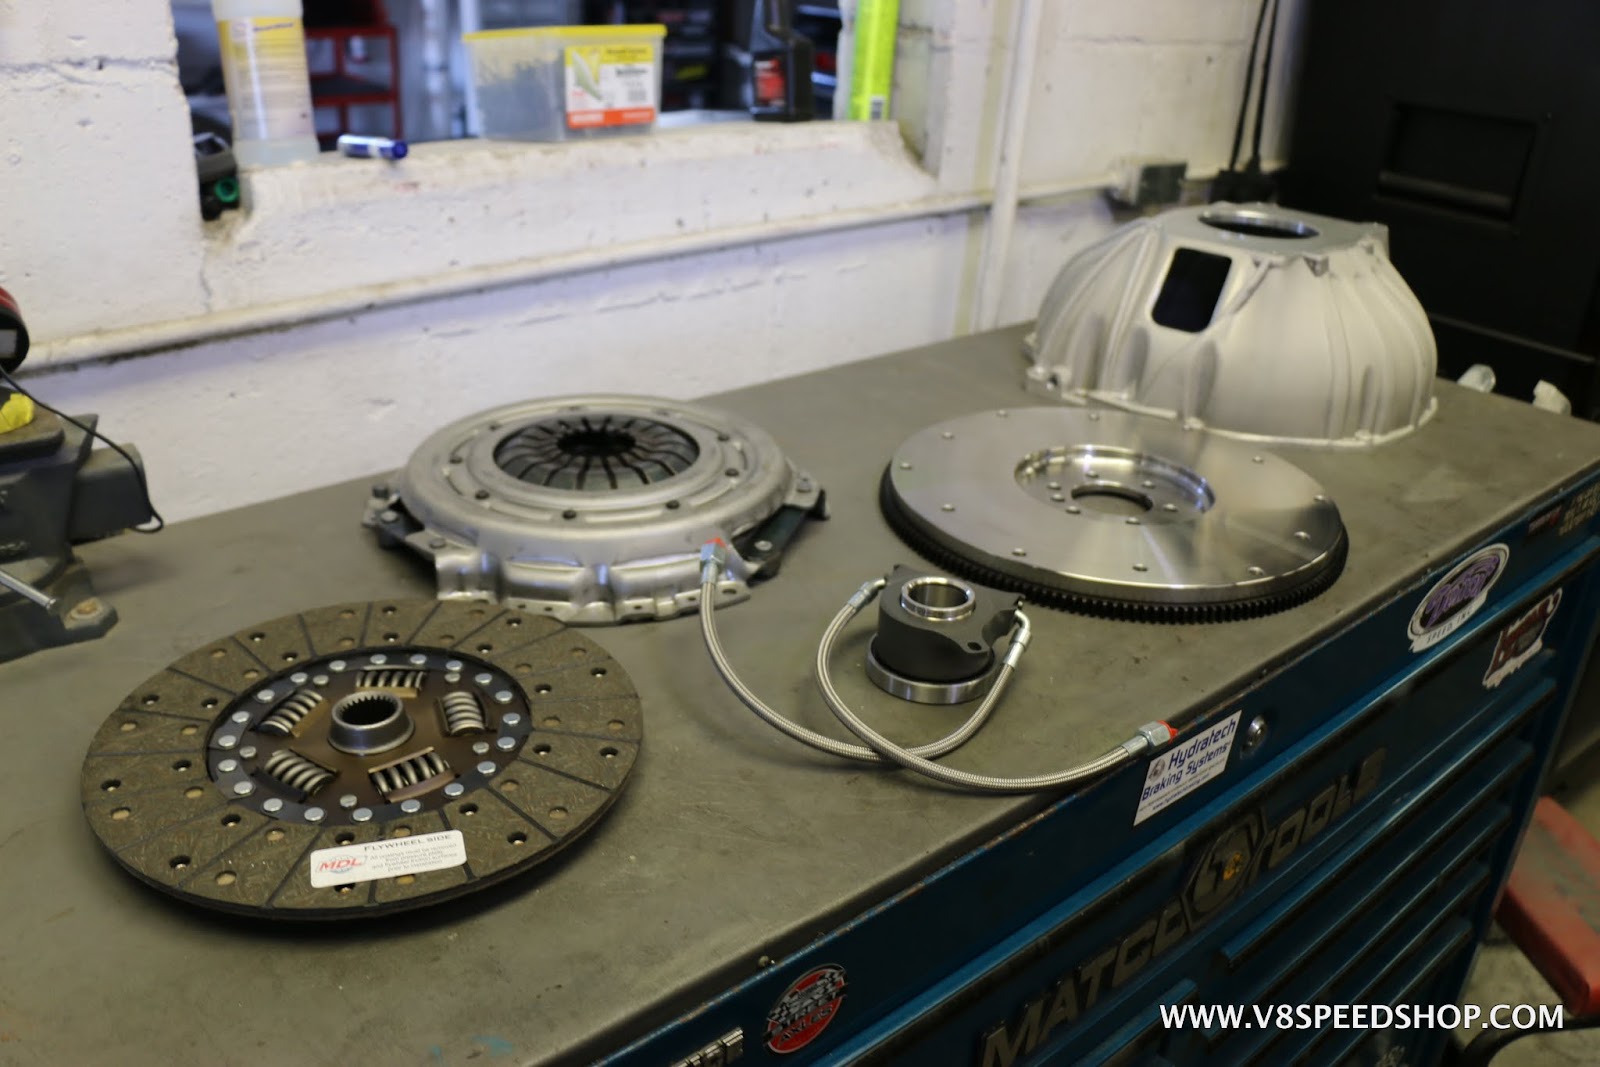
Modern DriveLine components including the aluminum bellhousing, Superior clutch, hydraulic throw-out bearing, and billet flywheel.
Tremec TKO 600 transmission with bellhousing installed awaiting test-fitting under the ‘69.

Initial fit showing the shifter position in the original tunnel.
A bit of the tunnel will need to be replaced to bring the transmission up high enough to achieve proper driveline angles.
New supplied transmission tunnel installed and primed:
-
On 3/2/2017 at 1:01 PM, Zimm63 said:
Absolutely beautiful.
How many hours did the crew have in it when it was done?
Quite a few! Not sure off hand the total.
-
19 hours ago, keiser31 said:
Congratulations on finishing and SUCH a superb job!
Thank you sir!
8 hours ago, ILIKECARS53 said:Just received my copy of HEMMINGS MUSCLE MACHINE. The Galaxie looks great. Glad I kept up with this thread. Can not wait for your next project.
Thank you! We have lots of projects going on.. we'll have to see which one will be next!
5 hours ago, unimogjohn said:Thanks for sharing on the forum. Always enjoyed your build. Keep up the great work. Thanks to all the guys! Cannot wait until your next build.
Thank you! I'll share your thoughts with the crew!
53 minutes ago, GARY F said:you all did a great job and it looks great. enjoyed following the build
Thank you Gary, and thanks for following along!
-
After all the hard work, the ‘66 7-Litre is finally finished. We are super happy with the results, and our crew at the V8 Speed & Resto Shop did an outstanding job on the car. The owner is happy, and the car drives like a dream. As a HUGE added bonus, the car was featured in the June 2017 edition of Hemmings Muscle Machines Magazine, even landing on the cover!


We’d like to thank everyone who had a hand in this project for the efforts, and thank all who read this thread start to finish. We hope you enjoyed the trip, it’s been a heck of a ride. Let us know if we can help with your dream car!

-
5
-
-
1 hour ago, Roger Zimmermann said:
This car is certainly looking better than new! I doubt that so much care was applied during ist production. Congratulation!
That's very kind of you to say, and you're right... this one was built in about an hour the first time!
1 hour ago, keiser31 said:Did the original have chromed acorn lugnuts?
You know I'm not sure.
-
Underhood pad details and trunk elements installed.


-
1
-
-
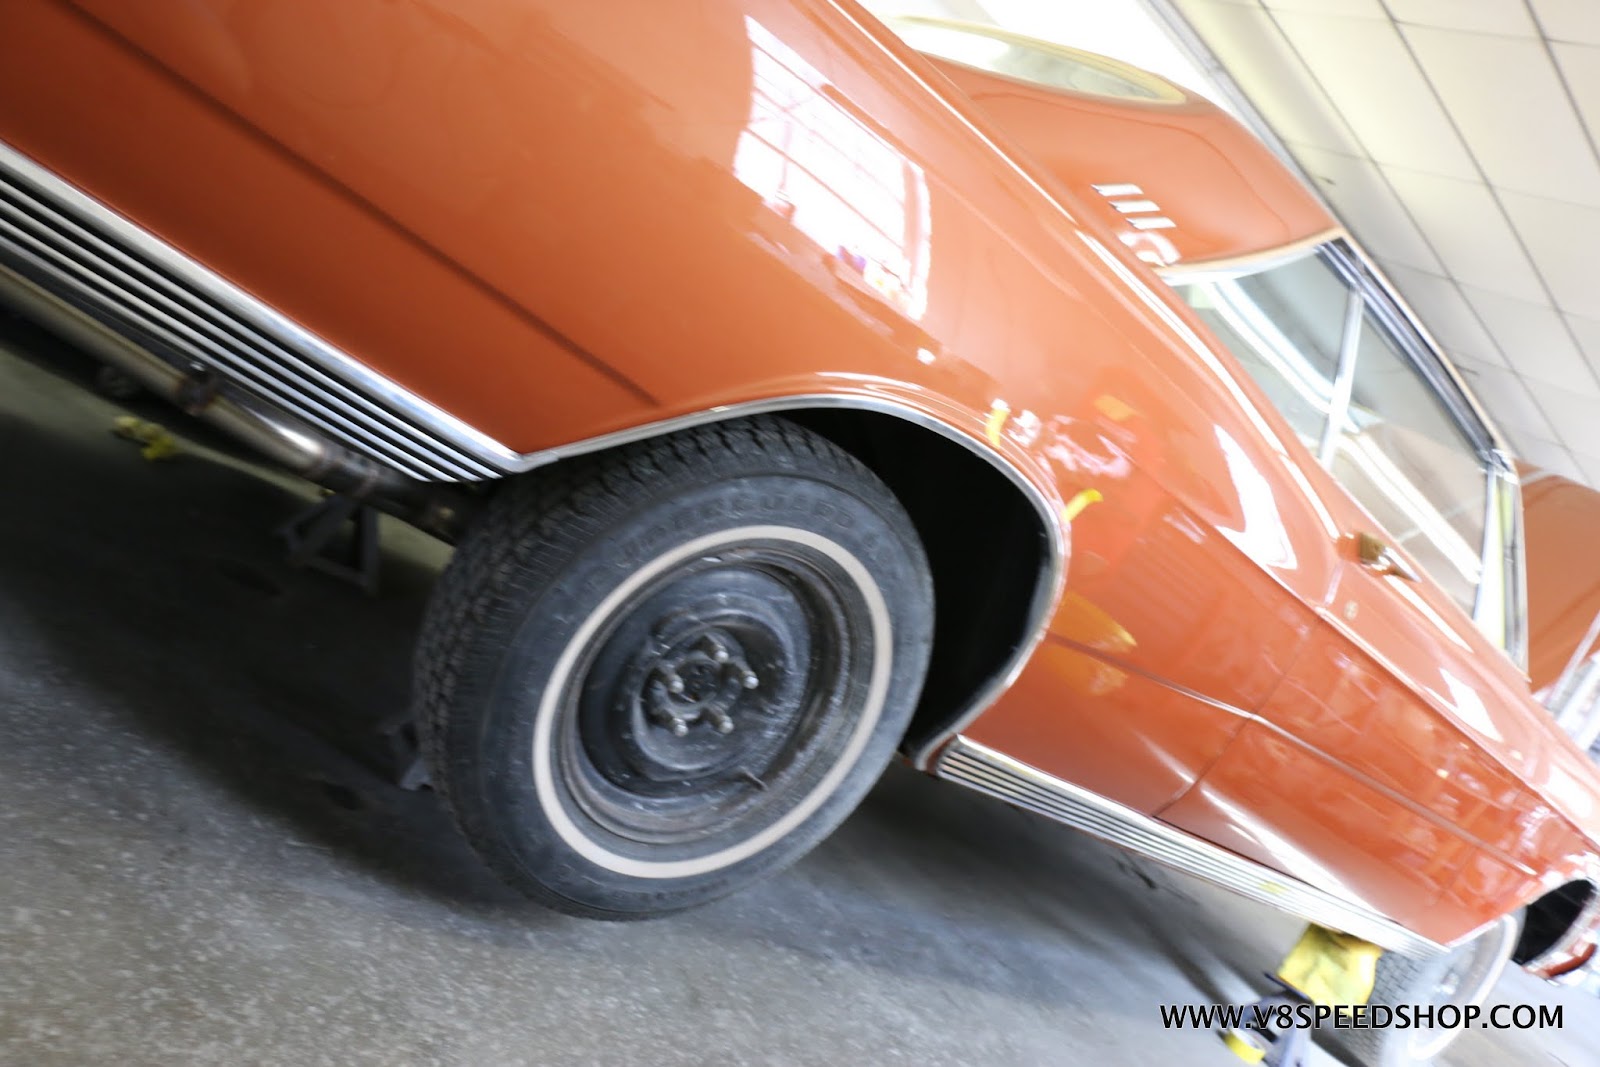
Original 15” x 5.5” Kelsey Hayes wheels sandblasted, epoxied, and sprayed gloss black.
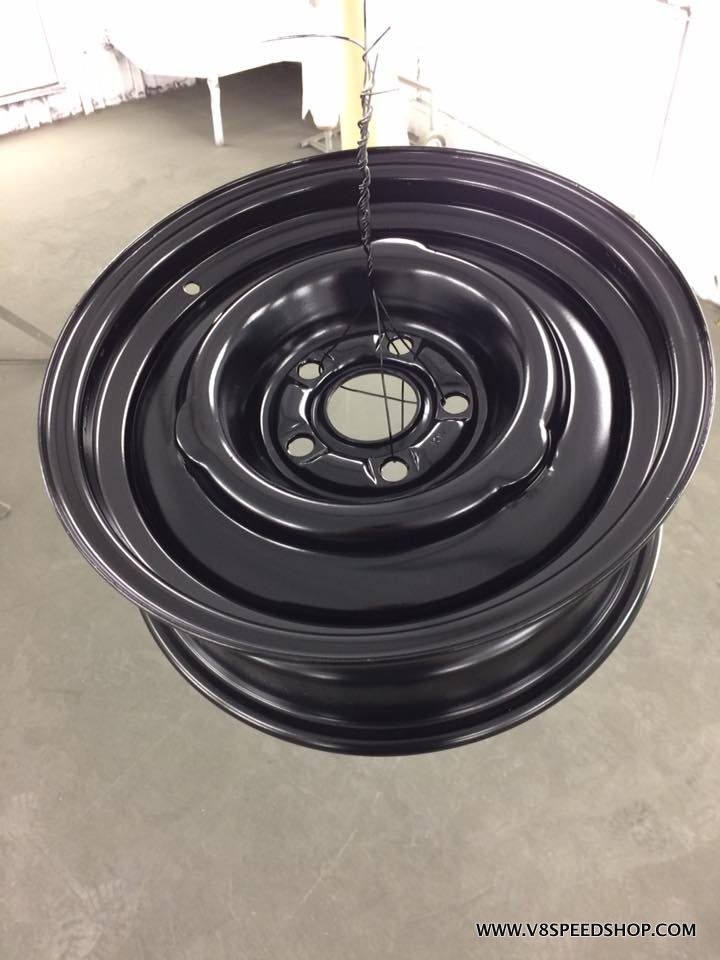
7-Litre hubcaps polished and repainted.


New center medallions and white-striped tires complete the look.

-
2
-
-
Rear seat medallion over speaker grille and package tray

Interior assembly coming along…

New headliner brightens up the room a bit.

Original door panel carpet treated to some dye to bring the color back.


Assembled door.

-
Restored rocker trim… this isn’t easy or cheap to find!
Rear bumper in place, exhaust tips need to be trimmed later.

Let there be lights! And how about that plate? Cool.

Restored shifter and console assembly

New carpeting being worked around the console. This can be a challenging job, but Tyler pulled it off.


Stewart Warner “Green Line” repro gauges look right at home.

-
Replated bumpers and restored brackets are held together with new hardware. These cars use a curved spring-type washer to maintain tension, a detail we included on the restoration.


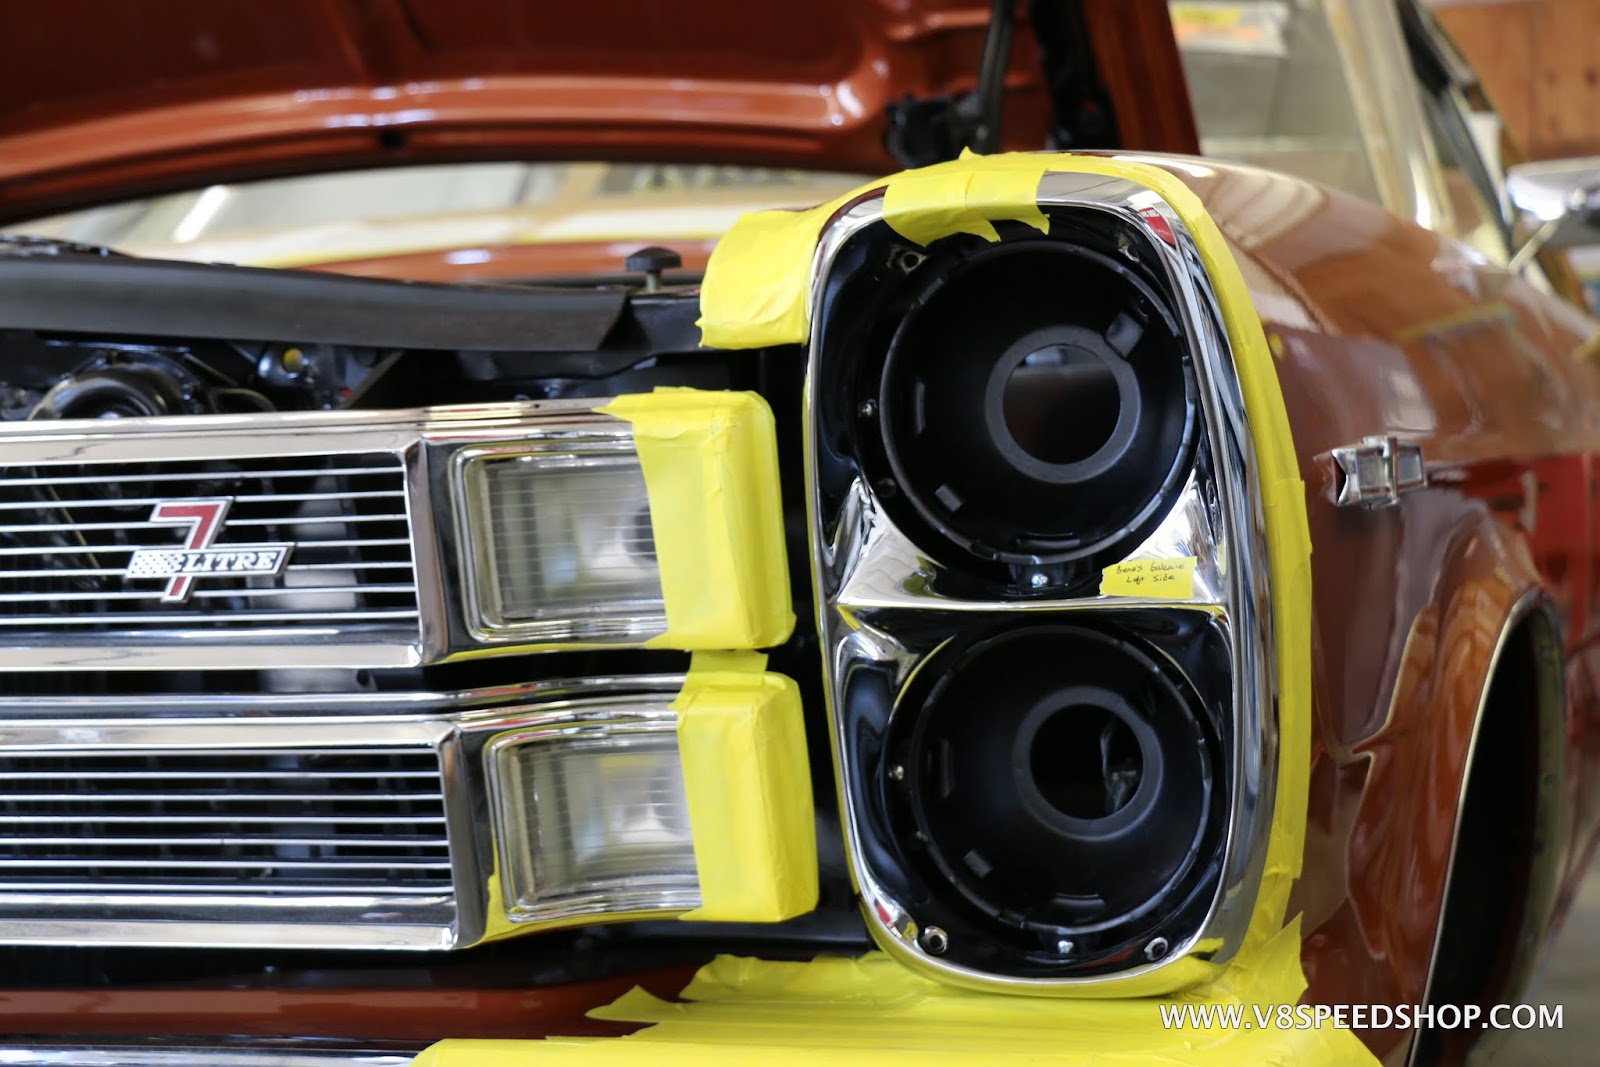
Tons of tape used in the fitting of the headlight bezels to prevent scratches. Although these have a rubber gasket behind them, they were a bit tricky to fit.

-
1
-
-
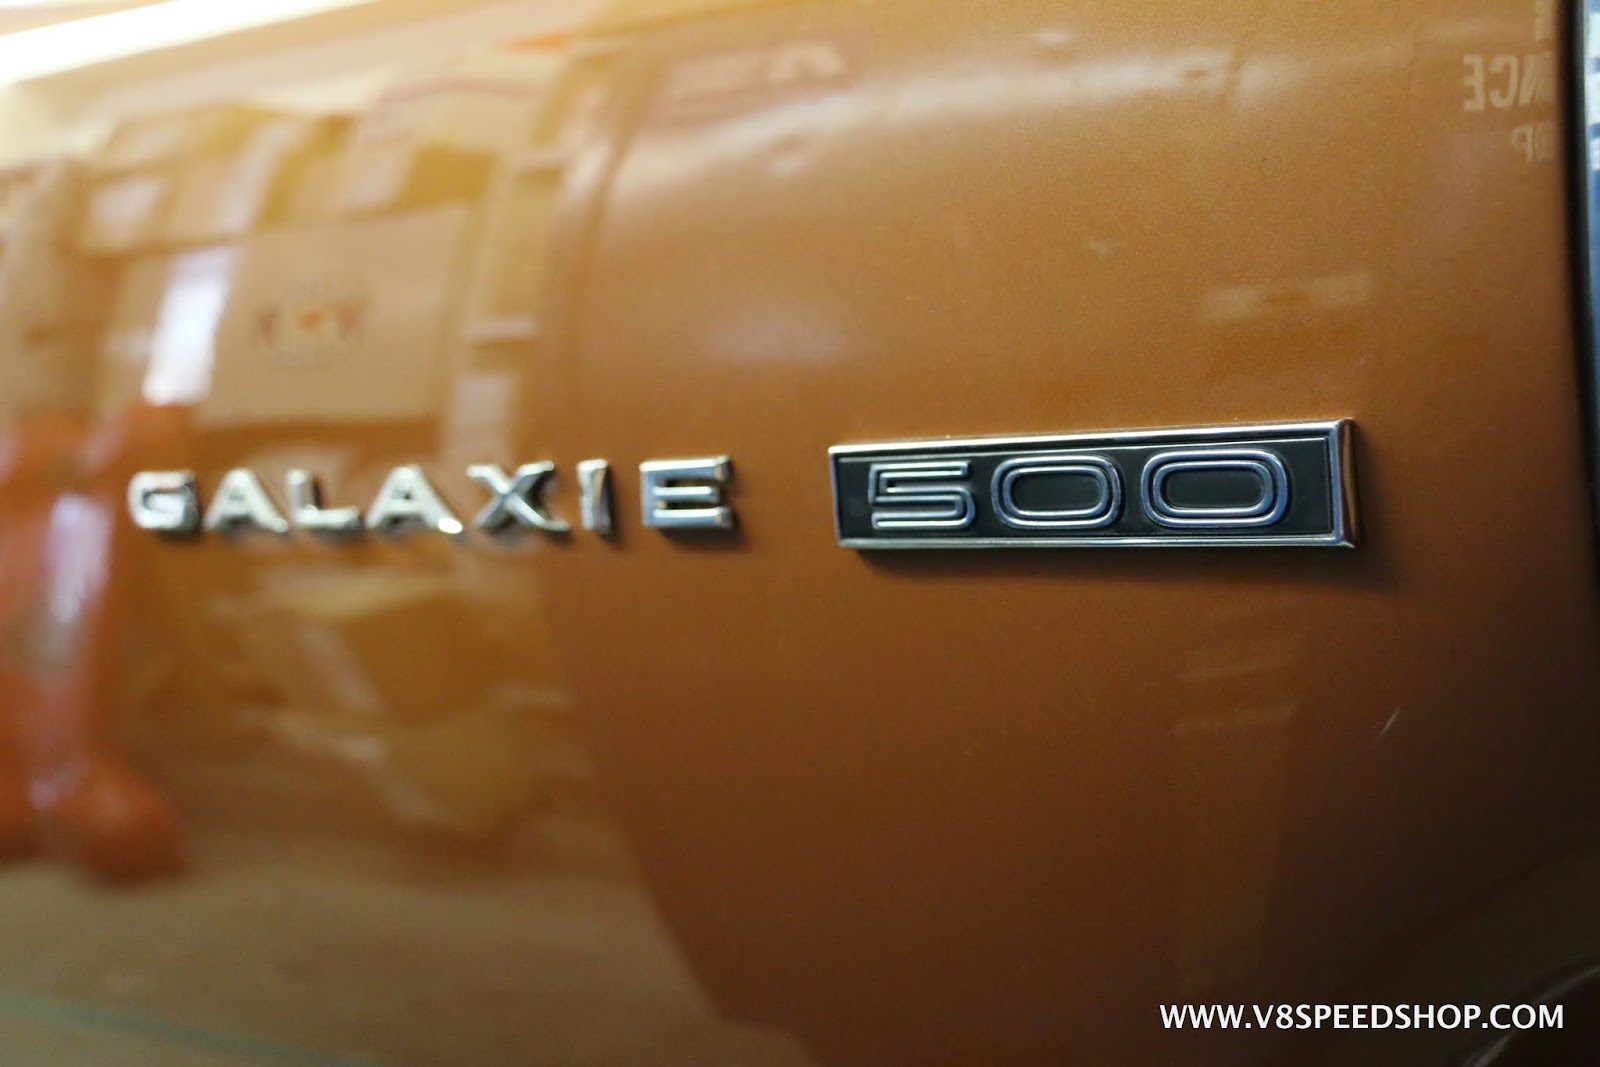
John double checks his spelling on G-A-L-A-X-I-E… in truth, there is tremendous stress in reinstalling replated letters, as the holes in the car and the studs on the letters are all slightly different shapes and sizes after paint and plating. The last thing you want to do is crack the paint or break the letter. A very fine file can be helpful in the holes.


More details and trim coming together…


-
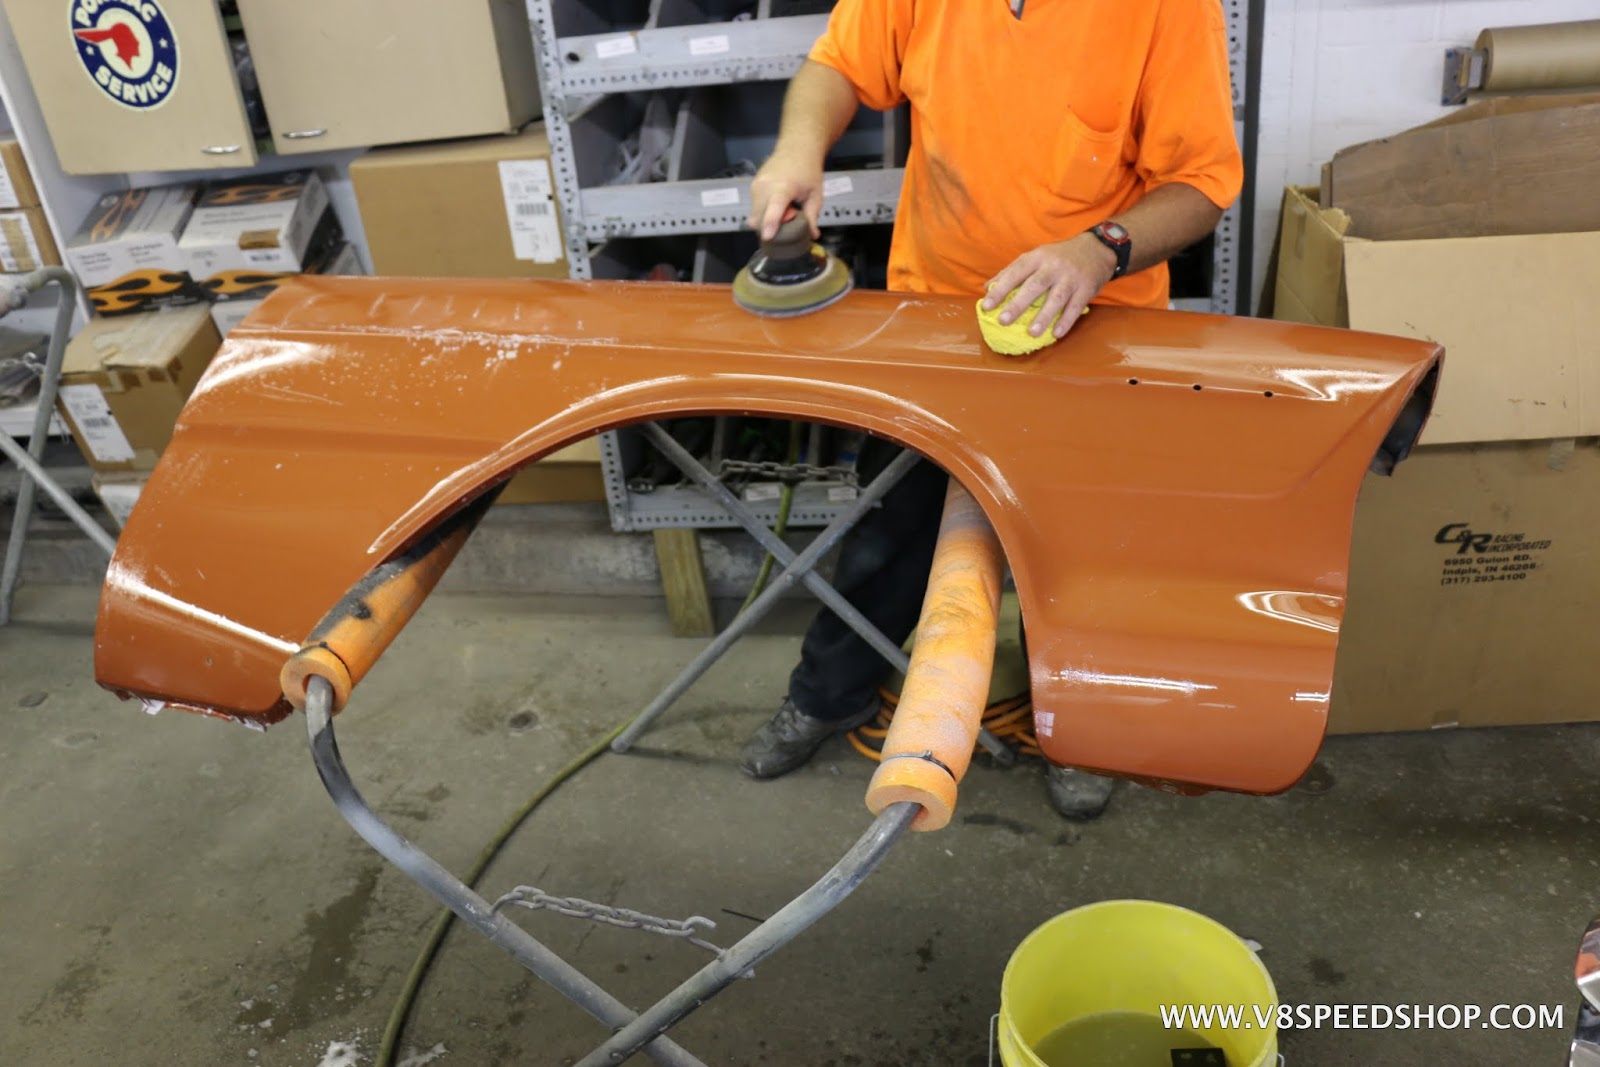
You’ll note the fenders have been on and off a couple times during the build, we find it safer to finish the engine bay with them off, and in this case, the lower windshield trim was easier to install without the fenders in place. We also wetsanded them and buffed them off the car for easier access.
Here, John, Jeff, and Caleb taped up the edges of all the sheetmetal and reinstalled the fenders and hood. Tape keeps things from getting scratched during reassembly.

You’ll note some of the exterior window trim has been installed, as well as the door glass.

More FBS tape keeps the edges safe from the buffer, and John works the polisher all around the car.

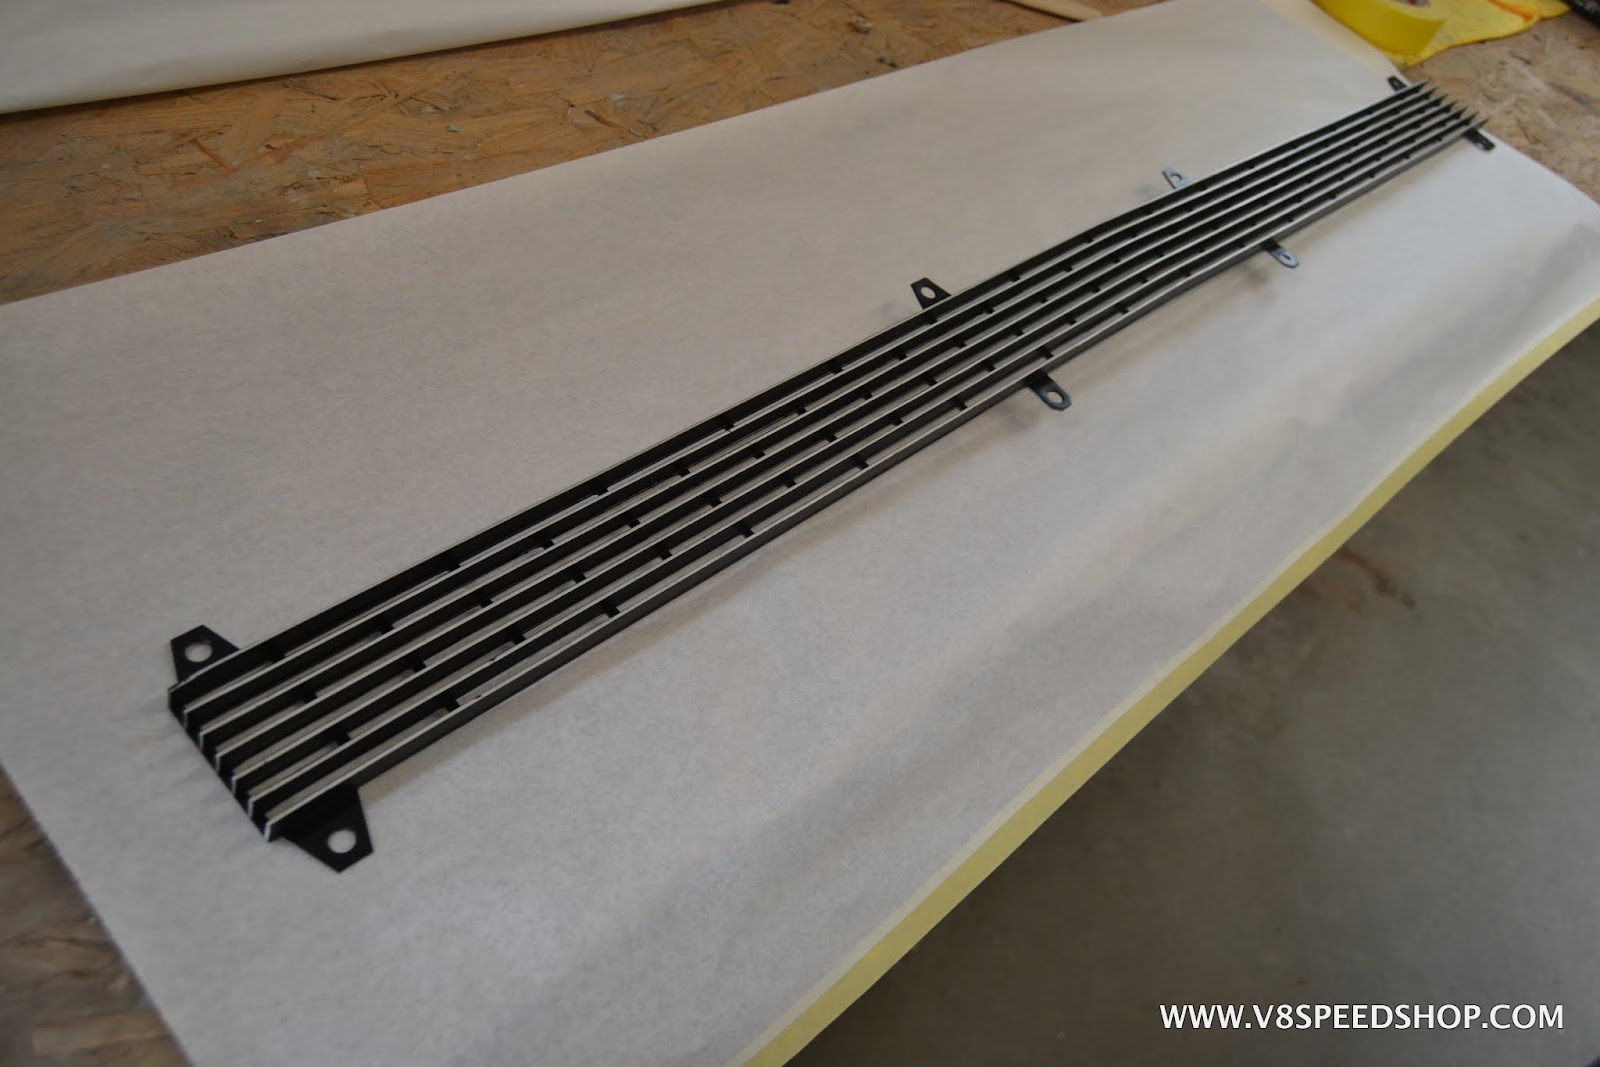
The multi-piece 7-Liter grille goes back in, with new lenses, seals, and hardware.


-
1
-
-
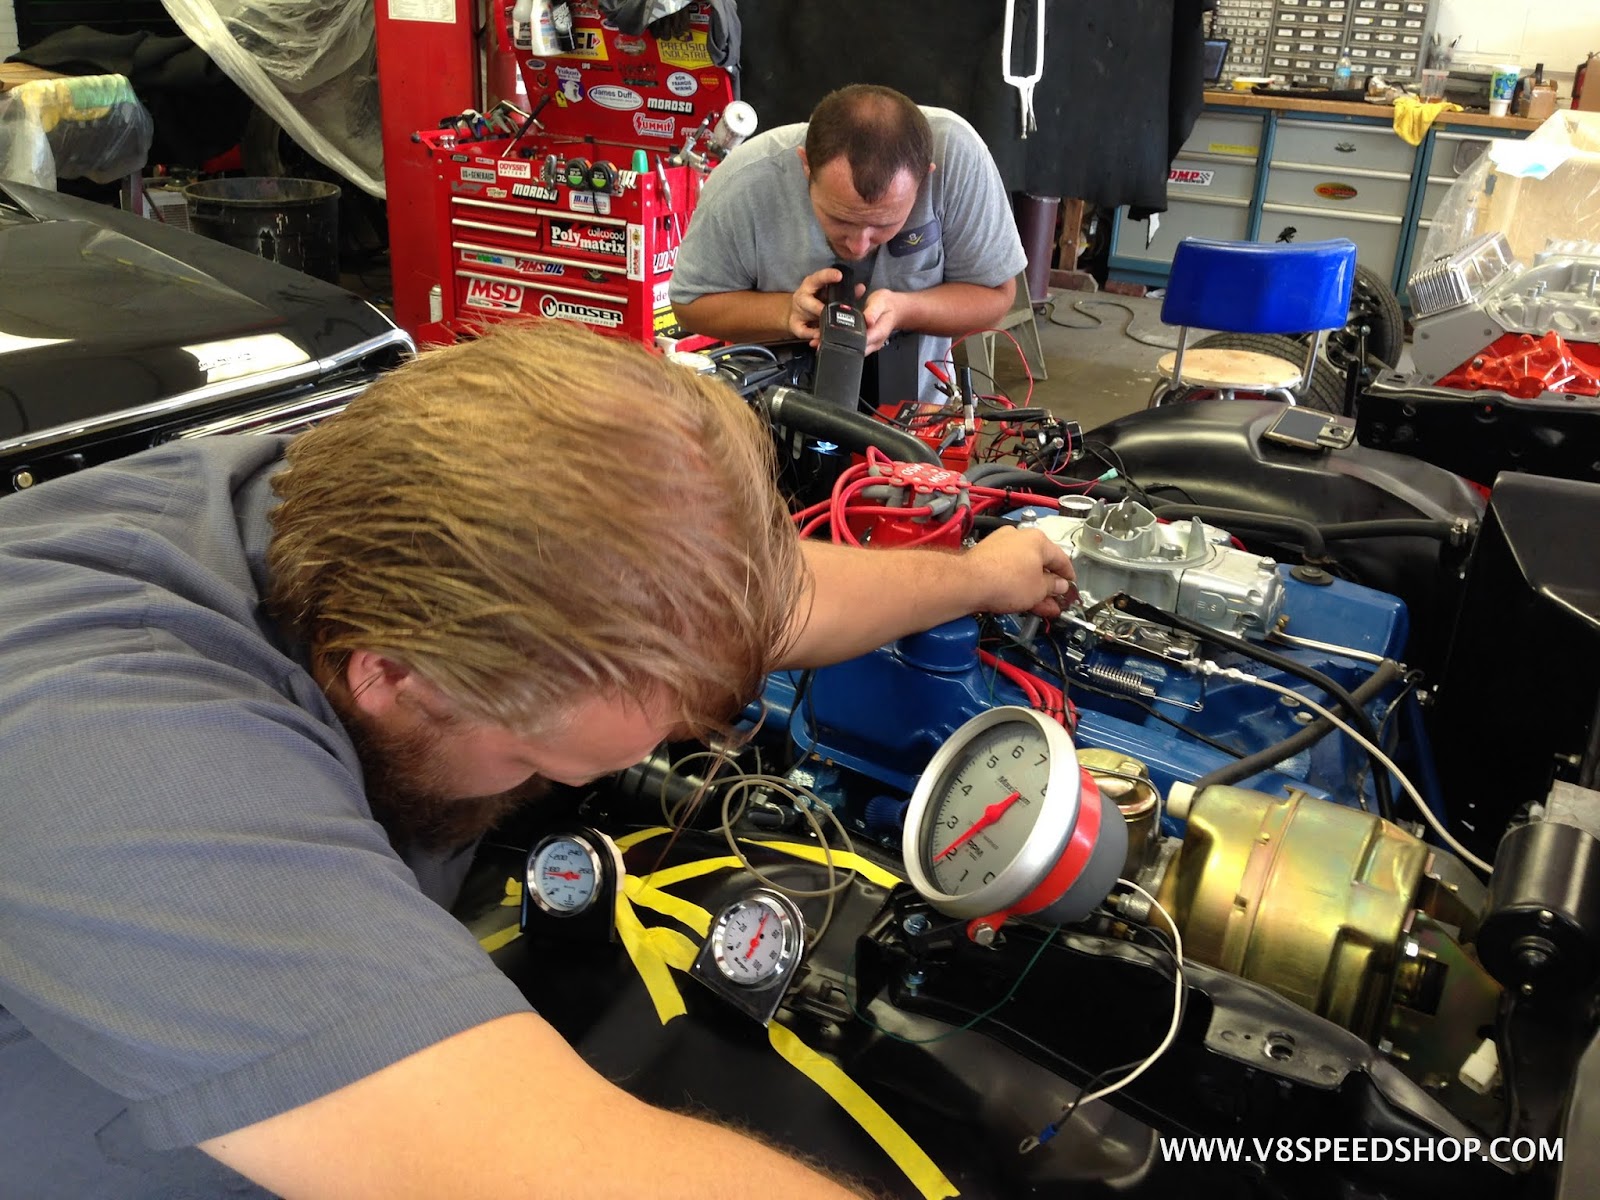
Soon, the mighty 428 will come back to life! It’s a near-stock rebuild, save for an overbore and the crank cutting as noted earlier in the thread. Here, Tyler adds a bottle of COMP Cams valvetrain lube to protect the new flat-tappet cam on engine startup and break-in.

We’ve installed external oil pressure and temp gauges on the car to keep an eye on things during break in.

The 428 roared to life with minimal drama, save for a collapsed lifter that made some noise. A quick replacement solved the issue, and the FE has been happy ever since.

Watching timing and vitals during break-in…
-
Here, the car has been “cut” to 3000 grit just before buffing.

This is a BIG car!

Buffing starts to bring out the shine.
During this process, more of the interior items were installed, as well as some of the exterior trim parts. We had much of the exterior chrome replated and other parts polished and painted for a new appearance.

New lenses were installed all around the car, along with seals, gaskets, bulbs, and hardware.


-
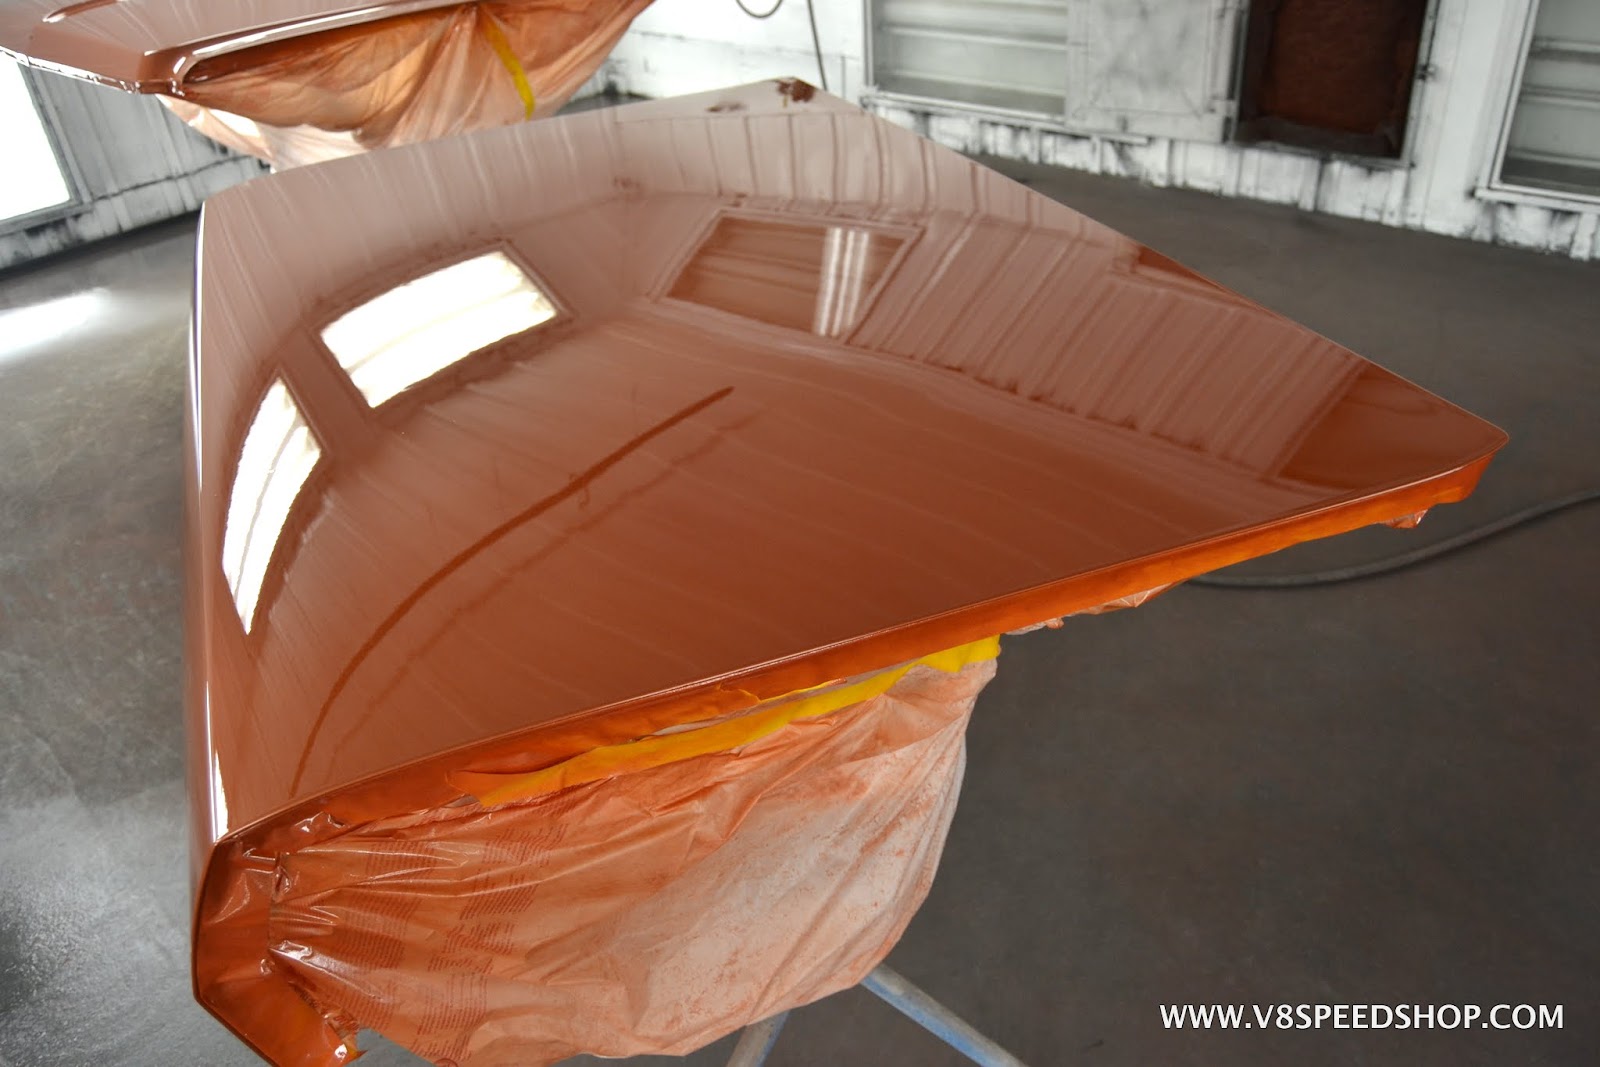
The hood, cowl screen, and deck lid were all painted separately on this car to achieve better coverage on all sides. Matching the color and metallic pattern is tricky, but Jeff nailed it!


After the Axalta paint had some time to outgas and harden, the wetsanding and buffing process began. Every inch of the car was wet block-sanded with either 800 or 1000 grit to start, then Jeff moved on to 1500, 2000, 2500, then 3000 and 5000 on a 3M Trizact dual action sander. The goal for this surface was to look nice, but still have a hint of factory texture as too keep an original look.

These random spots show where the texture was highest and sanded with the most coarse grit, but only where needed. The whole panel will be sanded next.

-
58 minutes ago, zipdang said:
I want one! Please...
Dad bought a brand new 1966 Galaxie 500 and it's the car that I most closely associate with Dad - great memories seeing these cars.
That's what these cool old cars are all about. Thanks for the cool post!
-
-


Test fitting the dash back in the car, and installing the wood-grained trim:


1966 Ford Galaxie 500 7-Litre Restoration Thread
in Our Cars & Restoration Projects
Posted
Thank you so much!