


FRED TIP
-
Posts
23 -
Joined
-
Last visited
FRED TIP's Achievements

Recent Badges
38
Reputation
-
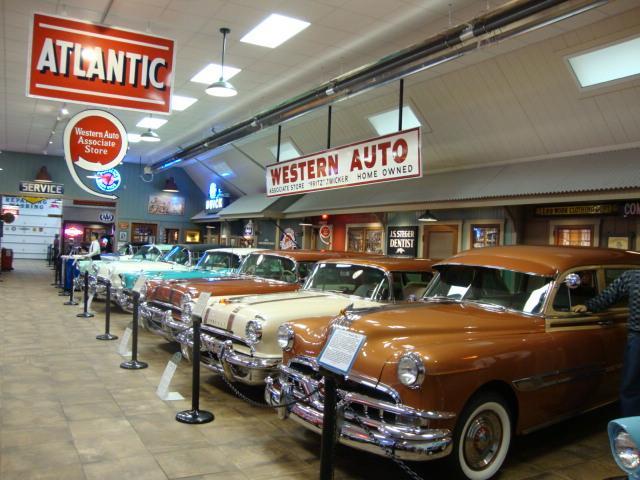
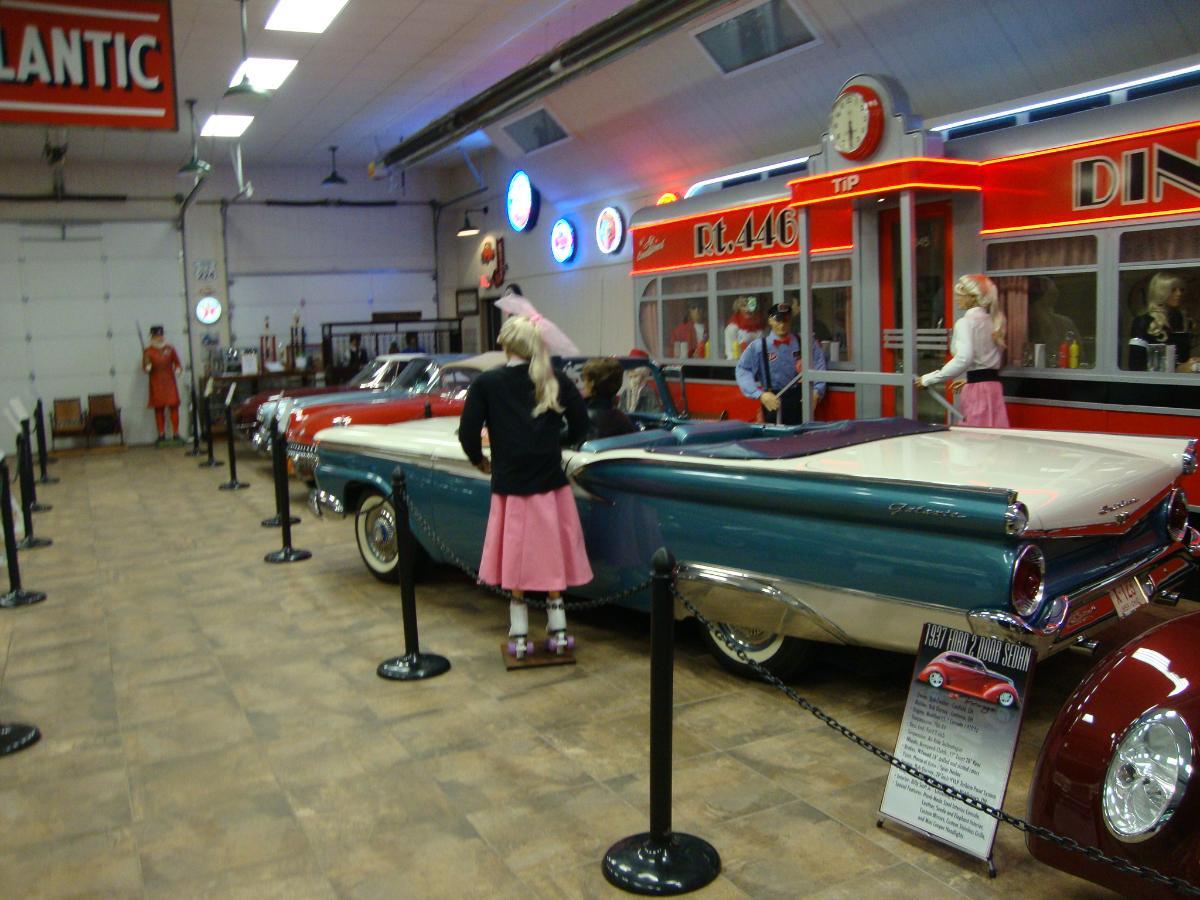
Over 50 cars on display in Canfield, Ohio. TiP Tools Auto Museum. For many more pictures see www.tpcarcollection.com or www.sodabar.com In addition to the cars there are many automotive signs, much automotive decor and displays. Free Admission every Saturday from 10 AM to 3 PM. Many pre-war cars on display, along with a nice selection of older convertibles. We just opened a new muscle car section. Many of the cars were restored at Tip Tools Restoration Shop on premises. Bring your friends - one of the nicest auto museum displays in the Ohio/ West Virginia and Pennsylvania. Hope you can stop in to see us soon. Fritz


- 1 reply
-
- 5
-

-
Spring Carlisle - TP Tools is not attending this year
FRED TIP replied to FRED TIP's topic in General Discussion
Fred will you have a display at the Canfield spring swap meet? thanks Bob Staehle Thanks for asking Bob. Yes we will have our usual display at the Canfield, Ohio Spring Swap Meet on April 30-May 2nd, plus our annual spring showroom sale from April 27-May 2nd. Our manufacturing plant, showroom and car museum are located only one mile from the Canfield Fairgrounds. We will also display at the Canfield Spring and Fall Shows -all at Spaces 482-485. For those who do not know, all of our Skat Blast abrasive blasting cabinets and HVLP paint spray systems are manufactured in our Canfield location. All are proudly Made in USA out of USA steel by USA employees. Had you purchased one of our first cabinets back in 1978 and needed parts, they are in stock for immediate shipment. That is one of the many advantages of buying USA made products. Fred
-
I am the original founder of Tip Tools (TP Tools) in Canfield, Ohio and want to advise that we will not be displaying at Spring Carlisle this year (after over 40 years at the spring show). Several of our employees were hit hard with Covid-19, and since then we are experiencing a shortage of steel and other components to manufacture our abrasive blasting cabinets, vacuums, dust collectors and HVLP paint spray systems. Last year the spring show was postponed into the summer and we also did not attend. Sorry. Fred
- 1 reply
-
- 2
-

-
I am the original founder of Tip Tools (TP Tools) in Canfield, Ohio and want to advise that we will not be displaying at Spring Carlisle this year (after over 40 years at the spring show). Several of our employees were hit hard with Covid-19 , and since then we are experiencing a shortage of steel and other components to manufacture our abrasive blasting cabinets, vacuums, dust collectors and HVLP paint spray systems. Last year the spring show was postponed into the summer and we also did not attend. Sorry. Attached are pictures of our 1953 Skylark in progress. Fred


-
We got a little sidetracked on the fuel pump issue, and while this could change, my present plan is to leave the fuel pump unpainted with fuel and vacuum lines painted engine green. Maybe a little overspray on the fuel pump and bottom of the distributor, but only if it is absolutely necessary (and correct). Looking at many 1953 Skylarks, including high end restorations, most have the fuel pump unpainted, some have it painted. I am unable to see the oil filter in any pictures, and am unsure of the correct color. My original question concerned the color of the oil filter, which at present is painted engine color and I was going to order what I hope to be a correct orange decal and apply it to the filter. However I am back to my original question is, "what color is the AC Oil Filter" Based on earlier comments, is it OK to leave this oil filter engine green and apply the orange decal? Or should I paint it blue as pictured earlier with an orange decal? The engine is hanging on our car lift and now is the time to make the correct decision. Also in checking Bob's Buick's 2019-2020 Catalog, there are 2 different decals available for a 1953 Buick engine: 1950-53 Oil Filter Decal P127 Orange Part OF-35 $3.75, 1953-58 Oil Filter Decal P122 Orange OF-34 $4.50. I am not sure if Bob's will be able to recommend which one. Does anyone know? In the meantime, I will order one of each. But the big question: Is the Oil Filter to be Green to match the engine, or Blue as pictured earlier? Below is a picture of our engine just painted. Oil filter clearly shown - now green. Which is correct - green or blue? Second picture shows the water pump, which is also green. Note that we carefully masked the grooves in the pulleys (good idea Lamar), which we would have overlooked. I doubt if this would have been a judging issue, but slipping belts are not what we want. Thanks, Fred P.S. Was oil filter originally painted, or was a decal used? If originally painted, we have the ability to correctly paint the orange on the (blue ? or green?) oil filter, especially if the decal is not correct.


-
We are almost finished with the hood alignment, but waiting on some rubber bumpers, as the originals are hard as a rock. We need to do some 'fine tuning' to get the hood/door gap even on both sides. They are close, but need a little more tinkering after the new rubber bumpers come in from Steele. Having the hinge and door springs remanufactured was the best thing we could have done. The hood hinge rivets were very loose and sloppy, and the springs were stretched and bent, resulting in a loss of tension. The hinges were rebuilt and because, there are no new springs available, different new springs were adapted, resulting in smooth working hinges. The hinges were rebuilt by Rowland Hall, 1901 Jackson Street, Burbank, CA 91504, (818)726-9440, rowlandhall@mindspring.com. Fred
-
Thanks Pontiac 1953. I am looking forward to seeing these pictures. Cars in NJ, and Bob's Buick have a lot of decals and may have these, but we are quite a few weeks (probably months) before we get to that point.. Always a pleasure to get information from this site and all of the help received is greatly appreciated. Fred
-
Thanks Fr. Buick, I was thinking the same thing and I have some tower-type clamps that I will install on this hose, as well as changing the hose clamps on my '54. Do you know if the oil filter had a decal on the side? Also if the engine was run on a test stand, should the fuel pump and water pump also be engine green? I feel certain that the water pump would be engine green, but I have seen engine pictures of many Skylarks and about 50% of the fuel pumps were natural cast, not painted (and these on expensive restorations). I just checked pictures of my 1954 Buick and the fuel pump was definitely engine green. I seem to recall checking into this at the time, so after my original fuel pump is rebuilt, it will be painted to match the engine. See attached picture of my 1954 Buick engine that clearly shows the fuel pump to be green. Fred

-
I am restoring a 1953 Buick Skylark and had the engine rebuilt. The rebuilder painted the engine in the correct Buick Green color, but we will be repainting it, as want a better finish. One question that I have: What is the correct color of the Oil Filter Assembly. (Rebuilder didn't know, so he painted it green). See 1st picture with oil filter circled in yellow. Should the housing have a decal? Additional Questions: We have the spark plug tins and have already replaced the short red hose on the Transmission filler tube with a black hose, as well as removing the red paint and then buffing the top cover of the tube, which I feel is correct. We removed the aviation hose clamps from this short hose, but I am not sure if those clamps are the Tower type. On my 1954 Buick restoration we used another type - see 2nd picture. Any ides if this is the correct clamp? (Our 1954 Buick took a 1st place (400 points) at the Buick National Meet at Charlotte a few years ago and there was no mention of incorrect hose clamps on the transmission tube, so this should be correct (??). Last picture shows the Transmission Filler Tube, dip stick, short hose & clamps, which we want to be correct.


-
On Friday, it took all of 6 hours to do so, as we took our time and carefully made some great progress. We determined that the hood towards the front of the car was off center by about 1/4". (Al was correct in his observation). We dropped a plumb line from the center hood hole where the hood ornament is bolted on (also measured from hood crease to hood crease at that point to be doubly sure that the hole itself was centered. We then carefully measured the space between the inside frame rails and found dead center. We then moved the hood so that everything lined up on center. The gap along the rear edge of the hood at the cowl was then even, although slightly tighter at each side - however the gap was exactly the same on each side. There is no way to correct this without welding metal most of the way across the rear edge of the hood which is not practical. We also raised the center radiator support (hood latch bolts into this) as hood was sitting a little low and front fenders did not line up until we made this adjustment. We have a little tinkering to do, but are 90% of the way. This coming week, we will fine tune everything and drill some 1/8" pilot holes under each of the three rubber angle bumpers into the front fenders and into the inner panel below. Reason: We will be removing the hood and fenders for painting and don't want to have to waste any more time on this, especially with fresh paint. In conclusion, want to say that 1953 and 1954 Buick hoods are very difficult to properly line up, as can be seen if closely looking at any cars of that vintage. Having the springs renewed was a big plus, as they now open smoothly. Before rebuilding the springs, the hood jerked back when being opened and hit the cowl or top of doors - not good. I greatly appreciate all of the helpful ideas regarding this issue and want to thank everyone for their comments and suggestions, as well as encouragement. Fred
-
Thanks Al, I like your diagram. Centering everything is exactly what we plan to address today, as careful centering seems to be the best plan. The reason the gap from side to side on the hood/cowl is that when we reinstalled the fender supports and radiator bracket, we probably were slightly off center. A fraction of an inch in front would be a substantial gap at the rear of the hood. It might also be possible that the radiator support may need raised slightly, so this will be checked later today. Thanks to everyone for so much encouragement and helpful ideas. Fred
-
Thanks Bernie - We use a 4 post lift, but for now the car is on wheels and sitting level on the ground. We are taking a good look at everything today and hoping for some progress. We have done body-off and body-on restorations for years and admittedly expect alignment issues, but nothing like this one. This was a body-on restoration, as I am always reluctant to remove a convertible body, even with all of the required cross bracing. Attached are some pictures of the underside of the car after about 300-400 hours to remove the many coats of undercoating. The undercoating did its job, as the car is rust free, other than a few very small areas around the front lower edge of the rear wheel openings. The red tire well is as original on a white Skylark, along with the body inside the rear fenders and also the inside fender brackets in front. and rear. (Also the wheel hubs that show through the wire wheels). Restoring a Buick Skylark is extremely difficult, even though we did a body-off on our '54 Buick 2dr. HT a few years back (400 points at Charlotte). For reference, we also have a nice original '56 Roadmaster Convertible and a '57 Super 2dr. HT. Thanks for the help and encouragement - greatly appreciated. Fred


-
I thought of this many times, but several "experts" said it didn't matter, so I am not sure. I appreciate this suggestion. This might end up being "Plan B" after we explore all other options. In the meantime, we are progressing with the deck lid - see picture. Thanks, Fred

-
Thank you Al, What a great analysis and greatly appreciated. We have had some prior experience with a similar hood on our 1954 Buick 2dr HT, but nothing like this. I also admit that frustration has made it a lot rougher. Tomorrow, we are going to start from scratch more or less and will remove the front fenders again. We installed them as a preliminary check to get everything all aligned prior to painting. The fenders will later be removed for painting, so this was what we hoped to be a final fit with a few adjustments required. We have tinkered with this off and on for several weeks and are losing ground.. We removed the deck lid and rear fenders and all of those areas are in near-perfect alignment and fit based on a realignment installation and check. They will be removed for painting. Luckily we didn't paint the hood and front fenders and discover this later. The two doors were not removed, nor adjusted, as they fit well and we didn't want to have to remove all of the hydraulic lines, wiring, etc. All of the windows are now in good working order, so we prefer to leave the doors as they are. We emoved the deck lid, rear fenders and front fenders, radiator support, inner fenders, etc. for paint and undercoating removal . They are all in primer. Engine was removed and has been rebuilt and ready to reinstall at a later date. Tomorrow a good friend of mine who has years of experience with total body-off restorations of 1940 Packard Darrins owned by another of my friends is going to take a look. The other day while looking at the gaps, I noticed one thing of importance: As the hood is in the closed position, the rear hood gap (across the entire rear edge of the hood) on the driver's side is about 5/16" from edge of hood to the cowl. However the same area of the hood on the passenger side is about a 3/32" gap. This means that that the front of the hood (looking towards the windshield) needs to be adjusted slightly to the right, so that the gaps are even. This seems like the best place to start, and we will use all of your suggestions in that regard. The spring assemblies were nicely restored with new rivets and springs and seem like brand new. I will report our results next week and am hoping for some good news. Fred
-
Thanks for all of the help. I sent the hinges to Rowland Hall in Burbank, CA and he said they were in very bad shape. He rebuilt them, adding new springs and fixing everything else. They are do in Ohio by this Friday and next week we will see if any improvement. In answer to your questions (thanks for being so thorough): 1) No - hood did not operate smoothly at all and the gaps were not what I would have liked, but seemed to have gotten worse. 2) Added 3/32" of metal to rear sides of hood (not 1/8") after we realized the gap was so big when trying to reassemble (we can remove this metal if necessary). 3) Not sure of this. 4) Rocker panels were repaired but not replaced (minor dents and a very small amount of rust). 5) Same two body men disassembled and worked on the reassembly. (All of us are getting frustrated - hoping things change next week when the rebuilt/new springs are installed). 6) Hood was stripped to bare metal - not sandblasted. I will report our findings in about a week after reinstalling the springs. Thanks everyone for so much help. Fred


