.jpg.f0af76e75377fc06bf52543002cd5b76.jpg)
NC1968Riviera
-
Posts
2,052 -
Joined
-
Last visited
-
Days Won
8
Content Type
Forums
Gallery
Events
Everything posted by NC1968Riviera
-
neatname Nice looking platform for an awesome restoration. It appears to be sagging a bit on the passenger side. What condition is the motor, interior, trunk and underside?
-
I use Search Tempest all the time for Craigslist searches. It makes searching USA wide very easy in one search.
-
Ken, Glad to help. There are not many 68 or 69 GS's for sale out there that are in decent shape, if at all. Good luck with your search. One of the things I don't like about topclassiccarsforsale.com is the fact that the ads are not dated so you have no idea when they were posted, nor do owners mark the listings as sold if the cars do sell. Very frustrating... To be honest, I think topclassiccarsforsale.com is an automated Ebay Motors mirror site with no oversight at all.
-
Not sure how old this listing is for this 68 GS http://topclassiccarsforsale.com/buick/37526-1968-68-buick-riviera-gs.html
-
A project 69 GS in California https://sacramento.craigslist.org/cto/d/1969-buick-riviera-gs/6459838113.html
-
Not a GS but a beautiful '68 none the less in Colorado. (I am not associated with this one) https://denver.craigslist.org/cto/d/1968-buick-riviera/6462310302.html
-
.thumb.jpg.1426cd2c408212d38e6aae46d63f585f.jpg) Randy, thanks for the kind words. C2C makes a replacement under seat pan that I may end up buying. I need to pull the whole rug up and look at the rest of the interior floor pan. The passenger side rear seat pan was in much better condition than the driver side is. I was very disheartened when I saw how bad the rust damage was under the seat. I wish I had found it prior to purchasing the car. It might have had an effect on the price I paid. I have not found any evidence of rust damage in the A pillars. Most of the rust damage appears to be road salt damage from being in Ohio for so many years.
Randy, thanks for the kind words. C2C makes a replacement under seat pan that I may end up buying. I need to pull the whole rug up and look at the rest of the interior floor pan. The passenger side rear seat pan was in much better condition than the driver side is. I was very disheartened when I saw how bad the rust damage was under the seat. I wish I had found it prior to purchasing the car. It might have had an effect on the price I paid. I have not found any evidence of rust damage in the A pillars. Most of the rust damage appears to be road salt damage from being in Ohio for so many years. -
2nd Generation Rivi front brake cylinders
NC1968Riviera replied to NC1968Riviera's topic in Buick Riviera
I still have these drums and cylinders if anyone is interested in making me an offer. -
Nick did a color version of his black and white 1968 Riviera sketch for me. I think it turned out well.

-
Thanks. Unfortunately nothing of note was found under or behind the seat cushions.
-
I understand now. Thanks!
-
What you said is all Greek to me, sir.
-
I just saw a posting in Instagram for Meyer Chassis in Murrieta, California. They say they manufacture adjustable track bars for Rivieras, though their website (http://meyerchassis.com/) does not list this part. Phone: (951) 776-7377 Email: meyerchassis@gmail.com I sent them an email requesting information about a 1968 Riviera track bar. The picture below is from their Instagram account. It looks like the track bars have the bushings pre-installed and comes with mounting hardware for $199 ea.

-
I purchased a new repro Chevrolet Impala gas pedal kit for my 68 Riviera that includes the rubber pedal, trim, and a plastic friction plate embedded on the reverse side. https://rover.ebay.com/rover/0/0/0?mpre=https%3A%2F%2Fwww.ebay.com%2Fulk%2Fitm%2F253024664785 I bought one of these for my 1969 Chevrolet Caprice and they are great!
-
Thanks! You are probably correct. The previous owner said he fixed the rear window leaks but he did nothing to fix the floor pan rust damage.
-
Thanks! I tried hard to capture all of the steps with pictures but I missed a couple. I already sent Ray a link to this posting for his consideration.
-
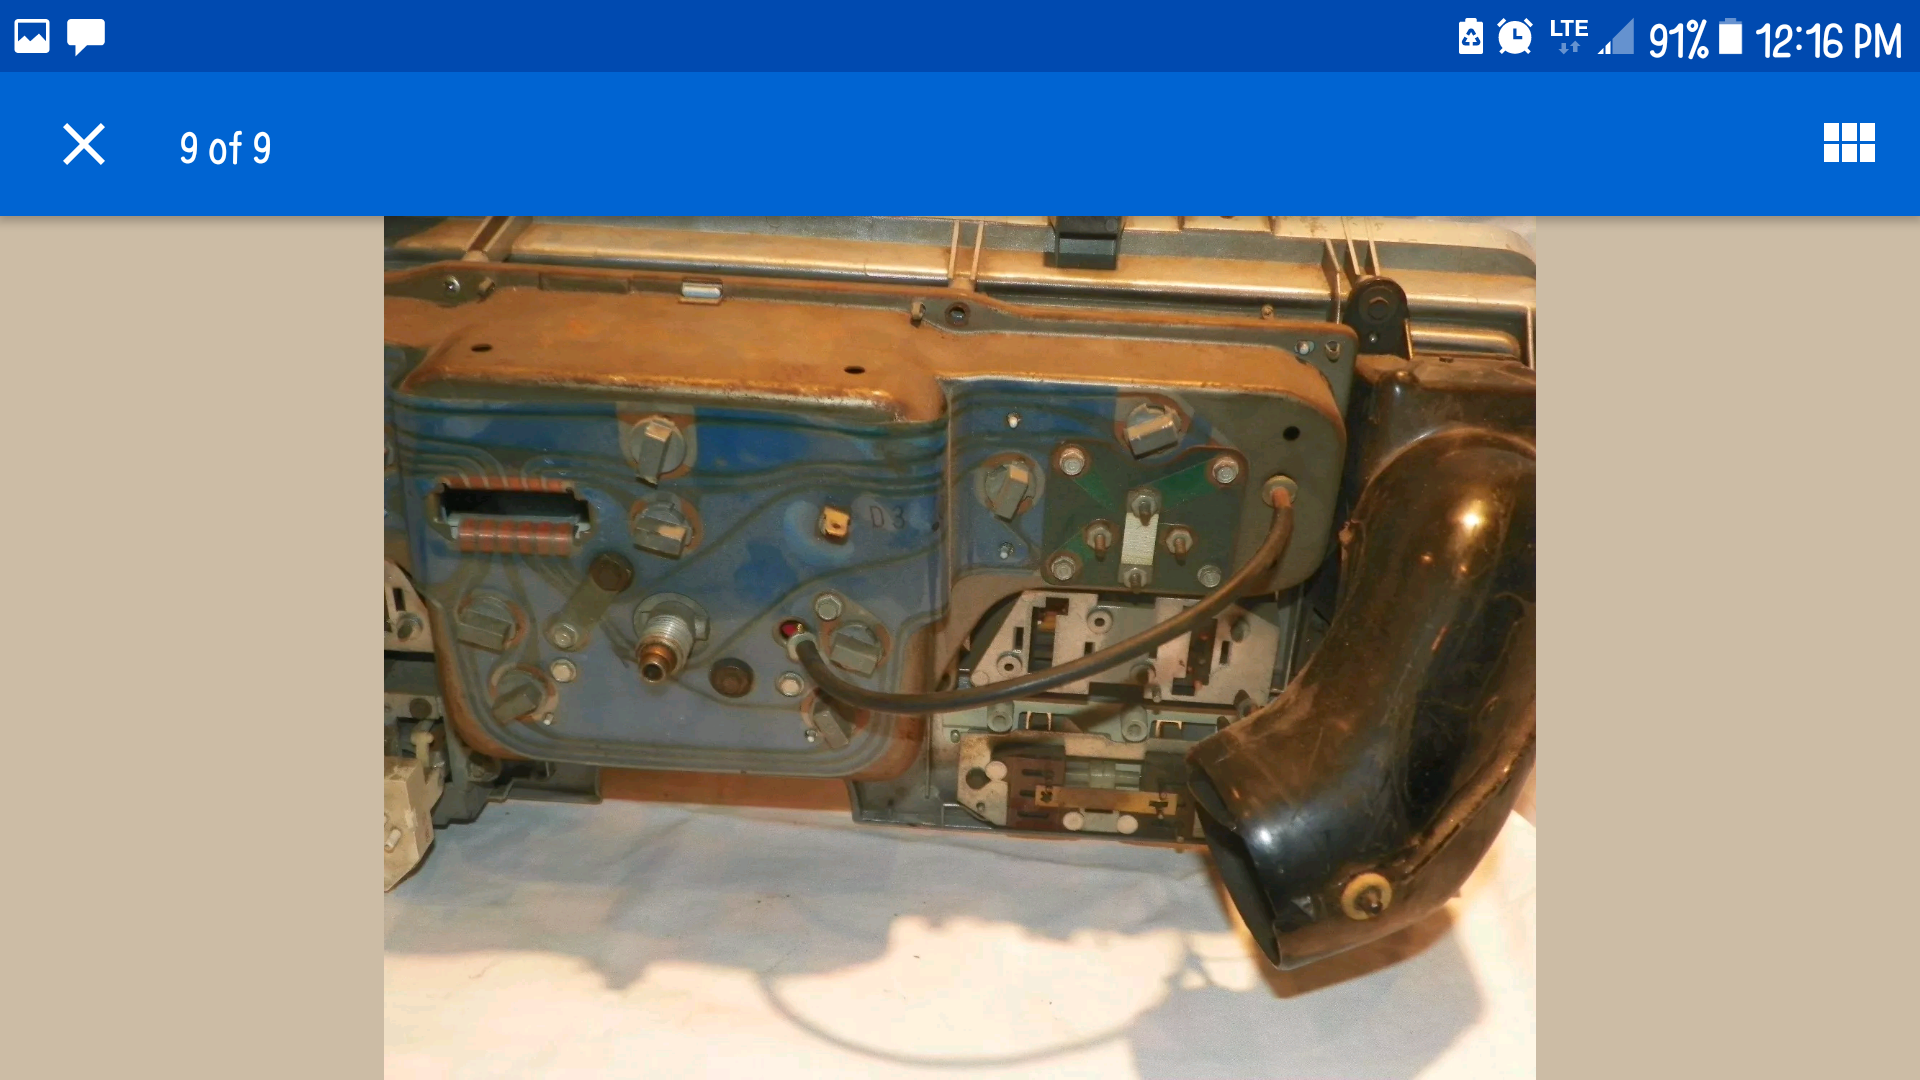
Check that the vacuum hoses in the back of the AC/heat controls are correctly attached. I had a similar problem with my AC routing when I knocked some hoses loose from the back of the controls and reattached them incorrectly. Also check that the diaphragm hoses are correctly routed and attached. A service manual will be your best friend for this job!
-
Today I installed the new trunk divider board and jute insulation pad that R. E M. Automotive Parts recently started producing. I bought mine from Ebay seller 'Collector's Auto Supply, Inc.' The part numbers: 1966-1968 BUICK RIVIERA HARDTOP 1PC TRUNK DIVIDER PANEL Board BUK-TYD 180 1966-1968 BUICK RIVIERA HARDTOP 1PC GRAY TRUNK DIVIDER Insulation BUK-TDJ 180 I started the project by reading the Buick Body by Fisher manual instructions for removing the rear seats. These seats are the easiest GM rear seats I have ever removed. The lower cushion easily slid back and I disengaged the seat from the hold down brackets. After gently lifting out the lower cushion, set it aside outside the car. Next I recommend using a shop vacuum to suck out any loose debris or rust flakes (in my case) in the floor pan before proceeding further. A clean work space is important. I discovered a large rusted through section under the driver side floor pan under the seat. This will be a future fixit project for me. Next, unbend the upper seat cushion hold down tabs at the far left and right lower edge of the cushion. Remove the 7/16th head screws securing the lower cushion to the floor panel. The upper section of the cushion is held tight against the upper seat back/trunk frame by three wire retaining clips. To disengage the upper cushion, pull the bottom edge out by the lower corners to pull them free of the elbow rest panels. When you have pulled the lower cushion out about 6", pull down on the lower edge of the cushion to dislodge the upper cushion retaining clips from the seat back /trunk frame. Be careful if your rear speaker is wired to the radio. Reach around the top of the cushion and disconnect the wires from the speaker before removing the cushion from the car. Gently remove the upper cushion from the car and set aside. This is now a good time to observe the condition of the rear seat back/trunk frame and the placement of the existing trunk board and insulation, if it still exists. My original trunk board was in very corroded condition but the insulation pad was still in good shape. Gently pry the old trunk board from the seat back frame. Mine had old duct tape holding it in place, as seen below. The first thing I noticed is that the original jute pad is rectangular shaped and the aftermarket pad is the same shape as the trunk board. The new pad fits great as is behind the new board but purists might want to cut the new pad to match the dimensions of the original pad. I used my new pad as is. After using the shop vacuum to remove more bits of rust and debris, I fit the new pad against the seat back/trunk frame to see if it needed any trimming. It did not require any trimming, so I sprayed contact adhesive along the seat back center cross bar and wiring harness and the upper edge of the seat back frame. I rolled down the top edge of the pad and sprayed it with spray adhesive. Don't forget to pull the speaker wires out from behind the pad. Press the pad into place, lining up the pad cutouts with the seat back frame cutouts. This would also be a good time to pull out the old under seat sound deadener and replace it with new material. After pressing the adhesive sprayed areas firmly against the seat back frame I then rolled the lower pad lip up and repeated the previous steps to add adhesive. The next step is to verify the new trunk board matches the old trunk board. With the new board still in its bag, (this keeps the board clean), lay the old board on top of the new one. For the R. E. M. 66-68 trunk BOARD the shape was exactly the same as the old board, with the exception of the upper outside corners of the new board. The original board has these corners cut down where the new boards corners are rounded off. See examples below: I cut out my new boards to match the old ones. Since the board is symmetrical I chose to put the side with the affixed labels towards the trunk. I attached a few strips of painters tape along the top edge of the new board to help hold it in place while I put the upper seat cushion back in the car. If you place the left edge of the board against the left edge of the seat back frame you will then have to press the right edge of the board against the right edge of the seat back frame. See below: At this point you should be ready to reinstall the seat cushions. To install the upper cushion, bring it back inside the car and angle the top edge towards the top edge of the seat back frame. Reach over the top of the cushion and reattach the speaker wires (be sure to correctly attach the wires to the right poles). Push the lower seat frame upwards to engage the three upper seat back retainers over the seat back frame anchor points (see pictures below). I used an angled nail puller pry bar against the lower screw anchor points to get enough leverage to push the upper retainers over their respective anchor points. After getting the upper anchor retainers seated correctly, it may be necessary to use a rubber mallet to nudge the lower anchor points into the correct alignment to reattach the retainer screws. Screw in the 7/16th head screws until they are snug. Do not over tighten to avoid stripping out the screw hole. Make sure the left and right edges of the upper seat cushion is firmly pressed back in towards the side panels. Bend over the bottom retainer tabs in the lower left and right edges of the cushion. Check that the cushion is firmly seated in place with no play in the upper and lower sections. Next, set the lower cushion back inside the car and set the rear edge almost against the lower edge of the upper cushion. Pull the seat belts out and lay them on top of the lower cushion. On the under side of the lower cushion, align the thick hold down wire to the front floor hold down retainers and press the cushion backwards until the retaining wires are at the back of the retainer grooves, then pull the cushion forward to seat the wire under the retainer groove. Pull the seat belts all the way up over the lower cushion until they are taut. Pull up on the front edge of the lower cushion to verify it is seated correctly. If either side lifts up, repeat steps above to seat the retainer wired in the seat retainers. Overall I am extremely happy with the fit and finish of this new trunk board and insulation pad set from R. E. M. Automotive Parts


-
Post some pictures please.
-
While this is not 'my' car, I do own the AUG 03 1941-dated Kodachrome slide this picture is created from. I just determined the make and model of this car from my recently purchased slide. 1940 Buick Century Series 61 Phaeton convertible

-
1940 Buick 51-C Super Four Door Convertible Statistics
NC1968Riviera replied to a topic in Buick - Pre War
I am waking a long sleeping thread to upload a 1941 picture of what I believe is a Buick 1940 Buick Century Convertible Phaeton, Series 61C. I collect 1940's-60's color slides of interesting looking cars and I just discovered the make and model of this car in one of my recent purchases. This is a rather large file so it may take a few moments for it to load in your browser. It appears to be one of the available gray colors with a red interior. -
Rivieras and Riviera parts for sale on local Craigslist, eBay, etc.
NC1968Riviera replied to RivNut's topic in Buick Riviera
I am not associated with this listing : 1968 Riviera instrument cluster with speedo and Speed Minder option: $115.99 plus shipping https://rover.ebay.com/rover/0/0/0?mpre=https%3A%2F%2Fwww.ebay.com%2Fulk%2Fitm%2F302582137246


-
1969 BUICK RIVIERA CPE California Car Beautiful
NC1968Riviera replied to Carbuff2's topic in Buick Riviera
Did you purchase this car? -
Rivieras and Riviera parts for sale on local Craigslist, eBay, etc.
NC1968Riviera replied to RivNut's topic in Buick Riviera
I am not associated with this listing Seen on Instagram http://www.jonathanthomasmotorcars.com

-
This show was first broadcast in 2014 so it might have been discussed previously. A gorgeous burgundy 1965 Riviera is featured in this episode. I just watched it on Netflix but there is a copy on YouTube also (though in a truncated format). Watch it on Netflix if you can. (episode C4:E13) The credits list the car courtesy of James A Roberts. Read about the Riviera here: http://www.jrmediation.com/1965-buick.htm

.thumb.jpg.1426cd2c408212d38e6aae46d63f585f.jpg)