


Tom_
-
Posts
101 -
Joined
-
Last visited
Content Type
Forums
Gallery
Events
Everything posted by Tom_
-
I am getting ready to sell my '89 and as soon as I got the heater core replaced the HVAC programmer decided that it will no longer operate the blend door. It still blows air out of the correct vents when asked but the blend door motor does not want to move on its own. Does anyone know if I can R&R the motor from the module simply or would it just be easier to replace the whole module? Also I'm open to inquiries about the car being for sale. I have done a lot of work to keep the car running and driving as it should. It has 183k miles and has been my daily for the last 5 years. The paint is rough from the Texas sun but the only thing on the car that doesn't work (other than the climate module mentioned above) is the rear defroster. I will be posting photos in the buy/sell forum after the holidays.
-
Yep Barney is correct. I tagged into the pink wire for my remote wire. So you could make and break that one or the ground which was previously mentioned.
-
I'll go out to mine this evening and look. I know I spliced into the power wire for the antenna to use that 12V as a remote wire for my amp. I believe it was the orange but I will edit this response when I go confirm. If you don't already have one you should invest in a test light, or better yet a multimeter then you could test which wire went to 12V when the radio was powered on. I know that in the long run you will definitely need one with these particular vehicles. Takes a lot of guesswork out of troubleshooting the various electrical systems we have.
-
Does the Reatta share a vacuum tank with any other vehicles of the era or is it a Reatta specific part? That would make sense as the check valve requires vacuum to be held on both ports and the ports are free flowing between each other. So if one branch leaks the other will lose vacuum.
-
I have replaced the check valve with a new 4 Seasons Part No. 74808 and It is performing better than it has in a long time. But, under heavy acceleration like up a hill from a stop light it still shifts air to the defrosters. Is there a way to check if the controller or servos are leaking? Would that be a reasonable next step in the troubleshooting process? FYI the Dorman Help! check valves are functionally worthless. They allow for two way flow in 4 out of 4 units I bought from different stores in town right out of the box. If I have to replace one in the future it will be with the 4 Seasons unit above.
-
Thanks for the offer Stanley. I have a box of T's, F's, and Y's for different kinds of lines and if I don't find something in there that will work I'll let you know. EDIT: I just replaced all the small vacuum lines and the check valve around the cruise servo and reserve tank. I cut back the hard plastic line under the hood to between the fan motor and firewall and put new rubber line over it with a small hose clamp and a dab of silicone around the joint. I have much better vacuum to the hvac controller and it really closes off the defrosters allowing much more air to come out of the bi-level vents. The issue with it slowly going back to the defrosters during moderate acceleration still persists. I am highly suspect of the new check valve. The old one didn't seem to be working and the new one wouldn't work out of the box until I tapped it against the air box and used my freebie vacuum tester (my lungs) to pull on the output that would go to the hvac controller while I covered the output that ties into the cruise servo/reserve tank side. Even then it only worked if I sucked pretty hard and wouldn't make a great seal. I don't know if there's a way to make these little valves work better out of the box but I think I'm going to try switching to a different style check valve like this universal one and put a T after it to replicate the function of the existing valve.
-
I will check that cruise cutoff valve but the cruise control works perfectly. Has no trouble accelerating even though while it accelerates up a hill the HVAC loses vacuum. I replaced the cruise servo and vacuum line a couple of years ago when the old one went. I'm going to buy another check valve and a T at the parts store and replace that little plastic Y near the reserve tank as well. I trust nothing plastic on these things anymore. Especially near engine heat.
-
I replaced the check valve last summer but to be fair I could have gotten a defective one since the issue didn't change.
-
Hey guys, I have a vacuum leak that causes the HVAC controller to lose vacuum during acceleration and default to defrost. It comes out the correct vents when you're just cruising, idling, or coasting downhill with your foot off the gas. I know it must be a small leak and the plastic line going from the check valve through the firewall is my main suspect. I'm going to test this tomorrow by connecting a rubber vacuum hose from the check valve through the passenger window to the HVAC controller and driving around to see if I maintain the correct vent selection. The only problem I foresee is if and when I identify this hose as the problem, how in the world am I supposed to pull new line though the existing location in the firewall? It looks like it's part of the group of firewall connectors wedged between the passenger side strut tower and the firewall. Is there another location to pull through or am I stuck with this spot?
-
Well if the dome light in my car worked I'd take you up on your generous offer. But I'm afraid my under seat splices have given up the ghost with this last set of soaking rainstorms. If it's not one thing, it's another. But that's what I signed up for and actually enjoy. P.S. Nice Roadkill avatar AZVET
-
Sorry it took so long guys. I have spent a lot of time on the car over the past 2 weekends and the diode did fix my issue. The retract button strangely still stays lit all the time exactly like it did but the lights cycle as they should with the lights on button. Check out what the old one looked like for a clear case of "there's your problem". As a side note, living in East Texas with the summer coming I decided to get the windows tinted and man my air conditioner liked that. It actually cools the car now but I guess we'll wait and see how it helps once the temps get into the triple digits.

-
Thanks for the reply. I have already replaced a bad pump and used Lucas products. My issue however isn't bad seals, but something else internally in the unit. Basic, after you turn left it pulls left, after you turn right it pulls right, clunky noises when turning corners (not CV joints clunks when turning even when sitting still). The PO had 22's on it and it destroyed the strut mounts, tie rod ends, and evidently the rack and pinion. But, it never leaked so I'm only now getting to replacing it. Most likely going with the ACDelco reman 3 port if your info is correct.
-
I'm indulging in giving myself lots of tinkering (read: hard labor) to do. New carpets because if I'm taking out the seats and fixing the splices I might as well replace the carpets, recovering the headliner, more front end parts, interior trim and so on. I decided my hands weren't sliced up enough during my desk job and my swear jar was just too empty to function. As a side note, I've been using non-bargain Craftsman sockets and wrenches I've had for 10 or more years and have never had issues. I think they got a bad rap for the tools they sold at Wally World and other bargain chains when they still had the capacity to make quality tools. The bonus for me is, if I ever don't have a specific tool, my old man still has my grandfathers New Britain/Snap on stash in his shed that he never touches ripe for the picking.
-
I'm looking into replacing the clunky rack and pinion. The delco units are listed with two part numbers, 36R043 and 36R044. Described as 3 ports or 2 ports respectively. Does the '89 use the 2 or 3 port? What does the procedure look like difficulty-wise and time-wise taking into account all of us here are at least passable mechanics . I'm trying to decide if I can do this in the parking lot like my engine and trans mounts or if I need to bribe a buddy with frosty cold beverages to pour power steering fluid all over his shop floor.
-
Good on you Dave for replicating my moment of ignorance with fuel injected systems and hosing yourself down with the added suffering of styrofoam turning to nuclear waste underneath your head. I'd be interested in learning about the hinges more too. If I had spares I'd attempt to break them down as, unlike electrical nonsense, I actually understand mechanical engineering. If you do any messing about with trying to take them apart Kevin I'd like to hear your results.
-
Ronnie, thanks for the link. Jim, you are correct the headlamps light when the headlight button is pushed. The lamp retract button will open and close the doors without turning on the lights. As mentioned earlier there appears to be some backfeeding happening to light the lamp retract indicator when the lights are on. I think the best bet is the diode first and if that isn't the issue then the HCM. Thanks everyone for the responses. I am in contact with Jim for a good diode and will post an update when I have time to install it after the holidays. Merry Christmas guys!
-
I agree. It has to come apart. How could you put something together that doesn't come apart. Some misguided optimist in me wants to believe the flared parts are like threaded on or caps or something to retain the pins. As for something hurting you so bad you can't even cuss, gas still under essentially full fuel pressure blowing directly into your face/mouth/eyes as you spin off a fuel filter laying on the ground will do a pretty good job of that.
-
Does that sound like a symptom of a bad diode or just general wiring weirdness from a 28 year old car?
-
I just had to go look at my hinges and it looks like you may be right. The way the individual upper and lower pins are inserted into the hinges looks permanent. If the ends of each pin weren't flared out you could easily remove them and there does appear to be a bushing of some sort in the pin assembly but I'm not sure how you would ever get it apart. I need some spares for destructive testing to be sure there isn't a sane way to break them apart . I'll tell you one thing. It'd take a braver man than I to remove that lower hinge with that mean looking spring right next to it.
-
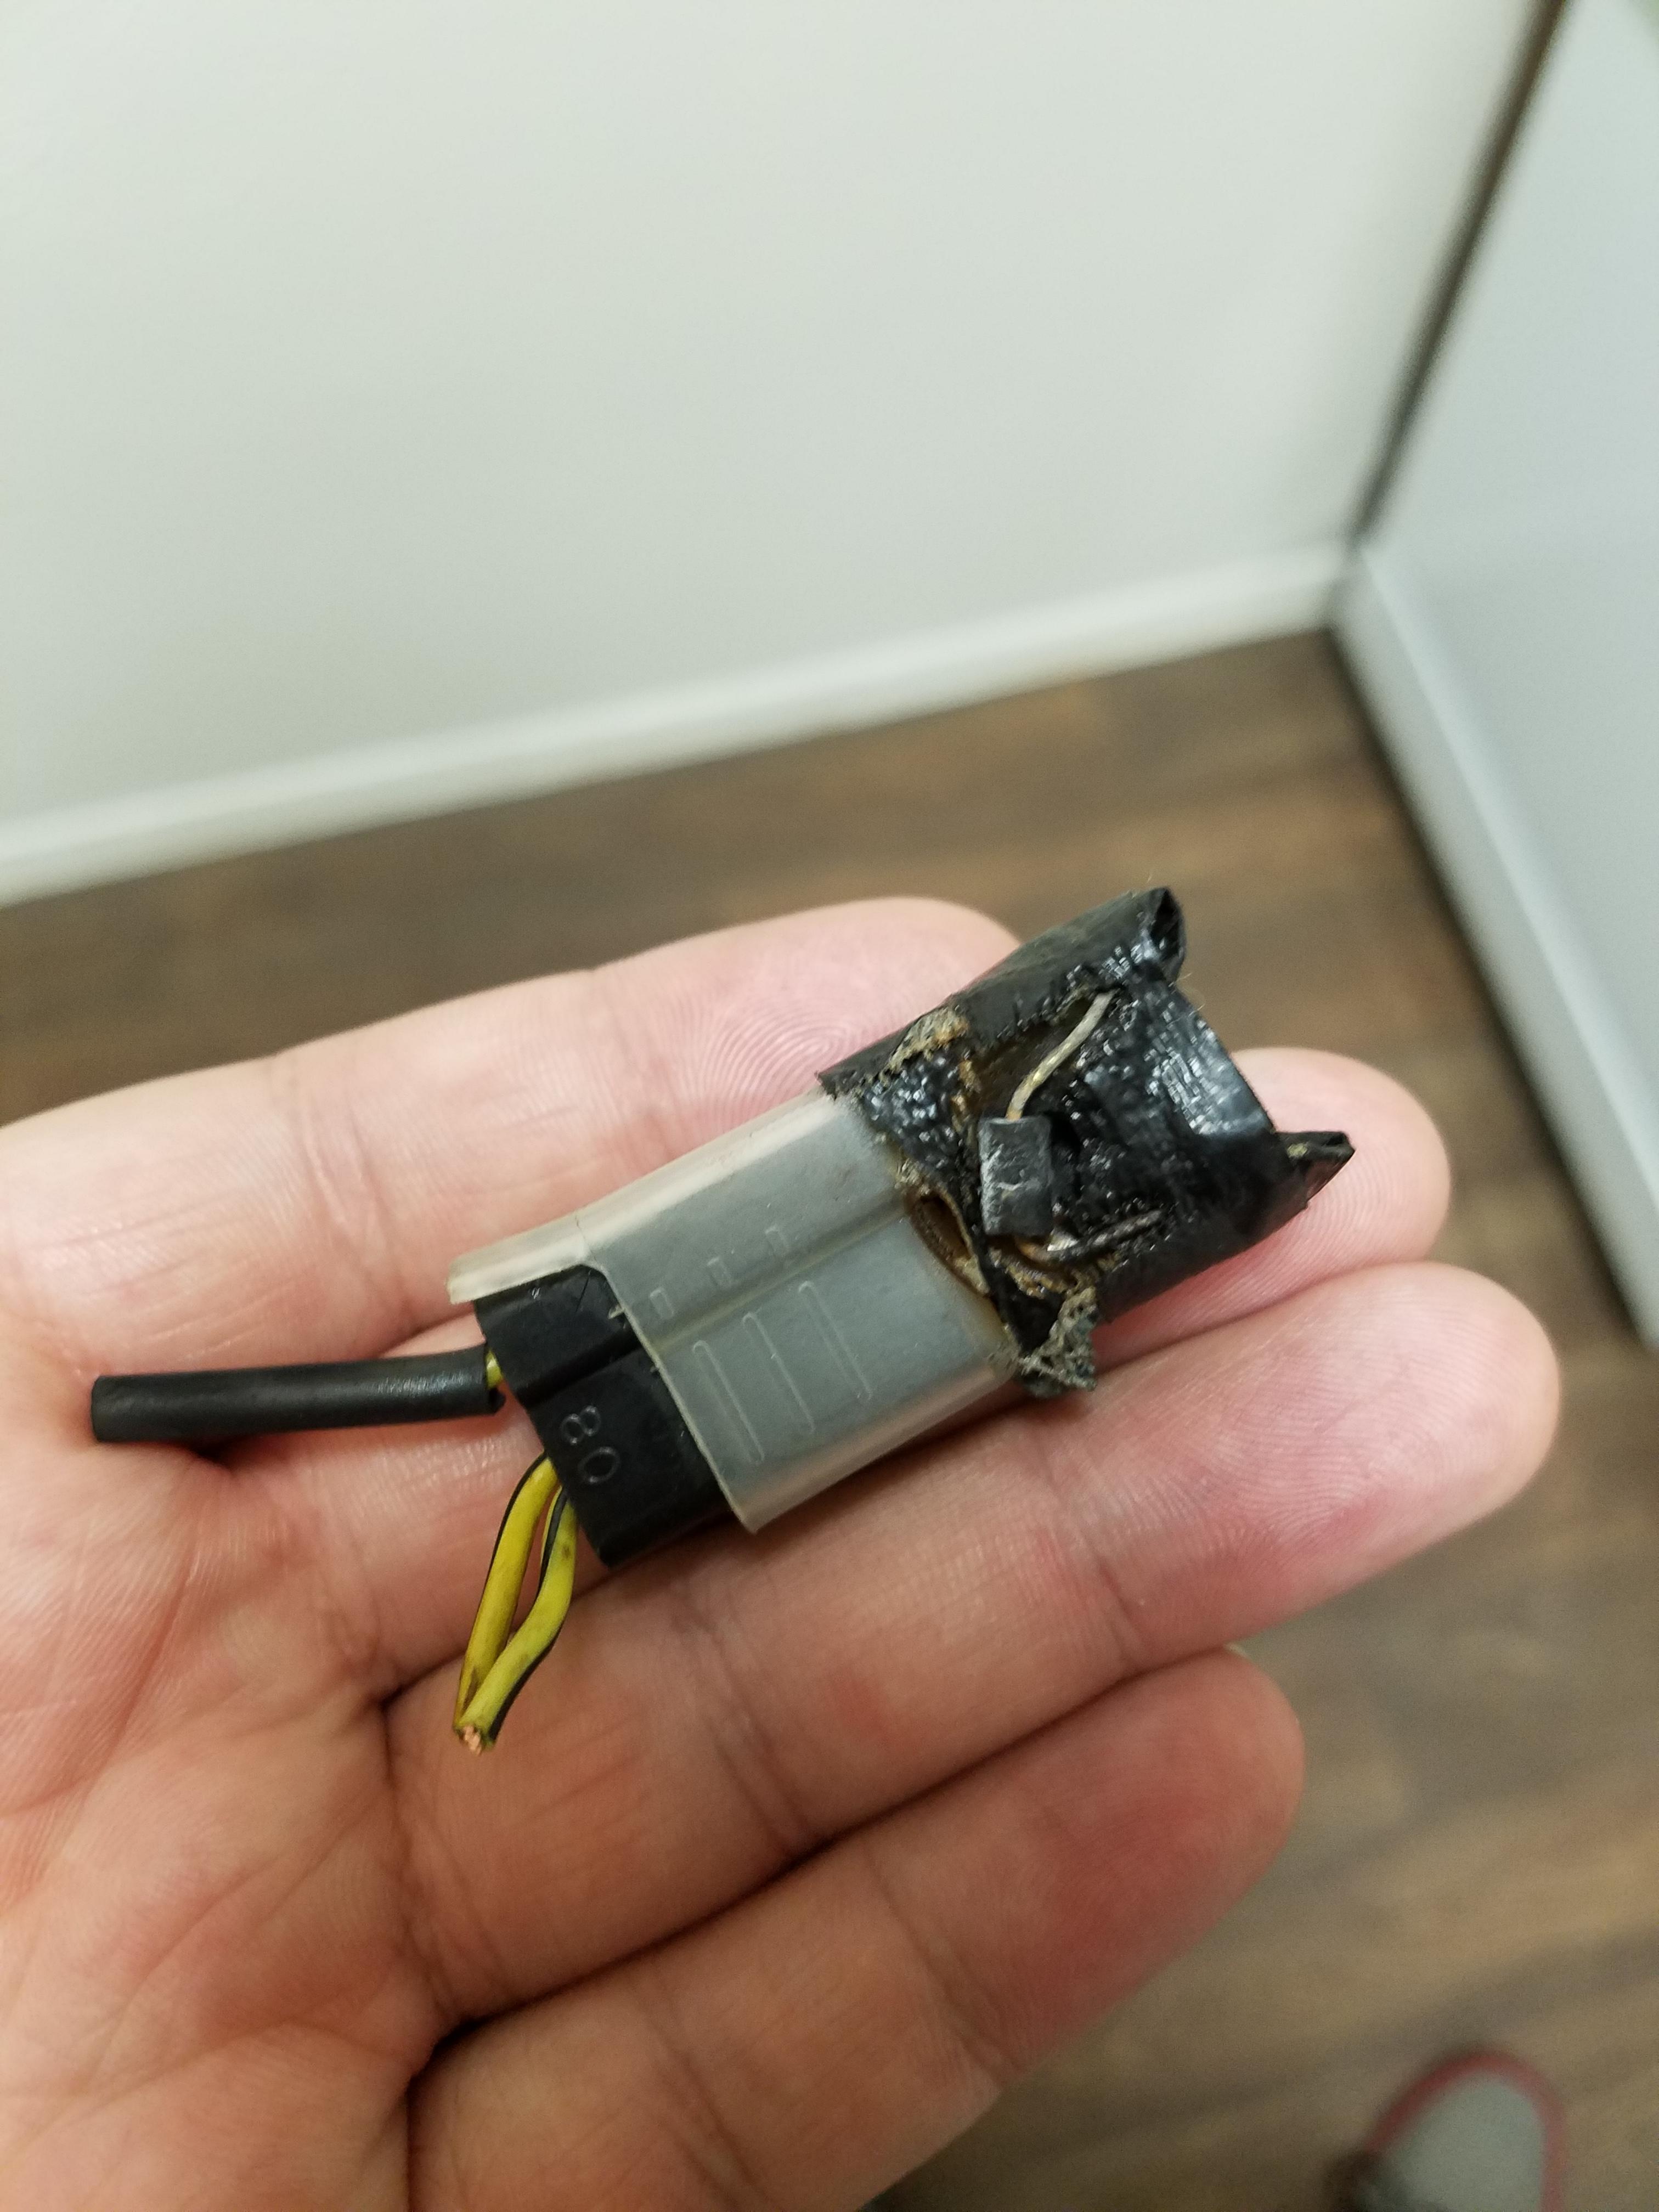
Where is that diode located? In the headlamp control module? Ever since I actually got he cigarette lighter (and by extension the Headlamp Retract button) working a few months ago, the light for the retract button is always dimly lit. When it's toggled on the light's brightness is similar to the fog light button's indicator which I would say is normal. I don't know if the retract light is supposed to turn all the way off when disengaged but it feels like that is how it SHOULD work. I have no baseline since the cigarette lighter and retract button have never worked until I switched out the lighter socket to one that doesn't immediately blow the lighter fuse when connected EDIT: I forgot to add that I have a "rebuilt" left pod from Jim and the switches work AMAZING compared to the one I replaced last year.
-
Where is the headlamp control module located? Is it part of another computer or its own unit? The doors worked as intended when I bought the car and the problem was intermittent after replacing the headlamps with the ultras. Now my "Headlights on" procedure is: Lights on, Headlamp Retract button to pop up the headlamp doors, Headlamp Retract button again so the doors close when I turn the lights off. This is a workable scenario but it just bugs me when things don't work right on my car. The lights stay on and don't retract when I hit the Headlamp Retract button again until I turn the lights off. My theory is that the headlamps are just shy and don't like to come out unless I give them reassurance with the retract button. My courtesy lights in the doors do not work and I no longer get the light show after some water got into the car last winter and that indicates that the underseat splices are corroded or broken. Would this cause the interior lights to not come on when the vehicle is unlocked from the outside? Thank you for the closure that the RKE is working correctly that has bugged me since I got the key fob.
-
It's hard to really explain an assembly but I've drawn a crude (read: very very bad and in MSPaint) assembly drawing to try and help you make sense of the assembly. The hinges are not parts that should ever wear out as the pin only "slides" on the bushings. The bushings are the wear item not the hinges. The pin is splined under the head so it engages with the metal in the door side hinge and rotates with it as one piece. The bottom does not need to be splined because the splines on top guarantee the pin/door/door side hinge rotates as one item. The body side hinge never moves and the bushings are splined and hammered into the top of the holes in the body side hinge. The splines on the bushings guarantee they never rotate in the body side hinge. So what you basically have is a rotating pin that rides inside the bushings and only puts wear on the bushings. when the bushings wear out the door starts to droop because the pin has wiggle room and the weight of the door causes it to sag. Easy way to tell if the bushings are bad is to pick up on the end of the open door and see if the door can wiggle up and down slightly independent of the rest of the vehicle. All of the bolt holes where the hinges mount are slotted so you can adjust the door to sit correctly on the body lines of the car and close without interference but those are usually next to impossible to loosen without a LARGE wrench so the possibility of those loosening is next to nothing.

-
I've had a Cadillac fob working with my Reatta for about a year now and it's always bugged me that whenever you lock and unlock the doors there is no visual indicator that they have locked or unlocked. I generally only hit the buttons when I'm close enough to hear the locks cycle from outside the car and that has been working fine. I have been wondering lately if there is supposed to be a visual indicator as in newer cars where the blinkers flash once or twice on lock or the horn toots once but mine just isn't doing that for some reason. Does anyone else have working keyless that can describe the "correct" lock/unlock procedure? It is nice that you hit the unlock button once and just the driver's door unlocks and twice to unlock both doors and I like that feature. First of two piggyback questions: What is the procedure to replace the glove box light bulb and what lamp does it take? Second: Why do my lights only pop up when I hit the lamp retract toggle with the higher wattage Silverstar Ultra headlights? Just looking for a discussion without starting and monitoring three different threads. If this is faux pas I can start different threads for each question but it made more sense to just put it all in one thread.
-
I do not know about the Reatta specifically but on GM vehicles in general they often used pin bushings. In the past I have supported the end of the door with a jack and removed the bolts from the attachment point on the door in order to air hammer/regular hammer out the pins and replace the bushings. If there are bushings you should be able to see them with the door open using a flashlight to peer in between the outer hinge piece attached to the door and the inner hinge piece attached to the body of the car. They are made of bronze and are hammered into the stationary part of the hinge. I can only provide info in a general perspective since I have replaced them in my truck and a couple of newer (early 90's) Chevy trucks and not in a Reatta. It's a pretty straightforward job and the bushings are a universal type part that Help! makes.
-
Well I got the evaporator replaced this afternoon. It was as big of a PITA as I was expecting but I got it done in about 4 hours. The plastic cover had at some point gotten oil or power steering fluid on the bottom of it and a few pieces came of in my hand as I removed it but hey, that's 1 less screw to put back in on reassembly. Why that thing has 11 bolts holding it on I could never tell you. At any rate, the evaporator I received had a vacuum on it and a little plate over the fittings with seals holding the vacuum which was a nice little touch to let me know it was at least good when I put it in. Now I just need to take it to get charged and hope it holds for my trip to Florida in a couple weeks. That tutorial came in handy in finding the bolts I couldn't see 89DarkGrey so thanks. I've attached a little picture showing just how nasty these things get when they aren't kept clean and leak slowly. Keep in mind I cleaned this in 2013.
.thumb.jpg.f9b507b44e363b19d94a88d2fc164b9d.jpg)


.jpg.f7d31d78956fa775c3197f2e58a3631a.jpg)
