


rageracing
-
Posts
218 -
Joined
-
Last visited
Content Type
Forums
Gallery
Events
Posts posted by rageracing
-
-
The issue is the shifter cup and spring , not the trans itself
-
On my 34, what do we do to keep the shifter from drying out and being hard to move. One I take it apart and polish it up good and lubricate it it works nice and easy and smooth. Then a few drives later it’s dryer then the dessert and feels like metal is just gouling
-
On 6/13/2022 at 10:11 PM, DFeeney said:
I have reread your ad and did not see the year part you are looking for. I have a lot of early mopar parts and might have one. I would post the dimension's of the pa
my 33 pickup doesn’t have the right motor and trans mounts and it is missing the pedal assembly and correct bellhousing. Would your buddy maybe have these parts so I can install the motor correctly? I can’t believe it hasn’t fallen out yet
-
On 6/13/2022 at 10:11 PM, DFeeney said:
I have reread your ad and did not see the year part you are looking for. I have a lot of early mopar parts and might have one. I would post the dimension's of the part.
It’s a 1934 and I’ll get some dimensions this weekend. Thanks
-
They look too different to bother with
-
I’ll check that out thanks
-
Need some help, took my pedal assembly apart due to the rebushing. Didn’t realize the brake pedal had so much slop it would hit the toe board during braking. Upon taking it apart I made a mistake and broke a piece. Anyone have one laying around collecting dust i could buy.

-
Any source for brake pedal bushing? I just realized how sloppy mine is. It rubs the floor board
-
Any luck? Looking for same for my sedan
-
On 4/10/2022 at 4:54 AM, Ian_Greenlaw said:
Hey all,
Well I'm back and spending quite a bit of time of the car now so hopefully not far off finishing.
First job off the rank - Accelerator return spring. I've noticed on a number of cars ( left hand drive dodges ) that there is an accelerator return spring located on the linkage assembly. Some cars don't have one. As the linkage set up on mine is different ( right hand drive ) I had to come up with something.
So I found a little bracket which had the exact hole size I was after. I ordered in a fairly hefty accelerator return spring and using some padded 3M tape around ther linkage I got the spring in place and it seems to work quite well.
Only thing I'm not sure is how to attach the accelerator pedal to the ball type fittings ( 3 of them ) protruding from the floor and the linkage. I tried some slippery stuff but I have to really force it which I wasn't too keen on. Suggestions ????
Anyhow, I back to it and making good progress.
Cheers
Ian


I too need to hook a return spring up to the carb. When I bought the car there was a spring that went down to a tab bolted to the oil pump housing cover. The spring laid directly over the manifold which seemed wrong. Do you know the correct way for the US based cars?
-
Ha that’s funny. I tried that on mine and the cable isn’t long enough so might need to make longer ones then
-
On 9/13/2016 at 11:52 AM, Taylormade said:
I'm getting close to the initial start-up of the motor. Just need to finish getting the wiring in place. I discovered that neither of the battery cables were original or correct. I've been working with Rhode Island Wiring to get this sorted out. They had no original information on 32 DL cables, once again revealing the rarity of these cars. Using the Instruction Book diagrams and a little common sense, we think we have it figured out. These are great people to work with. They were most interested in getting it looking original and correct, and worked with me throughout the process. When I bought the car, it had a red battery cable running from the starter to the negative terminal and a braided wire positive ground strap form a transmission bolt to the positive battery terminal. I always knew the red cable was a replacement, but figured the braided strap was original equipment. As usual, I was wrong. Checking the Instruction Book diagram I could see the Positive ground was a wire and not a braided strap. It also ran a different route than the strap. This isn't a very good shot, but it shows the red cable and the braided strap. The red cable has been disconnected from the starter at this point. It runs through the slot between the two wood pieces and through a hole in the tool box to the battery. You can also see the braided ground strap following the same path.

Here is the frame diagram from the Instruction Book. It's a little hard to see, but notice the different routing of the Positive ground cable.

To help Rhode Island, I laid out the routes of the two cables with white rope. This is the way they are supposed to go.
The Positive ground cable - I finally figured out what those two clips on the inside of the X-frame were!

The Negative starter to battery cable. This is one long cable - 50 inches.

I hope to have the cables sometime next week.
Do you have a diagram like this for 34 Plymouth, trying to lay out starter cable on my sedan. Thanks!
-
Hey Ian. Thanks for the reply. My crossmember also has a deep grove wore in it from the original cable. The other issue I am having is routing the battery cable to the starter around the pedals. It seems no matter what I do it will rub on something. Beautiful car and thanks for taking the time to do this write up
-
Do you have any pictures of the free wheeling cable and how they ran them. It seems to go between trans and lower crossmember but which side of steering column and did it attach anywhere in engine compartment. Seems like it will flop around and scratch everything up. I already scratched my freshly painted steering column lol
-
Hey Ian, can you help me with a question I have on my 34 PE. How much gap is there typically between the steel toe board section and the top of the trans crossmember? Also, I was told by a friend the wooden floor board isn’t a constant cross section and I need to taper mine. Mine seems to be really close though. I highlighted the two areas here, the one shows the tight fit and the other shows my wood having a gap. Thanks


-
Not bad. I found some more parts I need. I’ll keep posting this week when I get back to it
-
Ram reproduction in North Carolina I believe has all the patterns for these
-
I had a stainless tank made for my PE. Figure never have rust issues again and had it powder coated before I installed it
-
Everything is apart and cleaned and I’ll be bead blasting the case hopefully Monday or Tuesday. Tracked down a small parts package so that is on its way. Have some Ammco bronze stock coming in to make new bushings.
-
New bearings

-
Making progress

-
-
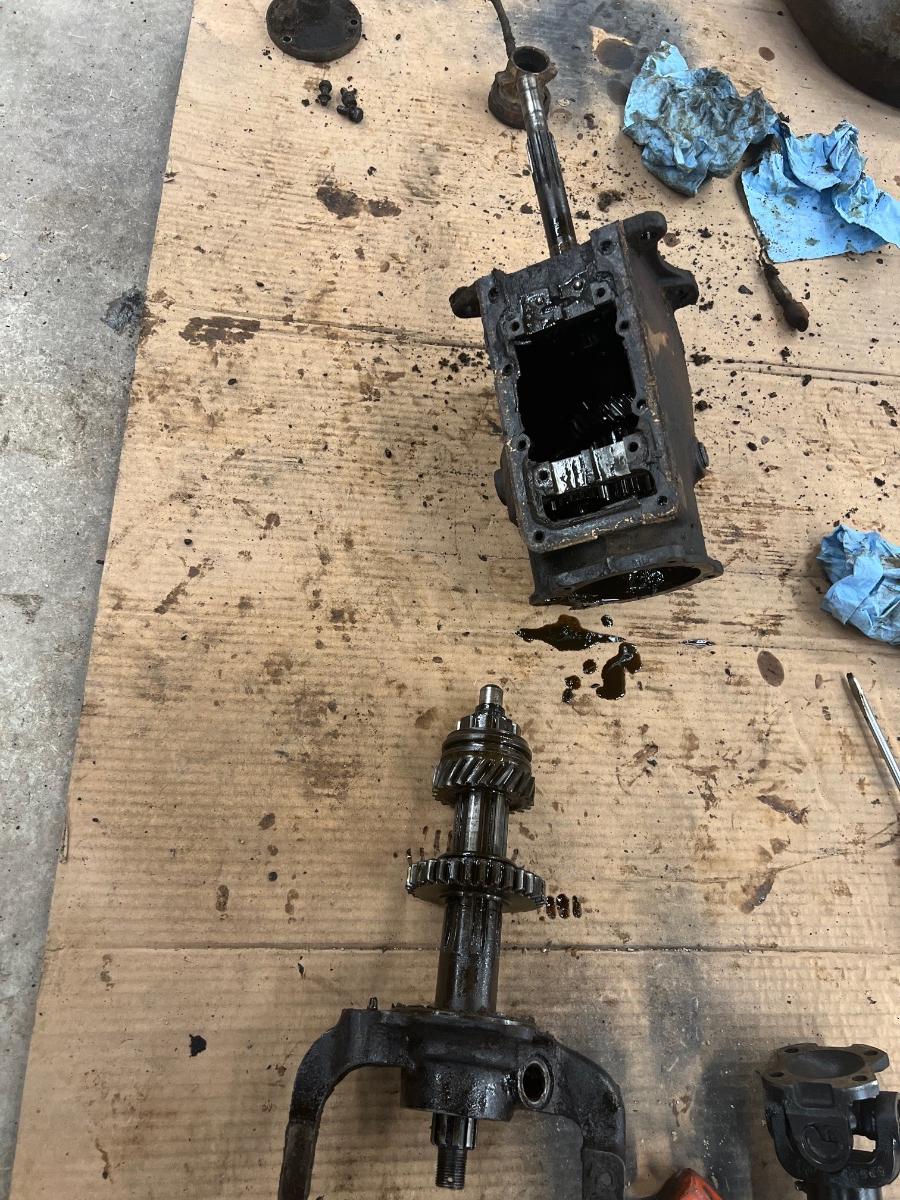
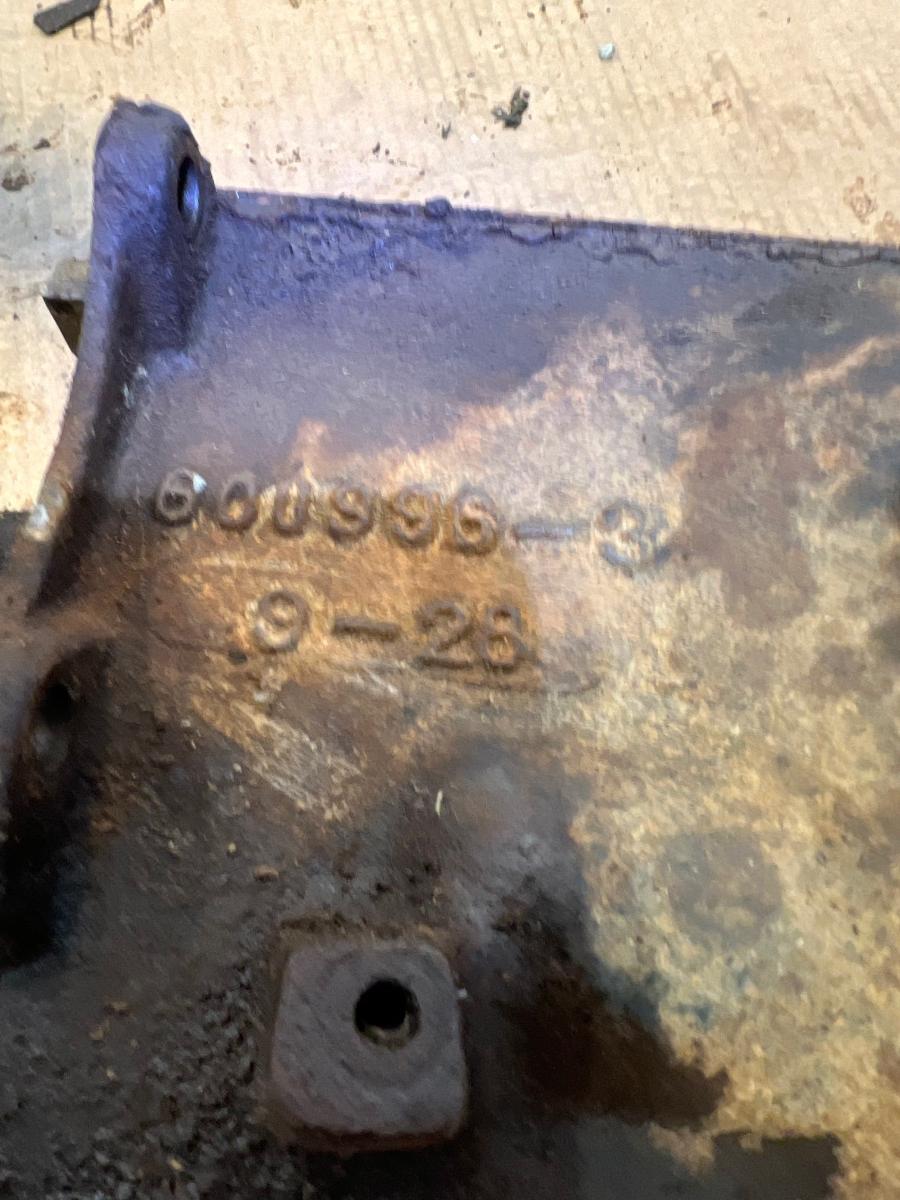
Anyone know what this trans is out of? I check end play in countershaft and it’s at .038” which is way too much. I already had the input shaft out. I believe this is correct so I need to reshim to get it back down to .002-.008” end play. Anyone know of a source for shims? Throw out bearing is wasted too. It messed the clutch up as well. Doesn’t spin too good lol

-
The trans is in pretty bad shape. Doing a rebuild. It’s not proper trans for the year but I wanna get it together to keep using till I can build proper rolling chassis for it. I picked up a 34 KC frame that is in nice shape. Are the 33 and 34 frames the same minis front axle?


Shifter is tight
in Plymouth
Posted
Shifter binding and this thing leaking oil like no tomorrow gonna swap a T5 in real soon lol